What is Keycloak and How to Install It?
Last Updated :
16 Jul, 2023
Keycloak is Open Source Identity and Access Management (IAM) solution developed by Red Hat. By using this you can add authentication to applications and secure services with minimum effort. No need to deal with storing users or authenticating users. Keycloak provides user federation, strong authentication, user management, fine-grained authorization, and more. Some of the features of Keycloak mention below.
Features of Keycloak
Keycloak is highly extensible and can be integrated with a variety of platforms and technologies, making it a popular choice for implementing secure authentication and authorization in modern applications and microservices architectures. Let’s see the step-by-step process to install Keycloak on Windows.
Step-by-Step Guide
Step 1: Go to this official Keycload website link and download the Keycloak ZIP file. Please refer to the below image.

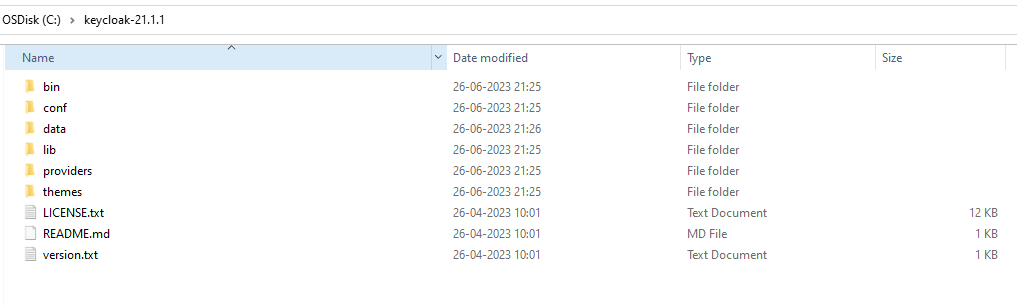
Step 2: After successfully downloading the file extract it in your required folder. These are the files included in the ZIP folder.
Step 3: Now go to the bin folder and open cmd there.
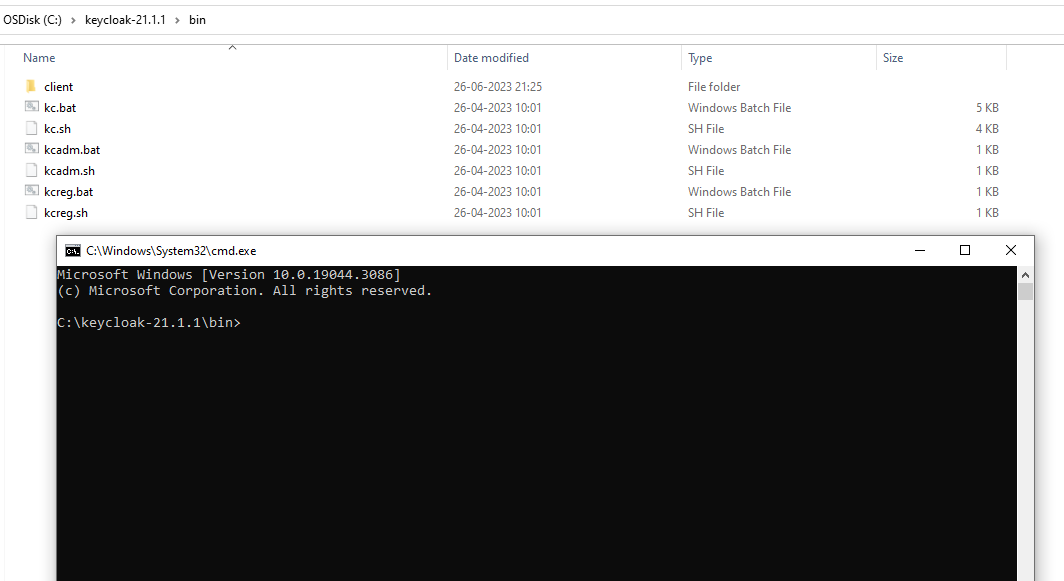
Step 4: In the cmd run the following command to start the Keycloak server on the local machine.
On Windows, run:
bin/kc.bat start-dev
On Linux, run:
bin/kc.sh start-dev
Please refer to the below image.

Note: The default port for Keycloak is 8080.
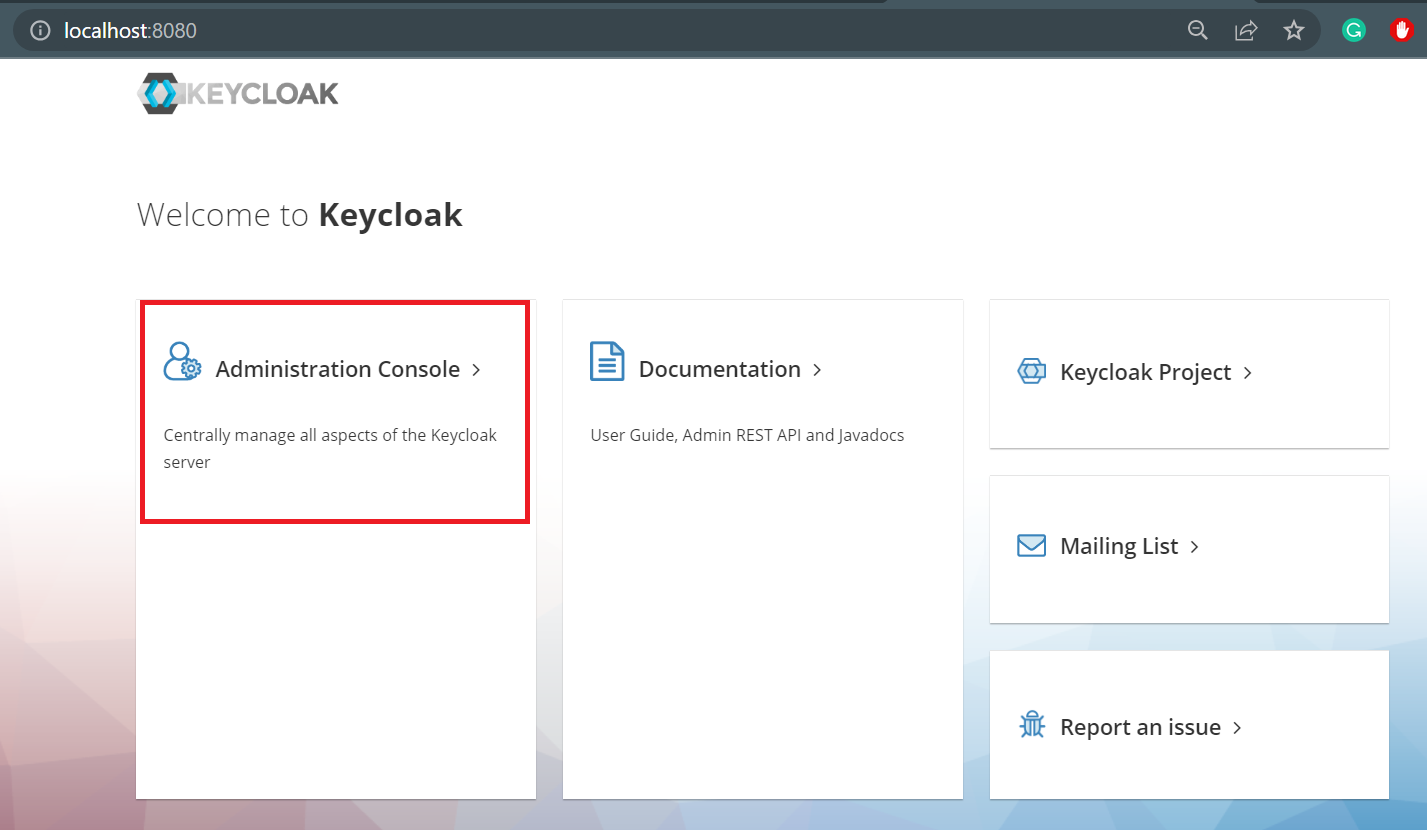
Step 5: Now hit the following URL to open the Keycloak console.
http://localhost:8080/
Please refer to the below image.
Step 6: Register yourself in the Administration Console and sign in to your account. Please refer to the below image.

And finally, you can see the main Keycloak console below. And you’re done with installation.

Share your thoughts in the comments
Please Login to comment...