Spring REST – Response for Access Denied Request
Last Updated :
29 Dec, 2023
The Access Denied Request has an error code of 403. This is the error that is generated when the user tries to access certain resources that he is not authorized. The system displays a whitelabel error displaying the status code 403.
In this article, let us regenerate this error using spring security and then handle the same effectively using spring security.
Prerequisite Knowledge of role-based authorization in spring is required for the topic.
1. Recreate the Access Denied Error
Import a new project in the IDE of your choice and add the following dependencies to it:
- Spring Web
- Spring Security
The dependencies tag in your pom.xml file must contain these:
<dependency>
      <groupId>org.springframework.boot</groupId>
      <artifactId>spring-boot-starter-security</artifactId>
</dependency>

<dependency>
      <groupId>org.springframework.boot</groupId>
      <artifactId>spring-boot-starter-web</artifactId>
</dependency>
Next, create a controller class as follows:
Java
import org.springframework.web.bind.annotation.GetMapping;
import org.springframework.web.bind.annotation.RestController;
import org.springframework.web.bind.annotation.RequestMapping;
@RestController
@RequestMapping("/api/v1")
public class MyController {
/**
* GET endpoint for public message.
* Accessible by both USERS and ADMINS.
*
* @return Public message
*/
@GetMapping("/public")
public String publicMessage() {
return "This is a PUBLIC endpoint. USERS and ADMINS can access it.";
}
@GetMapping("/secured")
public String privateMessage() {
return "This is a PRIVATE endpoint. Only ADMINS can access it.";
}
}
|
In the above code sample, we intend to keep the public endpoints accessible to all users whereas the secured endpoints are visible to admins only.
Next, create a SecurityConfig.java class as follows:
Java
import org.springframework.context.annotation.Bean;
import org.springframework.context.annotation.Configuration;
import org.springframework.security.config.annotation.web.builders.HttpSecurity;
import org.springframework.security.config.annotation.web.configuration.EnableWebSecurity;
import org.springframework.security.core.userdetails.UserDetailsService;
import org.springframework.security.web.SecurityFilterChain;
@Configuration
@EnableWebSecurity
public class SecurityConfig {
/**
* Configures Spring Security's HTTP request authorization.
*
* @param http HttpSecurity object for customization
* @return SecurityFilterChain Spring Security filterChain
* @throws Exception
*/
@Bean
public SecurityFilterChain
securityFilterChain(HttpSecurity http) throws Exception
{
http
.authorizeHttpRequests(
authorize
-> authorize
.requestMatchers("/api/v1/secured")
.hasRole("ADMIN")
.requestMatchers("/api/v1/public")
.hasAnyRole(
"ADMIN",
"USER")
.anyRequest()
.authenticated())
.formLogin(Customizer.withDefaults())
.httpBasic(Customizer.withDefaults());
return http.build();
}
@Bean public UserDetailsService users()
{
User.UserBuilder users
= User.withDefaultPasswordEncoder();
UserDetails user = users.username("user")
.password("test123")
.roles("USER")
.build();
UserDetails admin = users.username("admin")
.password("test123")
.roles("USER", "ADMIN")
.build();
return new InMemoryUserDetailsManager(user, admin);
}
}
|
First, we configure spring security to allow only admins to access the secure endpoint. Next, we set up spring security to allow all users to access the public endpoint.
Next, we build users in memory as follows:
- user 1 – username=user, password=test123, role= USER
- user 2- username=admin, password=test123, role= USER, ADMIN
Now try running the code and fire up a private window in your computer. We will be testing 2 things:
- We will log in as `user` and we should be able to access the public endpoint only. We will also see the error when we try to visit the secured endpoint.
- We will log in as `admin` and we should be able to access all endpoints. No errors.
Let’s get started:
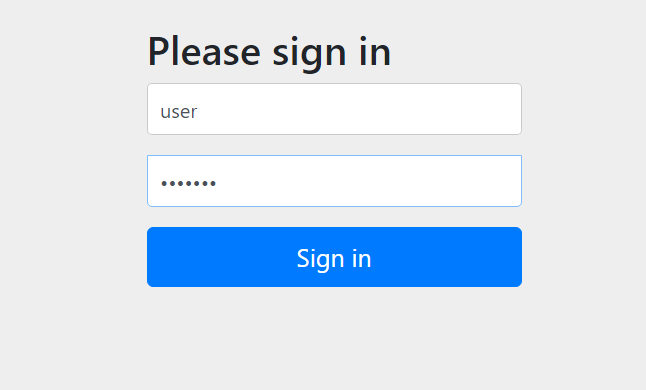
1. Login as a User
- Before implementing the Access Denied Request, login as user
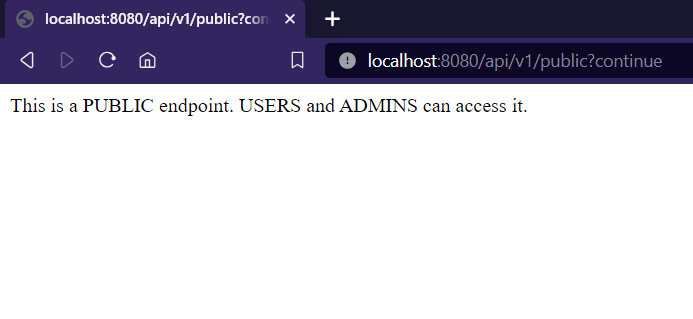
- Accessing the public endpoint after login as user
- Accessing the private/secured endpoint after login as user
2. Login as ADMIN
- Before implementing the Access Denied Request, login as Adminuser
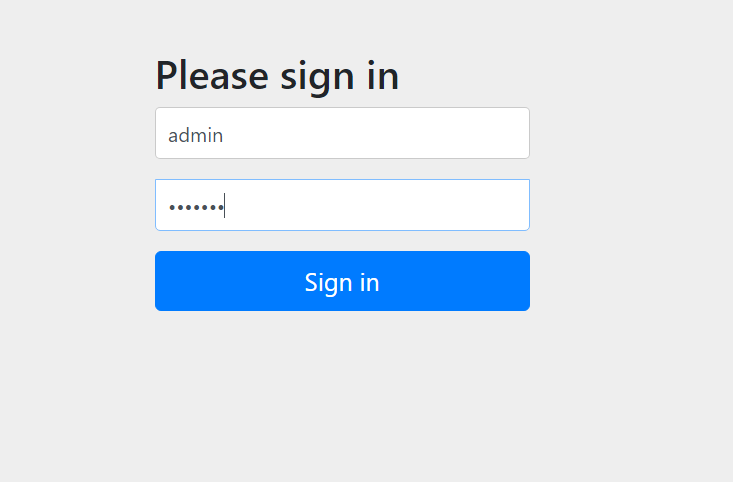
logging in as admin with elevated privileges
- Accessing the public endpoint after login as Admin

Admin can access Public endpoint
- Accessing the private/secured endpoint after login as admin
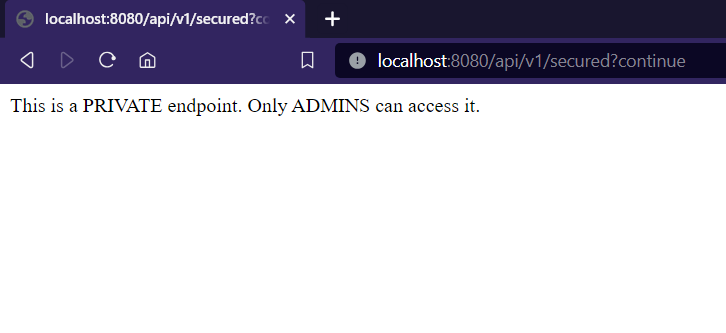
Admins can access the secured endpoint
Implementing Access Denied Error Response
Above Demonstration explains how the error occurs. Next, we want the user to know that he is trying to access a resource beyond his authority. To do this, we can edit the SecurityConfig class as follows:
Java
import org.springframework.context.annotation.Bean;
import org.springframework.context.annotation.Configuration;
import org.springframework.security.config.annotation.web.builders.HttpSecurity;
import org.springframework.security.config.annotation.web.configuration.EnableWebSecurity;
import org.springframework.security.core.userdetails.UserDetailsService;
import org.springframework.security.web.SecurityFilterChain;
@Configuration
@EnableWebSecurity
public class SecurityConfig {
@Bean
public SecurityFilterChain
securityFilterChain(HttpSecurity http) throws Exception
{
http
.authorizeHttpRequests(
authorize
-> authorize
.requestMatchers("/api/v1/secured")
.hasRole("ADMIN")
.requestMatchers("/api/v1/public")
.hasAnyRole(
"ADMIN",
"USER")
.anyRequest()
.authenticated())
.exceptionHandling(
exception
-> exception.accessDeniedPage(
"/api/v1/error"))
.formLogin(Customizer.withDefaults())
.httpBasic(Customizer.withDefaults());
return http.build();
}
@Bean public UserDetailsService users()
{
User.UserBuilder users
= User.withDefaultPasswordEncoder();
UserDetails user = users.username("user")
.password("test123")
.roles("USER")
.build();
UserDetails admin = users.username("admin")
.password("test123")
.roles("USER", "ADMIN")
.build();
return new InMemoryUserDetailsManager(user, admin);
}
}
|
Next, we create a custom controller to map “/api/v1/error”. Add the following controller to your controller class:-
Java
import org.springframework.web.bind.annotation.GetMapping;
import org.springframework.web.bind.annotation.RestController;
import org.springframework.web.bind.annotation.RequestMapping;
@RestController
@RequestMapping("/api/v1")
public class MyController {
@GetMapping("/error")
public String errorMessage() {
return "You are not authorized to access this resource.";
}
}
|
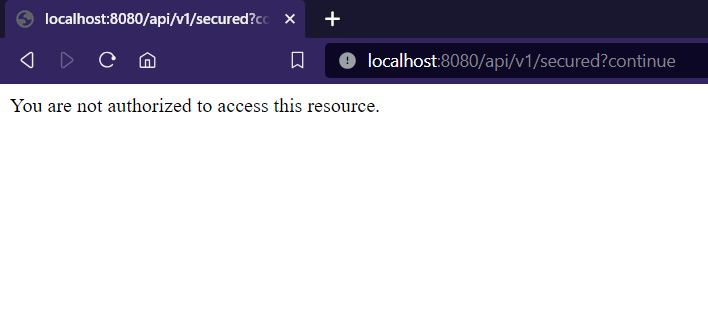
Let’s try running the code now. Remember, our goal is to be able to view a custom response indicating to the user that he isn’t allowed to access the secured URL. So let’s visit the /secured endpoint as `user` now.
- Accessing the private/secured endpoint after login as user
- Now it will not throw a whitelabel error displaying the status code 403, instead the custom error response is displayed.
Response for Access Denied Request
Share your thoughts in the comments
Please Login to comment...