How to Solve 403 Error in Spring Boot Post Request?
Last Updated :
23 Apr, 2024
Spring Boot is one of the frameworks used in developing web applications, and it provides a lot of features to solve real-time problems in software industries. In this article, we will explain how to solve the 403 error in the Spring Boot post request. This error is raised due to security configuration, authentication and authorization, and other aspects. This means when we hit related API, then the request goes to the server from the client and the request is processed by the server. The server can handle the requests if proper permissions are not granted to that request, and the request can’t access the resources.
Different Approaches to Solve 403 Error in Spring Boot Post Request
To solve this problem, we have different approaches like,
- Providing security configuration
- CSRF protection
- Authentication and Authorization
- Controller and endpoint configuration
- Cross-Origin Resource Sharing.
So to solve this 403 error in Spring Boot post request, we need to follow different approaches while handling requests from the client to or from the server.
Prerequisites:
To understand this article, we should know about the below-listed topics. Then only it becomes very easy to understand the article. We’ve also provided related examples with proper outputs for your reference.
- Spring Boot Framework
- HTTP Status Codes
- HTTP Methods
- Error Handling in Spring Boot
- Rest APIs functionality
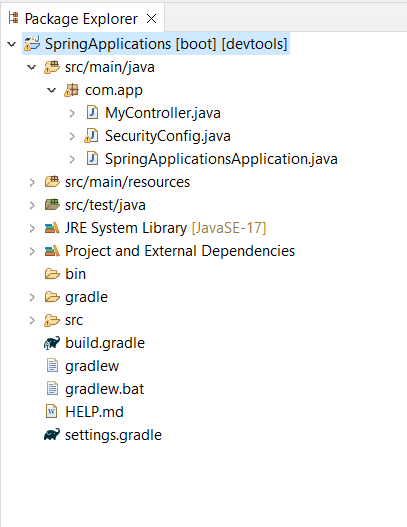
Project Folder Structure:
Below we can refer the project folder structure after successfully creating the project.
What is 403 Error?
The 403 error is known as a forbidden error. This is an HTTP status code indicating that the server understands the request but does not authorize it. This means that the server accepts the client’s request, but the client is denied access to the requested resources. Below, we provide some common reasons errors might lead to a 403 error.
- Insufficient Permissions
- Access Control Lists
- Misconfigured Security Settings
- Cross-Origin Resource Sharing
- CSRF Protection
- Resource Ownership
- Temporary or Permanent Restrictions
Steps to Implement 403 Error in Spring Boot Post Request
Below are the steps to create and solve 403 Error in Spring Boot Post Request.
Step 1:
First, create a basic Spring Boot Stater project by using Spring initializr with required project dependencies, Below are the required dependencies to Solve 403 Error in Spring Boot Post Request.
dependencies {
    implementation 'org.springframework.boot:spring-boot-starter-security'
    implementation 'org.springframework.boot:spring-boot-starter-web'
    compileOnly 'org.projectlombok:lombok'
    developmentOnly 'org.springframework.boot:spring-boot-devtools'
    annotationProcessor 'org.projectlombok:lombok'
    testImplementation 'org.springframework.boot:spring-boot-starter-test'
    testImplementation 'org.springframework.security:spring-security-test'
}
main class method:
Java
package com.app;

import org.springframework.boot.SpringApplication;
import org.springframework.boot.autoconfigure.SpringBootApplication;

@SpringBootApplication
public class SpringApplicationsApplication {

    public static void main(String[] args) {
        SpringApplication.run(SpringApplicationsApplication.class, args);
    }
}
Step 2:
- Now, we created one java class in the main package of the project.
- And In that class, we define one PostMapping method for creating API end point by using @PostMapping Spring Annotation.
- And also created one method i.e. postExample() and this method take a string as input by using @RequestBody Spring Annotation.
Java
package com.app;

import org.springframework.web.bind.annotation.PostMapping;
import org.springframework.web.bind.annotation.RequestBody;
import org.springframework.web.bind.annotation.RestController;

@RestController
public class MyController {

    // Endpoint to handle POST requests to "/api/example"
    @PostMapping("/api/example")
    public String postExample(@RequestBody String data) {
        // Return a response with received data
        return "Received data: " + data;
    }
}
Step 3:
- Now, we created one more java class in main package.
- This is used for security configuration purpose means it can handle all requests types and this configuration class provides access to the different clients like user, admin and other.
- This configuration class is created by using @Configuration and @EnableWebSecurity Spring Annotations.
Java
package com.app;

import org.springframework.context.annotation.Configuration;
import org.springframework.http.HttpMethod;
import org.springframework.security.config.annotation.web.builders.HttpSecurity;
import org.springframework.security.config.annotation.web.configuration.EnableWebSecurity;
import org.springframework.security.config.annotation.web.configuration.WebSecurityConfigurerAdapter;

@Configuration
@EnableWebSecurity
public class SecurityConfig extends WebSecurityConfigurerAdapter {

    @Override
    protected void configure(HttpSecurity http) throws Exception {
        // Configure HTTP security
        http
            .authorizeRequests()
                // Allow only users with role ADMIN to access POST requests to "/api/example"
                .antMatchers(HttpMethod.POST, "/api/example").hasRole("ADMIN")
                // Allow all other requests to be accessed by anyone
                .anyRequest().permitAll()
                .and()
            // Configure form-based authentication
            .formLogin()
                .and()
            // Configure HTTP Basic authentication
            .httpBasic();
    }
}
Step 4:
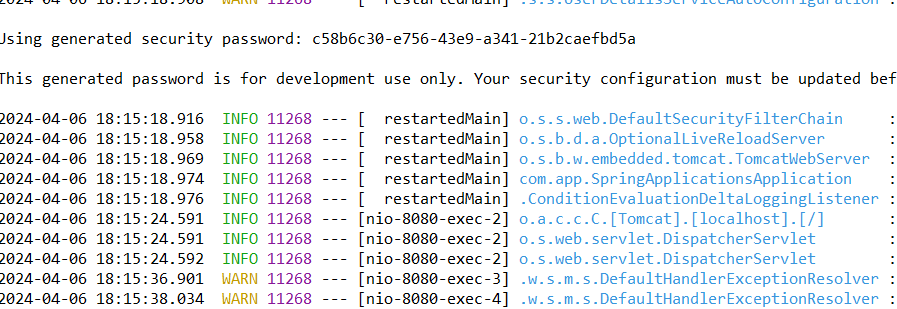
- Once required logic is developed, then run this project as Spring Boot Application.
- After this, hit the required APIs and this application will be running on 8080 port by using Apache Tomcat server.
Step 5:
After running the project, open the Post Man tool and hit the API. Then we will get the below output.
http://localhost:8080/api/example
Output: 403 Forbidden Error

Solve 403 Error in Spring Boot Post Request
We have different approaches to troubleshoot and solve a 403 error in a Spring Boot POST request.
- Check Security Configuration: Our security configuration is set up correctly in our Spring Boot Application. We need verify there is restrictions or miss configurations that might be causing to 403 error.
- CSRF Protection: Make sure our that CSRF protection is properly configured. And Spring Boot security requires CSRF tokens to be included in the POST request by default If out request miss the CSRF token then It might result in a 403 error. We can include the CSRF token in the request header section by default.
- Authentication and Authorization: Check if your Spring Boot application requires authentication permissions to access this application. With out Authentication and Authorization permission might be leads 403 error. To solve this Review your authentication and authorization settings to make sure they align with your requirements.
- Request Headers: Double check the headers being sent with your POST request. Ensure that any required headers, such as authentication tokens or content type headers, are included and correctly formatted.
- Controller and Endpoint Configuration: Needs to review the controller layer and end points in our Spring Boot Application to ensure they match with intended functionality. And one more thing is check if end point have permission to access the resources via POST request.
- Cross-Origin Resource Sharing: If you are making CORS request. ensure that CORS is properly configured or not on the server side to allow the post requests from the client. If not CORS configuration leads to 403 error.
Now we will create one more API end point to solve the 403 error in Spring Boot Post Request. Now, open the MyController and created a postOk API endpoint with post mapping.
Java
package com.app;

import org.springframework.http.ResponseEntity;
import org.springframework.web.bind.annotation.PostMapping;
import org.springframework.web.bind.annotation.RequestBody;
import org.springframework.web.bind.annotation.RestController;

@RestController
public class MyController {

    // Endpoint to handle POST requests to "/api/example"
    @PostMapping("/api/example")
    public String postExample(@RequestBody String data) {
        // Return a response with received data
        return "Received data: " + data;
    }

    // Endpoint to handle POST requests to "/api/success"
    @PostMapping("/api/success")
    public ResponseEntity<String> postOk(@RequestBody String data) {
        // Create a response message with received data
        String responseMessage = "Received data: " + data;
        // Return an HTTP 200 OK response with the response message
        return ResponseEntity.ok().body(responseMessage);
    }
}
Now, we will test this API in Postman tool.
Output: 200 OK

We got the output 200 Ok http status code. Here, we used the Check Security Configuration Approach to solve 403 Error. In this way, we can solve 403 Forbidden Error in Spring Boot Post Request.
Share your thoughts in the comments
Please Login to comment...