Spring Boot – Customize Whitelabel Error Page
Last Updated :
08 Dec, 2023
In the Spring Boot ecosystem, when there is no custom error page to handle a specific error, Spring Boot by default handles the error with the help of the Whitelabel error page.

This is the default Whitelabel error page. We can also customize this whitelabel error page. In this article, let us discuss some approaches to customize this Whitelabel error page.
Note: We can disable the Whitelabel Error Page by setting the server.error.whitelabel.enabled property to false.
server.error.whitelabel.enabled=false
IDE Setup for the Project
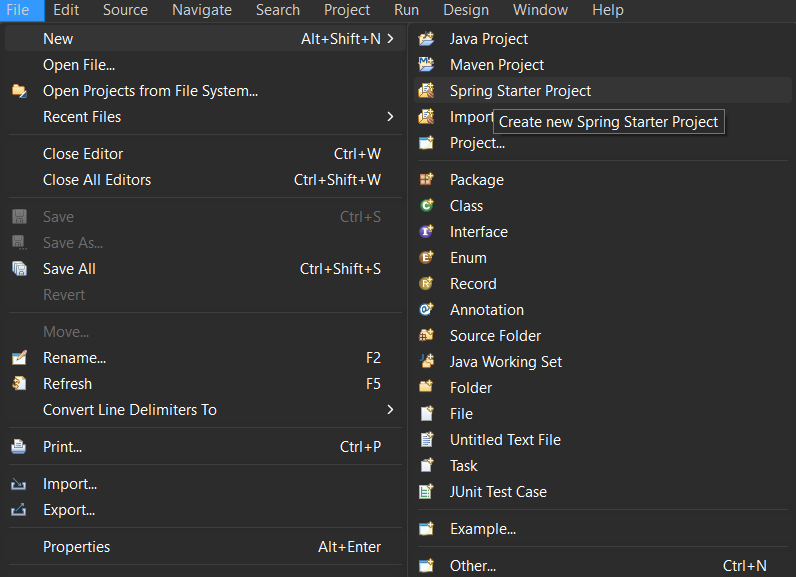
Let us set up our IDE by creating the Spring Boot project. To create a Spring Boot Project, Navigate to the File menu > New > Others > Spring Starter Project
Configure the project according to your requirements.
Note: Here, Java version 8, Maven build management tool and Eclipse IDE used for Java and Web Developers 2023-06

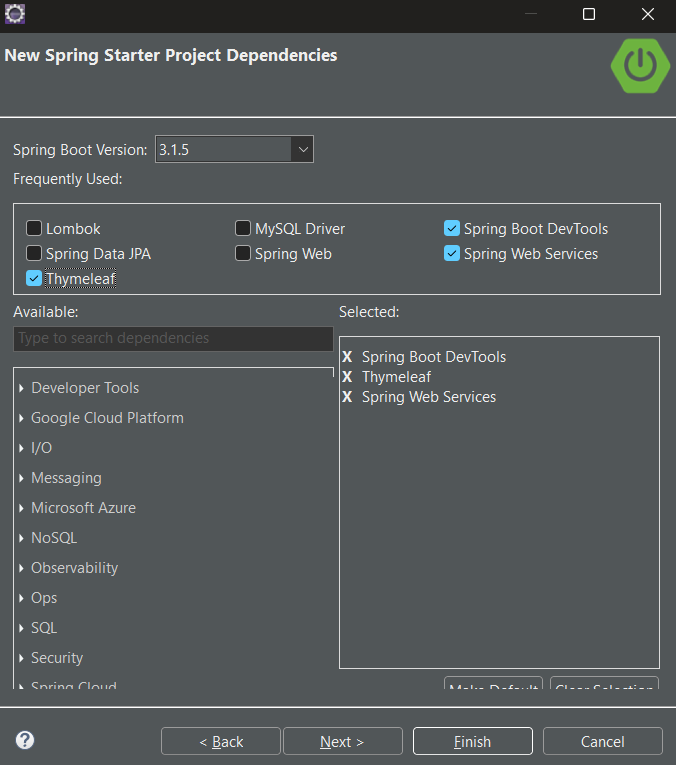
We can also add the following dependencies within a click while setting up the project.
Required dependencies
Spring Boot DevTools
Thymeleaf
Spring Web Services
And once you have added these dependencies, click ‘finish‘ the project will be created.
Project Setup for the Application
Step 1: Adding dependencies
Once the project is created, let us configure our pom.xml file (If you are using Maven) by adding the required dependencies.
spring-boot-starter-web-services: To handle HTTP methods and endpoints
<dependency>
    <groupId>org.springframework.boot</groupId>
    <artifactId>spring-boot-starter-web-services</artifactId>
</dependency>
spring-boot-starter-thymeleaf: Thymeleaf is a template engine and gives a more structured format for the templates.
<dependency>
    <groupId>org.springframework.boot</groupId>
    <artifactId>spring-boot-starter-thymeleaf</artifactId>
</dependency>
spring-boot-devtools: It is an optional dependency but provides many development tools and features to build applications.
<dependency>
    <groupId>org.springframework.boot</groupId>
    <artifactId>spring-boot-devtools</artifactId>
    <scope>runtime</scope>
    <optional>true</optional>
</dependency>
Step 2: Creating the resources
Once the pom.xml file is configured, Let us create the resources.
- Navigate to the `src/main/resources` folder in the project structure. Inside that, create a folder named `templates` to store the HTML templates. Now, create a custom error page with a `.html` extension. For instance, I have named the HTML template as `error_page`.html.
- Now, write your customized logic with which you want to override the default whitelabel error page.
error_page.html:
HTML
<!DOCTYPE html>
<html>
<head>
<title>Error</title>
</head>
<body>
<h1>Custom Error Page</h1>
<p>Something went wrong. Please try again later.</p>
</body>
</html>
|
Step 3: Overriding the default properties
- By default, Spring Boot uses the `application.properties` or `application.yml` file to set the properties of an application. To override any default behavior the of Spring Boot application, we can add and configure the properties in these files according to your build management tool. By default, Spring Boot uses the Whitelabel error page. To override this behavior let us configure some properties.
- Copy and paste the following properties in the `application.properties` (if you are using Maven)
//This property is used to indicate the path of our template
spring.mvc.view.prefix=/templates/
//This property is used to indicate the extension or type of the templates
spring.mvc.view.suffix=.html
//This property set to false indicates that the we don’t want to use the default whitelabel error page server.error.whitelabel.enabled=false
//This property is used to specify the path of our error page
server.error.path=/error
Step 4: Creating the Controller class
Let us create the Controller class of our project. To do that, navigate to the default package of our project. Create a sub-package named `controller` and inside the controller package create the controller class. For instance, I have named the controller class as `ControllerClass.java`.
Java
package com.example.demo.controller;
import org.springframework.boot.web.servlet.error.ErrorController;
import org.springframework.stereotype.Controller;
import org.springframework.web.bind.annotation.GetMapping;
@Controller
public class ControllerClass implements ErrorController {
@GetMapping("/error")
public String handleError() {
return "error_page";
}
}
|
Explanation for creating the controller class:
In the above code, our ControllerClass implements the `ErrorController` to render errors. In the class, we have defined a `handleError` method which is annotated with `@GetMapping` specified with the endpoint `/error` and returning the template `error_page`.
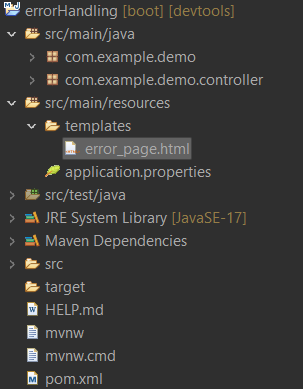
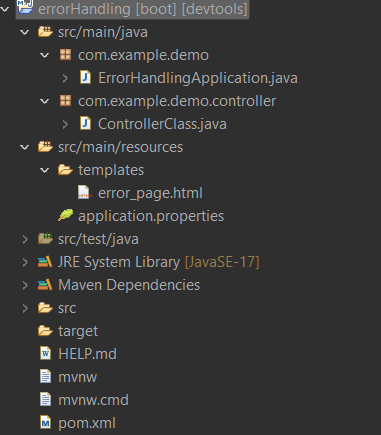
Project Structure
Ensure that your project is in the following project structure.
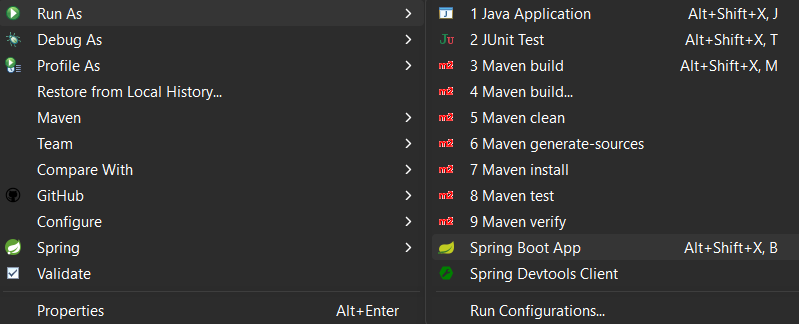
Steps to run the application
To run the application, right-click on the project > Run as > Spring Boot App.
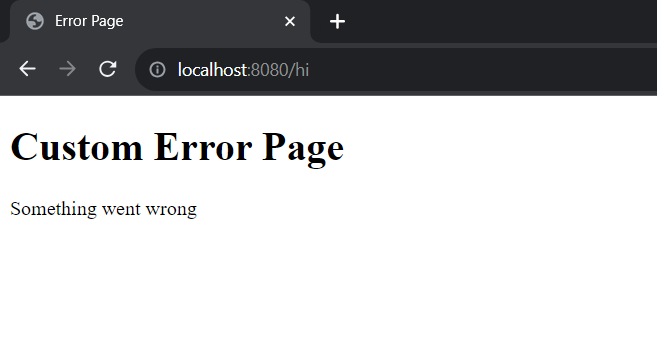
Output of the Custom Error Page:
Try giving any path that is not handled in the controller class. It will show the custom error page.
Share your thoughts in the comments
Please Login to comment...