Selenium WebDriver-Installation
Last Updated :
21 Sep, 2023
Selenium WebDriver is a powerful tool for automating web applications for testing purposes. It allows developers and testers to write automated tests in various programming languages like Java, Python, C#, etc. Also, it supports different browsers like Firefox, Chrome, Edge, etc. for testing.
Approach
Follow the below steps to install the web driver:
- Download and Install Java.
- Download and set up Eclipse.
- Install the Selenium WebDriver Java Client.
- Configure Selenium WebDriver by adding the downloaded JAR files to your Java project in the IDE.
Implementation
Step 1: Setup Environment
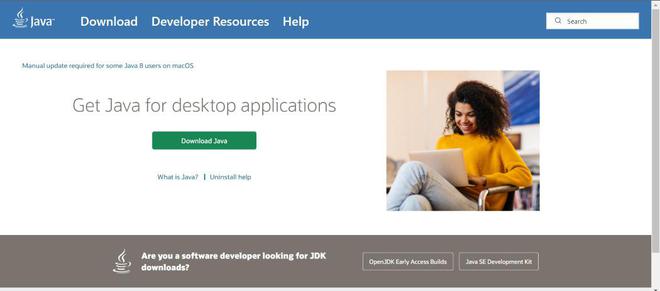
1. Install Java on your system, download the latest version of Java from here. Also, set up the environmental variable.
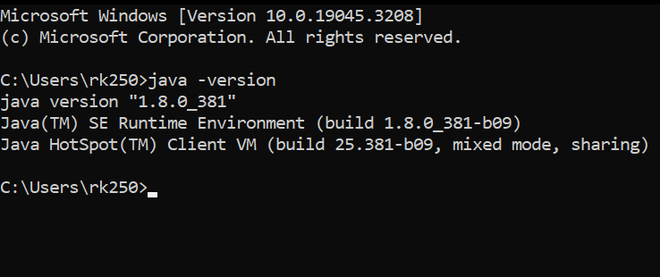
2. After installing Java on your system or already installing, verify the installation by opening a command prompt and typing:
java -version
3. Install Eclipse IDE on your system. Download the latest version of Eclipse from here.

Step 2: Installing Selenium WebDriver
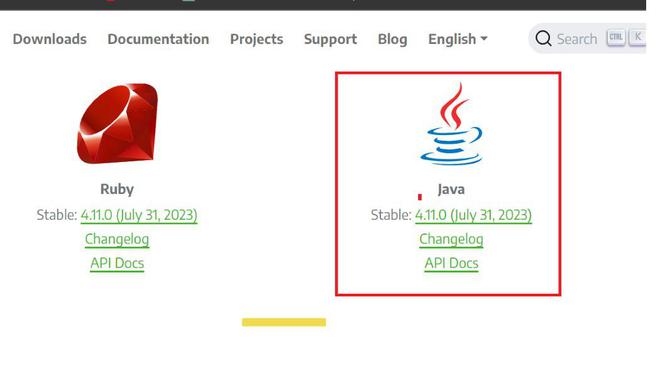
1. Install Selenium WebDriver for Java on your system. Download the latest version of Selenium WebDriver for Java from here. Download the Zip file.
2. Extract the ZIP file to the desired folder.
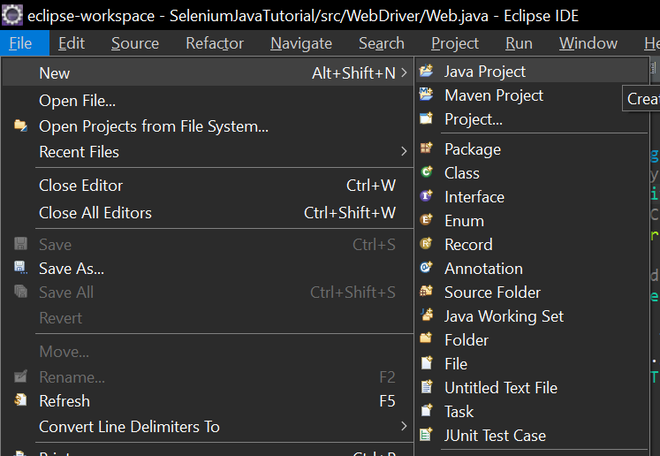
3. Launch Eclipse and select File -> New -> Java Project. Enter a name for your project (e.g., SeleniumTest) and click Finish.
4. Right-click on your project in Package Explorer and select Properties.

5. Select Java Build Path from the left panel and click on the Libraries tab and then select Classpath.
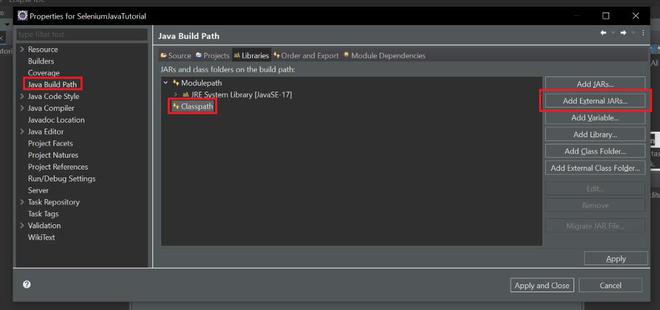
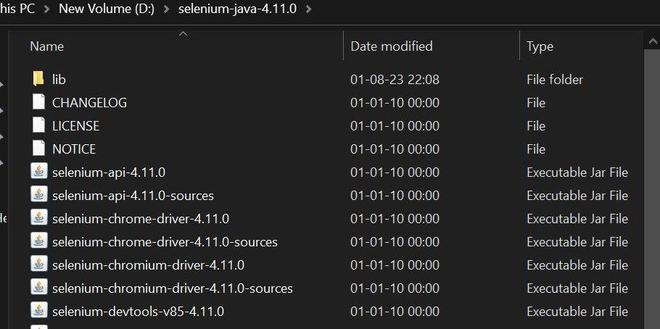
6. Click on Add External JARs and browse to the location where you downloaded and extracted the zip file of the Selenium WebDriver library (e.g., selenium-java-4.1.0).
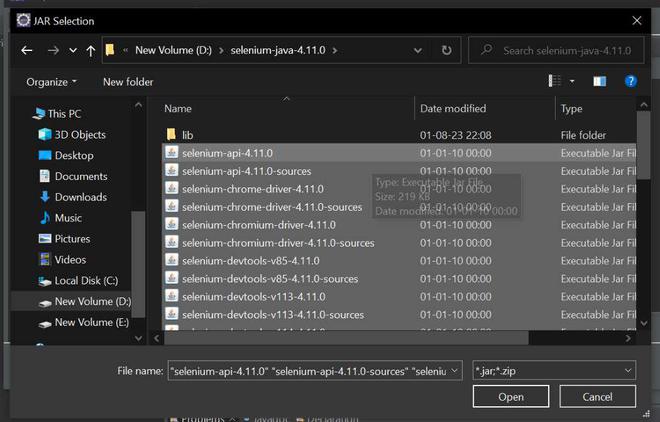
7. Select all the JAR files inside the zip file and click Open and also all the files inside the lib folder.
(D:\selenium-java-4.11.0, D:\selenium-java-4.11.0\lib). . Click Apply and Close to save the changes.

8. Verify that selenium is configured. Click on ‘SeleniumTest’->Reference Libraries.
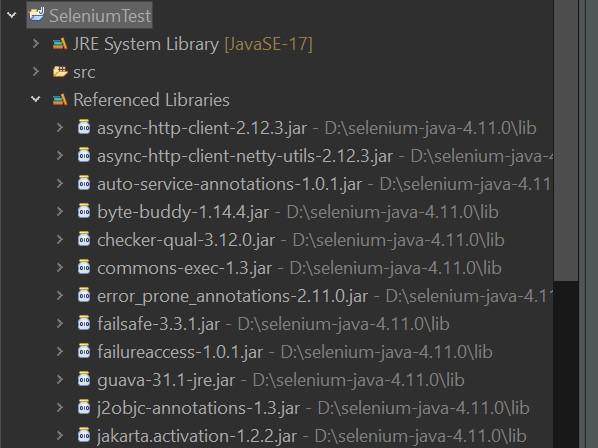
Hence, successfully installed Selenium WebDriver and now eclipse is ready to write the test script and automate web applications for testing.
Share your thoughts in the comments
Please Login to comment...