OpenMP | Introduction with Installation Guide
Last Updated :
01 Nov, 2023
After a long thirst for parallelizing highly regular loops in matrix-oriented numerical programming, OpenMP was introduced by
OpenMP Architecture Review Board (ARB) on 1997
. In the subsequent releases, the enthusiastic OpenMP team added many features to it including the task parallelizing, support for accelerators, user-defined reductions and lot more. The latest
OpenMP 5.0
release was made in 2018 November.
Open Multi-processing (OpenMP)
is a technique of parallelizing a section(s) of C/C++/Fortran code. OpenMP is also seen as an extension to C/C++/Fortran languages by adding the parallelizing features to them. In general, OpenMP uses a
portable
,
scalable
model that gives programmers a simple and flexible interface for developing parallel applications for platforms that ranges from the normal desktop computer to the high-end supercomputers.
THREAD Vs PROCESS
A process is created by the OS to execute a program with given resources(memory, registers); generally, different processes do not share their memory with another. A thread is a subset of a process, and it shares the resources of its parent process but has its own stack to keep track of function calls. Multiple threads of a process will have access to the same memory.
Parallel Memory Architectures
Before getting deep into OpenMP, let’s revive the basic parallel memory architectures. These are divided into three categories;
- Shared memory:
 OpenMP comes under the shared memory concept. In this, different CPU’s (processors) will have access to the same memory location. Since all CPU’s connect to the same memory, memory access should be handled carefully.
- Distributed memory:
 Here, each CPU(processor) will have its own memory location to access and use. In order to make them communicate, all independent systems will be connected together using a network. MPI is based on distributed architecture.
- Hybrid: Hybrid is a combination of both shared and distributed architectures. A simple scenario to showcase the power of OpenMP would be comparing the execution time of a normal C/C++ program and the OpenMP program.
Steps for Installation of OpenMP
- STEP 1: Check the GCC version of the compiler
gcc --version
GCC provides support for OpenMP starting from its version 4.2.0. So if the system has GCC compiler with the version higher than 4.2.0, then it must have OpenMP features configured with it. 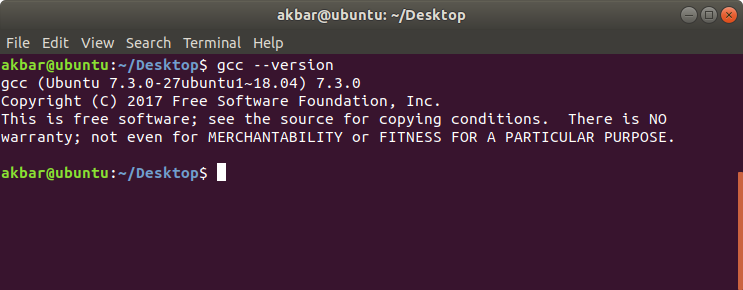 If the system doesn’t have the GCC compiler, we can use the following command
sudo apt install gcc
For more detailed support for installation, we can refer here
- STEP 2: Configuring OpenMP We can check whether the OpenMP features are configured into our compiler or not, using the command
echo |cpp -fopenmp -dM |grep -i open
 If OpenMP is not featured in the compiler, we can configure it use using the command
sudo apt install libomp-dev
- STEP 3: Setting the number of threads In OpenMP, Before running the code, we can initialise the number of threads to be executed using the following command. Here, we set the number of threads to be getting executed to be 8 threads.
export OMP_NUM_THREADS=8
Running First Code in OpenMP
C
#include <omp.h>
#include <stdio.h>
#include <stdlib.h>
int main(int argc, char* argv[])
{
int nthreads, tid;
#pragma omp parallel private(nthreads, tid)
{
tid = omp_get_thread_num();
printf("Welcome to GFG from thread = %d\n",
tid);
if (tid == 0) {
nthreads = omp_get_num_threads();
printf("Number of threads = %d\n",
nthreads);
}
}
}
|
Output:
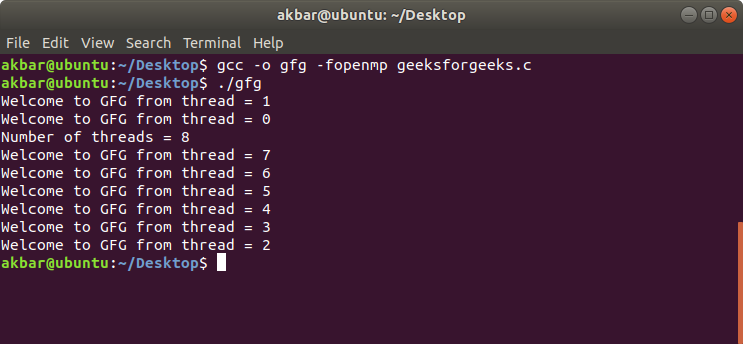
This program will print a message which will be getting executed by various threads.
Compile:
gcc -o gfg -fopenmp geeksforgeeks.c

Execute:
./gfg
Share your thoughts in the comments
Please Login to comment...