Node.js Securing Apps with Helmet.js
Last Updated :
08 Oct, 2021
Helmet.js is a Node.js module that helps in securing HTTP headers. It is implemented in express applications. Therefore, we can say that helmet.js helps in securing express applications. It sets up various HTTP headers to prevent attacks like Cross-Site-Scripting(XSS), clickjacking, etc.
Why security of HTTP headers are important: Sometimes developers ignore the HTTP headers. Since HTTP headers can leak sensitive information about the application, therefore, it is important to use the headers in a secure way.
Node-Modules included in Helmet.js are: Helmet.js comes with more built-in modules for increasing the security of the Express application.
- Content-Security-Policy: It sets up the Security Policy.
- Expect-CT: It is used for handling Certificate Transparency.
- X-DNS-Prefetch-Control: It is used for controlling the fetching of browser DNS.
- X-Frame-Options: It is used to prevent ClickJacking.
- X-Powered-By: It is used to remove X-Powered-By header. X-Powered-By header leaks the version of the server and its vendor.
- Public-Key-Pins: It is used for HTTP public key pinning.
- Strict-Transport-Security: It is used for HTTP Strict Transport policy.
- X-Download-Options: It restricts to various Download-Options.
- Cache control: It is used for disabling Client-Side caching.
- X-Content-Type-Options: It is used to prevent the Sniffing attack.
- Referrer-Policy: It is used to hide the referrer header.
- X-XSS-Protection: It is used to add protection to XSS attacks.
How to inspect HTTP Header: For inspecting the header, first right-click on a page that you want to inspect. Now, click on inspect element. After that open the Network tab. The network tab will look like this:
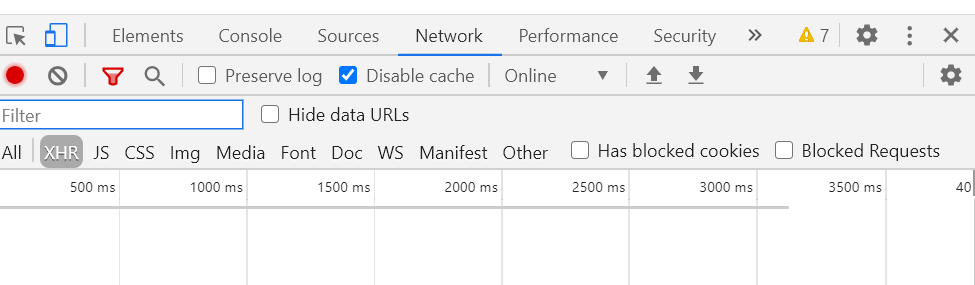
It will be empty at first. In the network tab, all the HTTP requests made by the browser will be shown up.
Pre-requisites:
- An IDE of your choice.
- Node.js installed in your system.
- Knowledge of Node.js and express applications.
Setting up a basic express application:
- First initialize the application with package.json file. Write the following command:
npm init
- Install express module by using the following command:
npm install express --save
Shown below is our package.json file:
{
  "name": "HelmetJs",
  "version": "1.0.0",
  "description": "",
  "main": "index.js",
  "scripts": {
    "test": "echo \"Error: no test specified\" && exit 1"
  },
  "author": "Pranjal Srivastava",
  "license": "ISC",
  "dependencies": {
    "express": "^4.17.1",
  }
}
- Create a file in which we will write our javascript code. For example, app.js. You can name your file whatever you want. Now, write the following code for setting up the server:
const express = require('express');
const app = express();
app.get('/', (req, res) => {
res.send("This is the Demo page for"
+ " setting up express server !")
});
app.listen(3000, (err) => {
if (err) { console.log(err); }
else { console.log('Server started "
});
|
- Run app.js file with the following command:
node app.js
The output of above command is shown below:
Server started at http://localhost:3000
- Open the browser and go to http://localhost:3000. Again open the Network tab and there you will see the list of requests made by the browser. Select the localhost requests and you will see the list of response headers like this:
HTTP/1.1 304 Not Modified
X-Powered-By: Express
ETag: W/"35-QqeUaYjSJ35gtyT3DcgtpQlitTU"
Date: Thu, 04 Jun 2020 15:55:00 GMT
Connection: keep-alive
Setting up and implementing Helmet.js in an express application:
-
For installing the helmet.js module, write the following command:
npm install helmet --save
-
In app.js file, write the following code to make use of helmet module:
const express = require('express');
const helmet = require('helmet');
const app = express();
app.use(helmet());
app.get('/', (req, res) => {
res.send("This is the Demo page for"
+ " setting up express server !")
});
app.listen(3000, (err) => {
if (err) { console.log(err); }
else { console.log('Server started "
});
|
-
Start the server with the following command:
node app.js
- Open the Network tab by clicking on Inspect Element. Click on localhost and you will notice an additional set of headers in response. The headers are as follows:
HTTP/1.1 304 Not Modified
X-DNS-Prefetch-Control: off
X-Frame-Options: SAMEORIGIN
Strict-Transport-Security: max-age=15552000; includeSubDomains
X-Download-Options: noopen
X-Content-Type-Options: nosniff
X-XSS-Protection: 1; mode=block
ETag: W/"35-QqeUaYjSJ35gtyT3DcgtpQlitTU"
Date: Thu, 04 Jun 2020 16:11:37 GMT
Connection: keep-alive
Here, the new set of headers are applied by our helmet.js module. These headers are added for an additional level of security.
Conclusion: Helmet.js module is very useful for NodeJs developers as it adds security to the express applications. In this tutorial, we learned about helmet.js and seen its implementation in a basic express application.
Share your thoughts in the comments
Please Login to comment...