Loading Data in Pytorch
Last Updated :
24 Apr, 2023
In this article, we will discuss how to load different kinds of data in PyTorch.
For demonstration purposes, Pytorch comes with 3 divisions of datasets namely torchaudio, torchvision, and torchtext. We can leverage these demo datasets to understand how to load Sound, Image, and text data using Pytorch.
Torchaudio Dataset
Loading demo yes_no audio dataset in torchaudio using Pytorch.
Yes_No dataset is an audio waveform dataset, which has values stored in form of tuples of 3 values namely waveform, sample_rate, labels, where waveform represents the audio signal, sample_rate represents the frequency and label represent whether Yes or No.
- Import the torch and torchaudio packages. (Install using pip install torchaudio, if necessary)
- Use the torchaudio function with the datasets accessor, followed by the dataset name.
- Now, pass the path in which the dataset has to be stored and specify download = True to download the dataset. Here, ‘./’ specifies the root directory.
- Now, iterate over the loaded dataset using a for loop, and access the 3 values stored in a tuple to see the sample of the dataset.
To load your custom data:
Syntax: torch.utils.data.DataLoader(data, batch_size, shuffle)
Parameters:
- data – audio dataset or the path to the audio dataset
- batch_size – for large dataset, batch_size specifies how much data to load at once
- shuffle – a bool type. Setting it to True will shuffle the data.
Python3
import torch
import torchaudio
yesno_data = torchaudio.datasets.YESNO('./',
download=True)
for i in range(5):
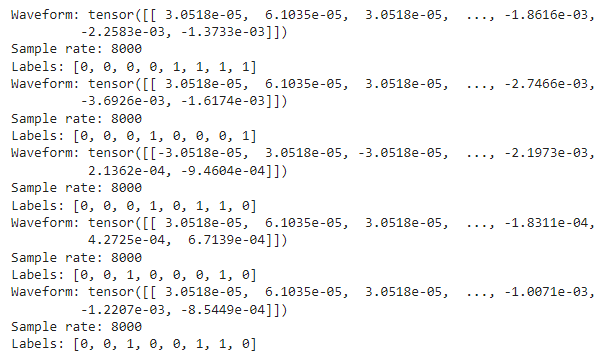
waveform, sample_rate, labels = yesno_data[i]
print("Waveform: {}\nSample rate: {}\nLabels: {}".format(
waveform, sample_rate, labels))
|
Output:
Torchvision Dataset
Loading demo ImageNet vision dataset in torchvision using Pytorch. Click here to download the dataset by signing up.
Python3
import torch
import torchvision
imagenet_data = torchvision.datasets.ImageNet('path/to/imagenet_root/')
|
Code Explanation:
- The procedure is almost the same as loading the audio data.
- Here, instead of torchaudio, torchvision has to be imported.
- Use the torchvision function with the datasets accessor, followed by the dataset name.
- Now, pass the path in which the dataset is present. Since the ImageNet dataset is no longer publicly accessible, download the root data in your local system and pass the path to this function. This will comfortably load the vision data.
To load your custom image data, use torch.utils.data.DataLoader(data, batch_size, shuffle) as mentioned above.
Python3
from torchvision import transforms, datasets
import matplotlib.pyplot as plt
data_dir = r'path to dataset\train'
transform = transforms.Compose(
[transforms.Resize(255),
transforms.CenterCrop(224),
transforms.ToTensor()])
dataset = datasets.ImageFolder(data_dir,
transform=transform)
dataloader = torch.utils.data.DataLoader(dataset,
batch_size=32,
shuffle=True)
images, labels = next(iter(dataloader))
print('Number of samples: ', len(images))
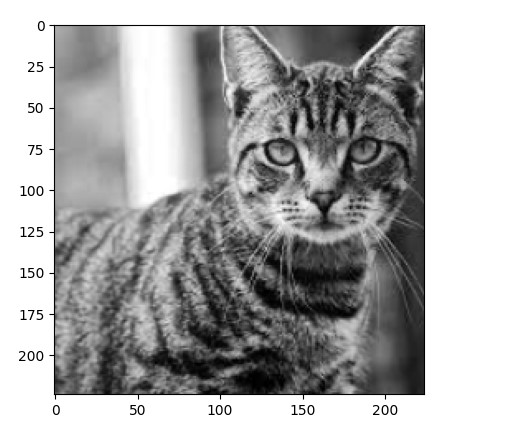
image = images[2][0]
plt.imshow(image, cmap='gray')
print("Image Size: ", image.size())
print(label)
|
Output:
Image size: torch.Size([224,224])
tensor([0, 0, 0, 1, 1, 1])
Torchtext Dataset
Loading demo IMDB text dataset in torchtext using Pytorch. To load your custom text data we use torch.utils.data.DataLoader() method.
Syntax: torch.utils.data.DataLoader(‘path to/imdb_data’, batch_size, shuffle=True)
Code Explanation:
- The procedure is almost the same as loading the image and audio data.
- Here, instead of torchvision, torchtext has to be imported.
- Use the torchtext function with the datasets accessor, followed by dataset name (IMDB).
- Now, pass the split function to the torchtext function to split the dataset to train and test data.
- Now define a function to split each line in the corpus to separate tokens by iterating each line in the corpus as shown. In this way, we can easily load text data using Pytorch.
Python3
import torch
import torchtext
text_data = torchtext.datasets.IMDB(split='train')
def tokenize(label, line):
return line.split()
tokens = []
for label, line in text_data:
tokens += tokenize(label, line)
print('The total no. of tokens in imdb dataset is',
len(tokens))
|
Output:

Share your thoughts in the comments
Please Login to comment...