Laravel | MySQL Database Connection
Last Updated :
30 Dec, 2019
The database is an important element in any application. Laravel by default provides the support of MySQL. MySQL is a well known, open-source RDBMS (Relational Database Management System).
Process for Connecting to the Database:
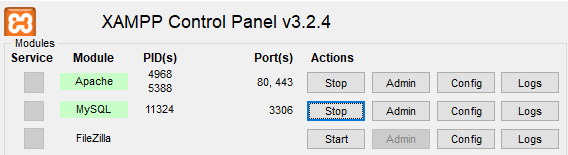
- Step 1: First we have to create a database. So, we will start Apache and MySQL server form XAMPP Control Panel.
- Step 2: Open any web browser, like Chrome, and type localhost/phpmyadmin in URL.
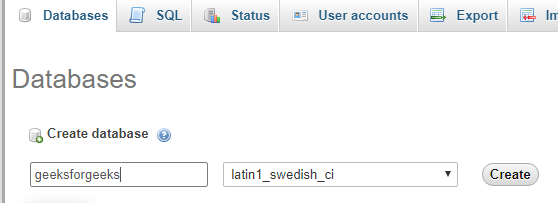
- Step 3: Now, click on the Databases tab and there, write the database named as geeksforgeeks and click on create.
- Step 4: Now, you will have to find a file named .env, where you will have to specify the details for the MySQL server, like database name, username, etc. In that file, you will have to search for names starting with DB_.
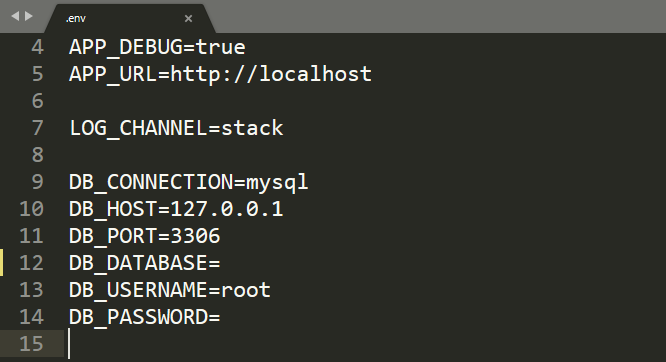
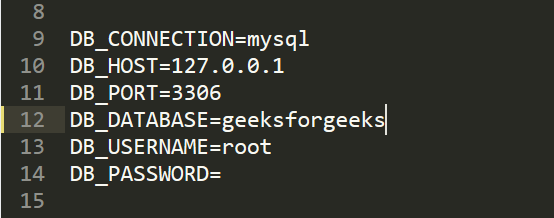
- Step 5: In that, you will find the DB_CONNECTION=mysql line. Below this are all the details specified for the database connection. You will have to specify the database name geeksforgeeks, that we created, after DB_DATABASE= and also specify username and password according to your need. Then save the file.
- Step 6: Now, we will create a View in resources/views directory with the name gfg.blade.php. Write the below code in the file.
<!DOCTYPE html>
<html>
<head>
<title>GeeksforGeeks</title>
<style>
div {
font-size: 22px;
}
</style>
</head>
<body>
<div>
<?php
if(DB::connection()->getPdo())
{
echo "Successfully connected to the database => "
.DB::connection()->getDatabaseName();
}
?>
</div>
</body>
</html>
|
- Step 7: Write the following route in the ‘web.php’ file in ‘routes’ directory.
Route::get('gfg', function () {
    return view('gfg');
});
- Step 8: Now, run the following Laravel artisan command to start the server:
php artisan serve
- Step 9: And now, open the provided URL by the artisan in the browser with /gfg at the end.
http://127.0.0.1:8000/gfg
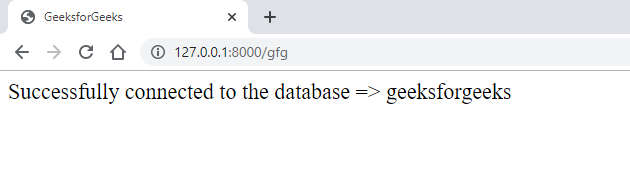
If the connection is successful then the message will appear as above or it will give an error as below:

Custom Error Message: If you don’t want Laravel to handle it and give a predefined message then you can use try . . . catch block as shown below or can directlyreplace the step 6 codes with this lines of code:
<!DOCTYPE html>
<html>
<head>
<title>GeeksforGeeks</title>
<style>
div {
font-size: 22px;
}
</style>
</head>
<body>
<div>
<?php
try {
if(DB::connection()->getPdo())
{
echo "Successfully connected to the database => "
.DB::connection()->getDatabaseName();
}
}
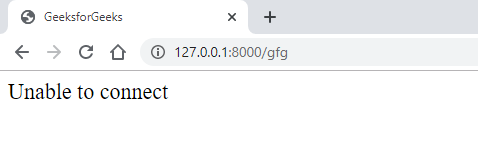
catch (Exception $e) {
echo "Unable to connect";
}
?>
</div>
</body>
</html>
|
Here, if unsuccessful then will print the message written in the catch block:
Reference: https://laravel.com/docs/6.x/database
Share your thoughts in the comments
Please Login to comment...