Installation of PyCharm
Last Updated :
02 Oct, 2023
To make the most of Python’s capabilities, you need a powerful Integrated Development Environment (IDE) that can streamline your coding process. PyCharm, developed by JetBrains, is one such IDE that has gained immense popularity among Python developers. In this article, we’ll walk you through the process of installing PyCharm on your system, whether you’re using Windows, macOS, or Linux.
Installation of PyCharm in Windows
Follow these steps to install PyCharm on a Windows system:
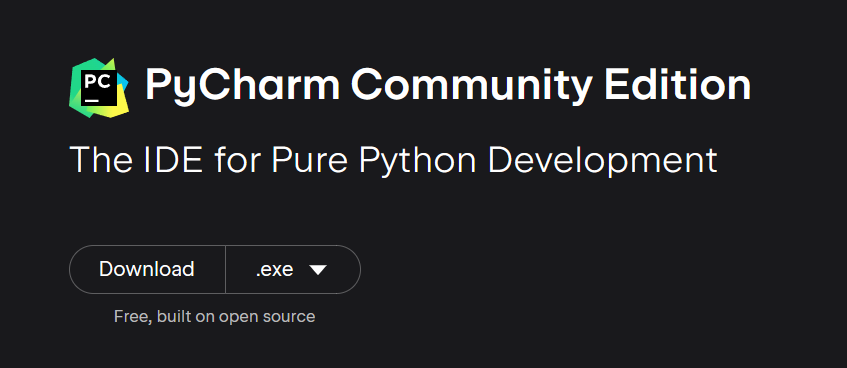
Download PyCharm: Go to the JetBrains website (https://www.jetbrains.com/pycharm/download/) and download the installer for the Community or Professional edition, depending on your preference.
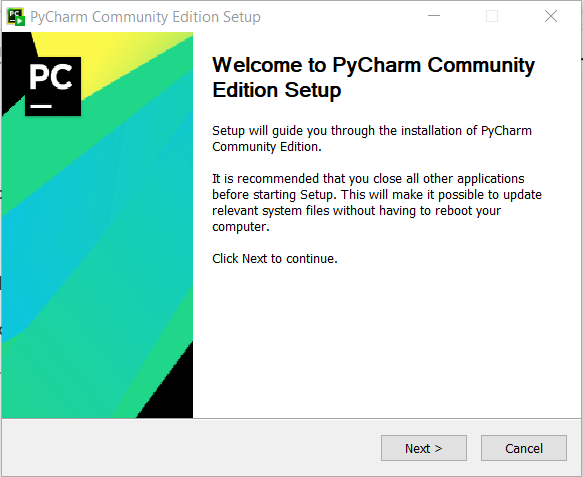
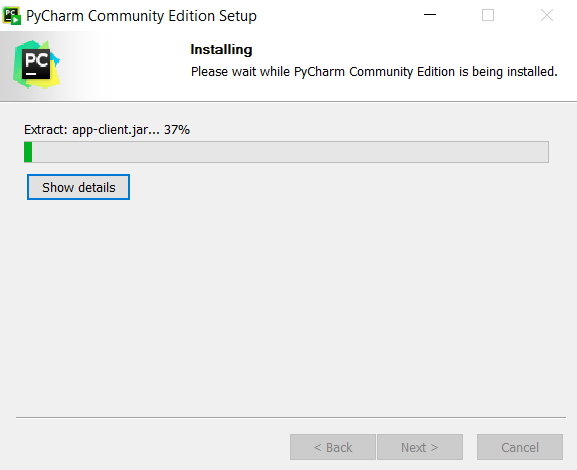
Run the Installer: Locate the downloaded file and run the installer. Follow the on-screen instructions, and PyCharm will be installed on your system.
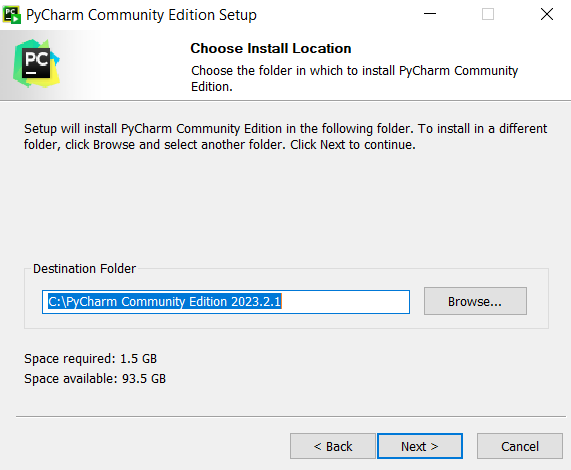
Choose the file Location
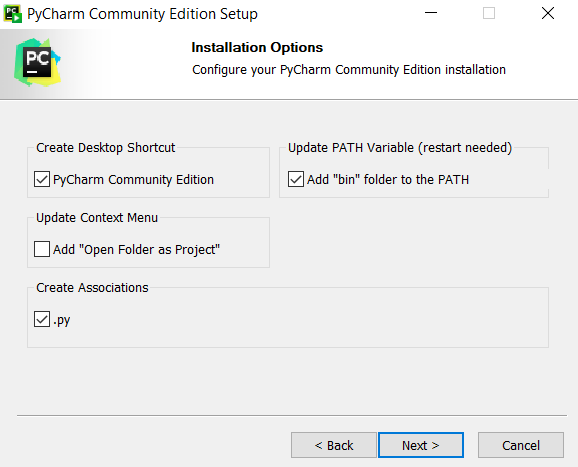
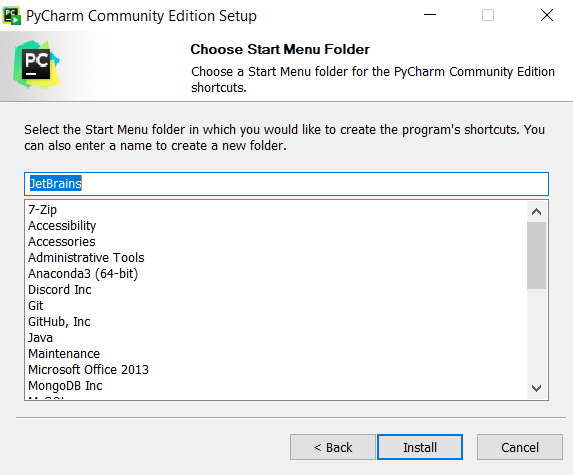
Installation Option: In this you have to select option according to your need, As here we created shortcut, Added PyCharm to the PATH, and selected .py to create a default python file when a project will be created.
Choose folder name where your project will be saved as default.
Now it will download the PyCharm.
Accept the Aggrement.

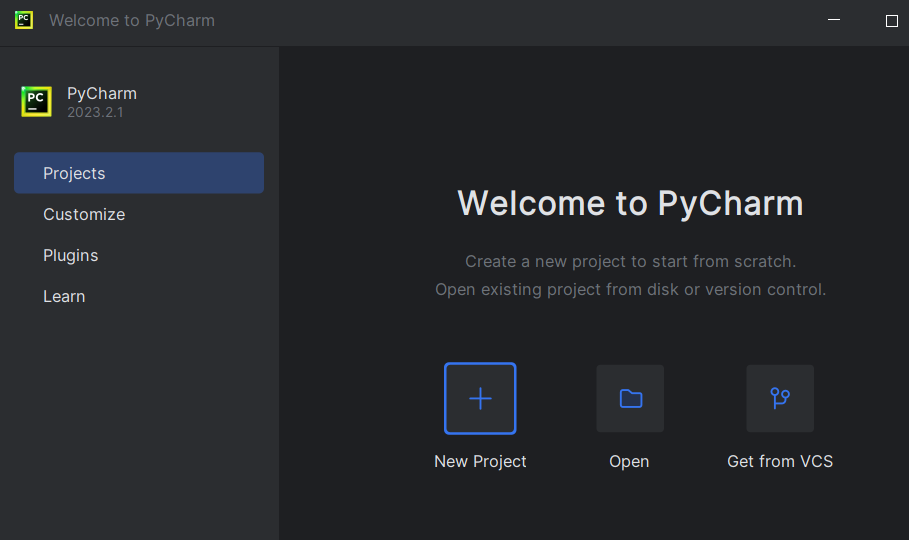
Launch PyCharm: Once the installation is complete, you can launch PyCharm from the Start menu or by clicking on its desktop shortcut.
Installation of PyCharm in Linux
To install PyCharm in Linux , use this command:
sudo snap install pycharm-professional --classic
When the snap is installed, you can launch it by running
pycharm-professional
Share your thoughts in the comments
Please Login to comment...