How to Write and Run Code in Jupyter Notebook
Last Updated :
09 Oct, 2023
Jupyter Notebook is an open-source web application. It allows to generate and share documents that contain live code, equations, visualized data, and many more features. Nowadays it has become the first choice of many of the data scientists due to it’s immense data visualization and analysis capability. It has various packages which makes it easy to visualize data efficiently.
The Jupyter project has continued to evolve, and it includes a family of tools, such as JupyterLab and JupyterHub, which extend the capabilities of the original Jupyter Notebook. These tools cater to different use cases and make Jupyter an even more powerful platform for interactive computing and data science.
Installation of Jupyter Notebook
Jupyter Notebook can be installed in two different ways either using pip or downloading Anaconda.
Using Anaconda
Anaconda is a popular distribution of Python and data science libraries, and it seamlessly integrates with Jupyter Notebook.
Using Pip
“pip” is a package manager for Python, used to install and manage software packages written in Python. It stands for “Pip Installs Packages” or “Pip Installs Python.” With pip, you can easily install Python libraries, packages, and modules from the Python Package.
For installing jupyter notebook using pip :
- Open a Terminal or Command Prompt: Press Ctrl+ALT+T for ubuntu and for windows press ” Windows key +X” to open command prompt.
- Install Jupyter Notebook: Write and enter following text in terminal.
pip install notebook

- Verify the Installation: Write following in terminal.
Jupyter notebook

- Launch the Jupyter Notebook: Write “jupyter notebook” and enter notebook will get opened in onw of browsers.
jupyter notebook

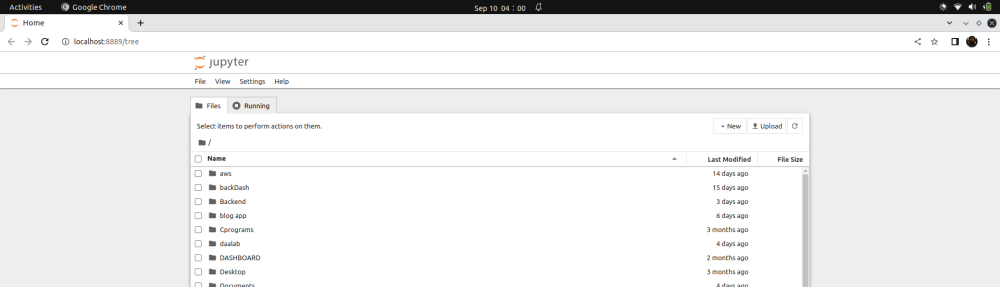
jupyter notebook opened in browser google chrome
Creating File to Run Code
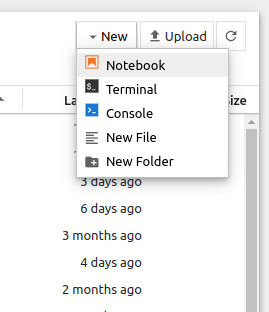
- First of all click on New button at right of top most corner you will see a drop down and click on notebook and it will open up a new notebook file
- After that a new notebook will get created something like that:
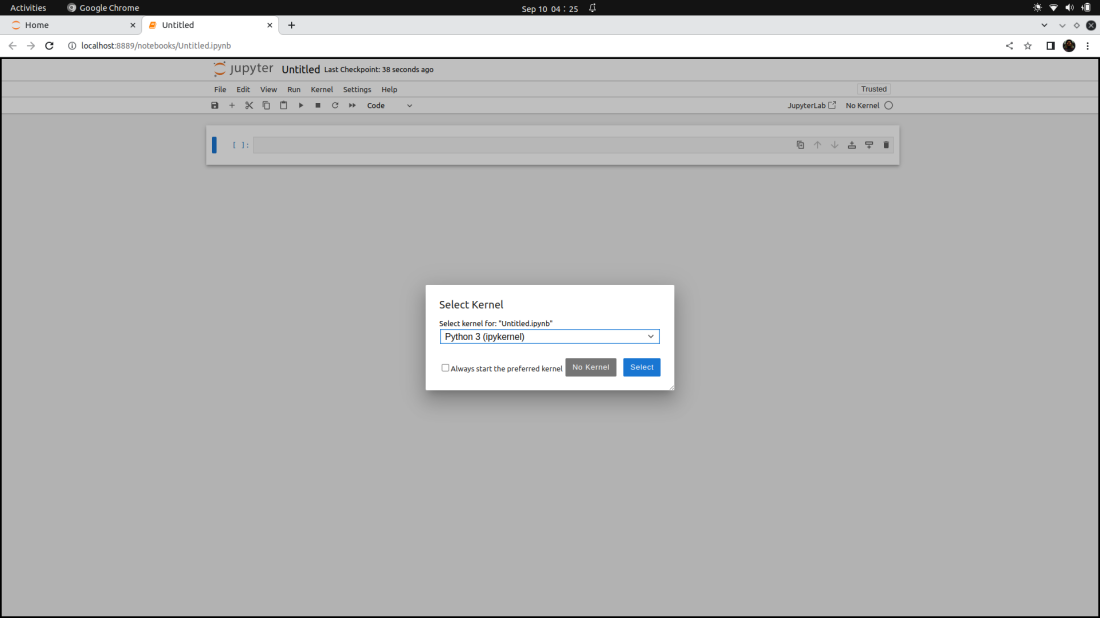
Click or enter select button in that screen .
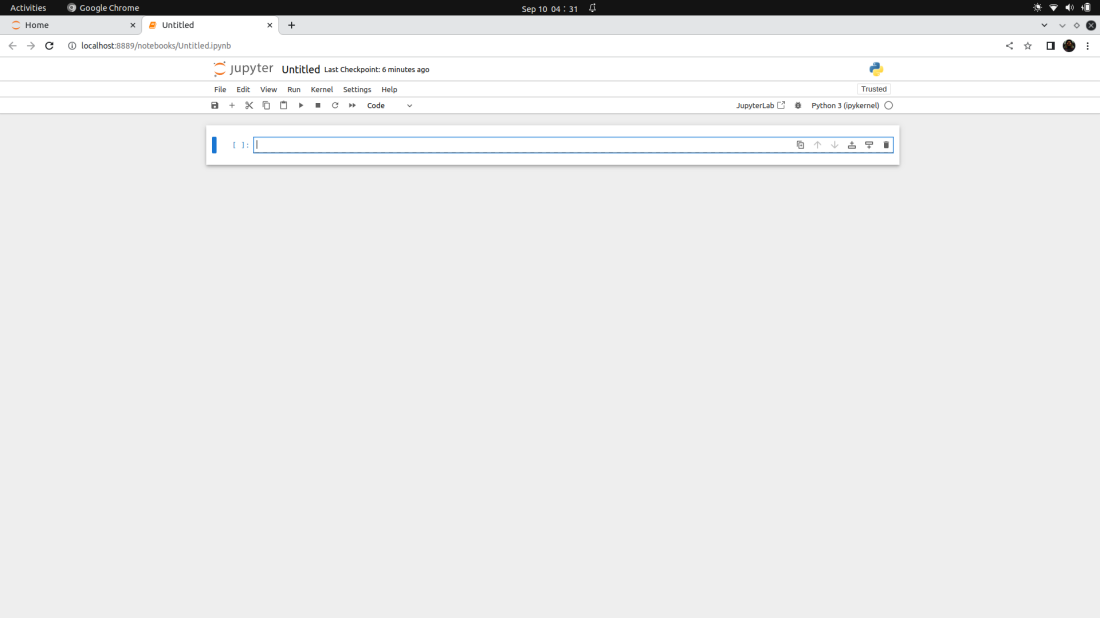
- Finally notebook gets open:
Writing Code in Jupyter Notebook
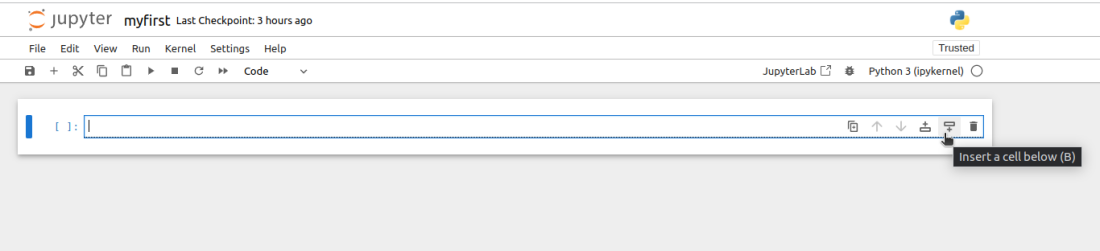
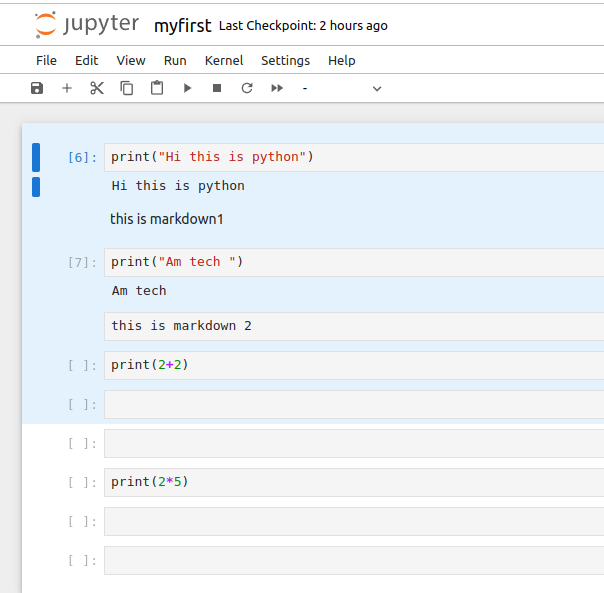
In jupyter notebook the block which you are seeing is called as cell where the cursor is right now. A cell in jupyter notebook is where you write the code . You can have multiple cells at a time and even you can run multiple cells at a time .
Adding Multiple Cells
To add a cell just below the cell you can press the add button in cell at right corner
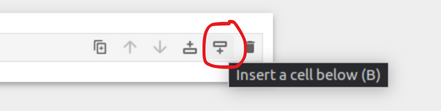
click on it and it will add a cell below
If you want to add cell just above the current cell you can click on the button which is just left to the button for adding cell below. If you press Esc you can go to command mode and then if you will press B it will automatically add a new cell below the current cell or if you will presss A it will add above the current cell and that new cell will become the new current cell. So you can try either way.

Hurray! your new cell gets added.
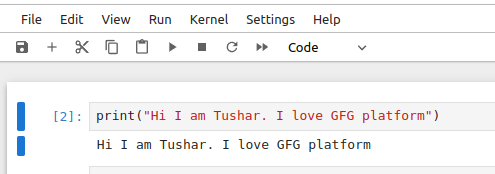
Now it’s time to code ,select any of the cell

Hurray our First code in jupyter notebook.
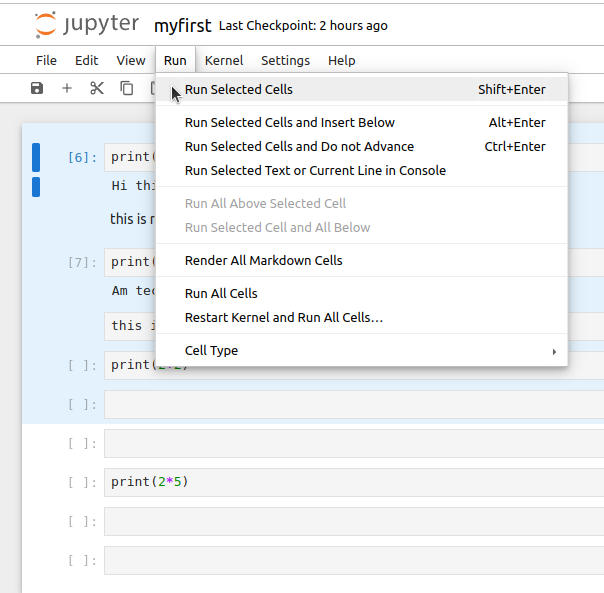
Now your half the job has been done all you have to do is run the code. To run the code you can click on the run button in the toolbar above and a dropdown will get open like that:
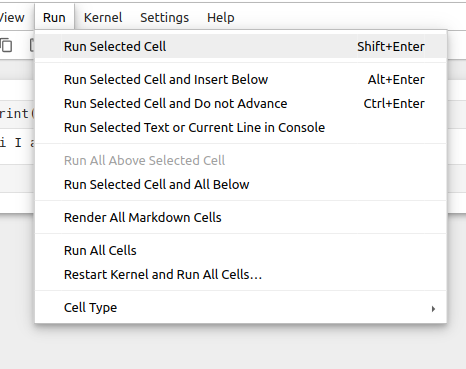
Select the “Run Selected Cell” option and it will run the code . You can the code even by pressing the Shift+Enter Shortcut which will also run the selected cell.
Moreover you can see that you can run cells below the current selected or cell above the current selected cell , you can even run multiple cells as you can see there is also an option saying ” Run All cells”.
You will also learn to run multiple cells . For that insert some cells and then write some code in them . Now select Run All Cells option from Run button dropdown.
How to add , remove and select cells in jupyter notebook?
In order to add cells you need to know the answer of one question .
1.Adding Cells Markdown and Code
- Adding a Code Cell: In order to add a new cell under the current cell you can press ‘B’ while in command mode or click the “+” button in toolbar for adding new cell under the current cell.
click on plus sign to add below

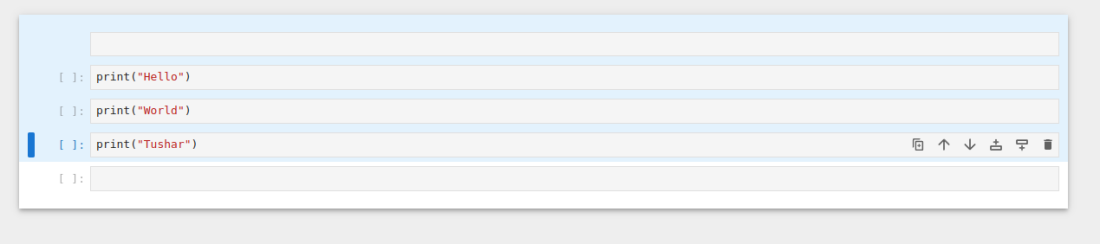
new cell has been added below
- In order to add a new cell above the current cell you can press ‘A’ while in command mode or click ‘+’ button in toolbar for adding new cell above the current cell.

click on left side + button as in picture to add above the cell new cell

new cell get added above it
- Adding Markdown Cell: In order to add a new markdown below the current cell you can press ‘B’ and change cell to markdown pressing ‘M’.

new markdown cell get added below
In order to add a new markdown above the current cell you can press ‘A’ and change cell to markdown pressing ‘M’.
2.Removing Cells
Let’s learn how to remove the cells with following methods:
- First you need to select the cell click anywhere inside cell it will get selected .
- Now go in command mode pressing ‘Esc’ key . Now press D twice quickly . This will delete the cell . You can even use toolbar to delete the particular cell.

select delete icon from toolbar to delete cell
3.Select Cells
As for now we have learn you can select a cell by pressing anywhere inside it , but you can even select multiple cells, let’s see how?
- You can select single cell by pressing anywhere inside it.
- Selecting multiple cells: To select multiple cells consecutively hold down ‘Shift’ key and click on cells you want to select.
Selected multiple cells are in blue shade
- Selecting All cells: Go in command mode pressing ‘Esc’ and press ‘Ctrl’+ ‘A’ it will select all cells in notebook .
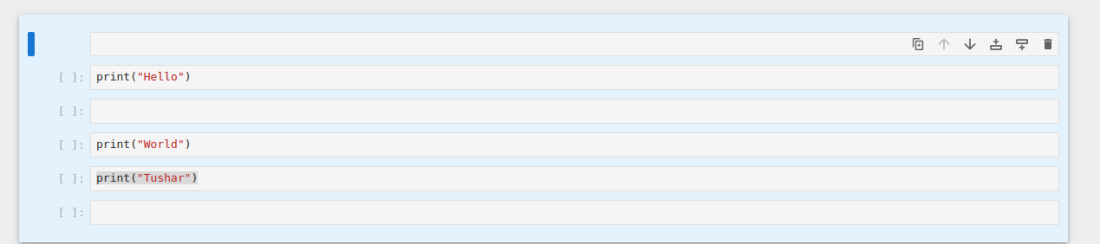
All cells get selected whether code or markdown
How to change the Name of your Jupyter Notebook?
In order to change the name of your notebook you can go in menu bar . Click on ‘File’ option and there you can see the option ‘Rename’ click on it type the desired name you want in the popup you would get on clicking it and you can see in address bar to confirm that your jupyter notebook name has been changed .
.png)
Yo can see name of jupyter notebook in circle
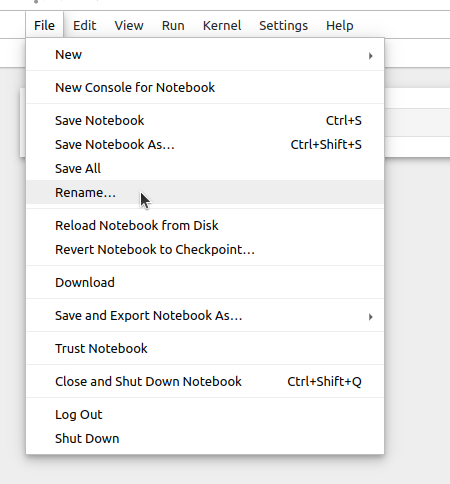
Click on rile and then click on Rename
Now you will got the popup where you could change name change it.
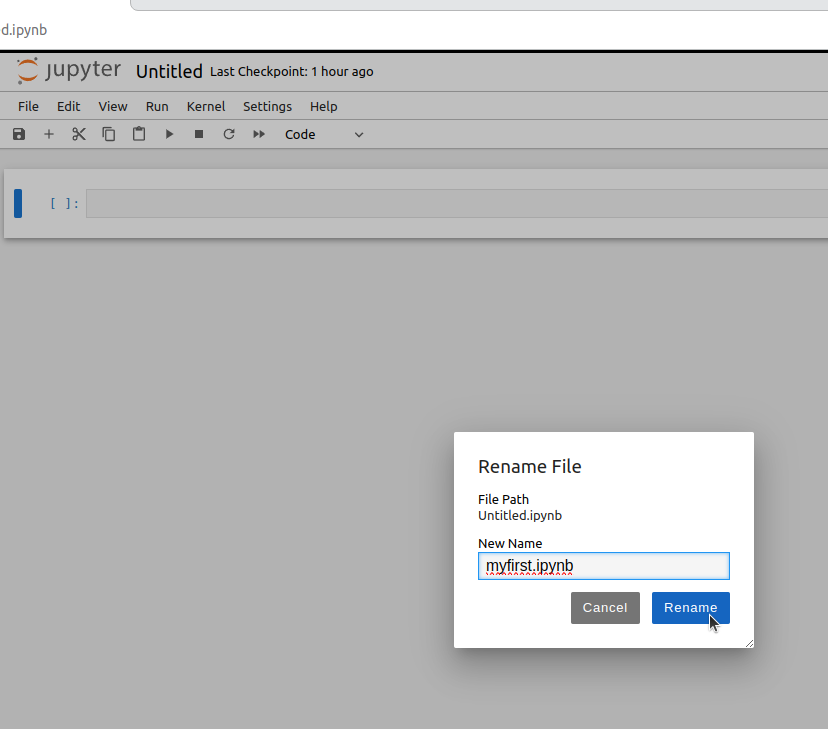
Changed name to myfirst
Click on Rename and now you could see the name of notebook being changed to ‘myfirst.ipynb’. ‘ipynb’ is notebook extension of jupyter used to store it as jupyter notebook.
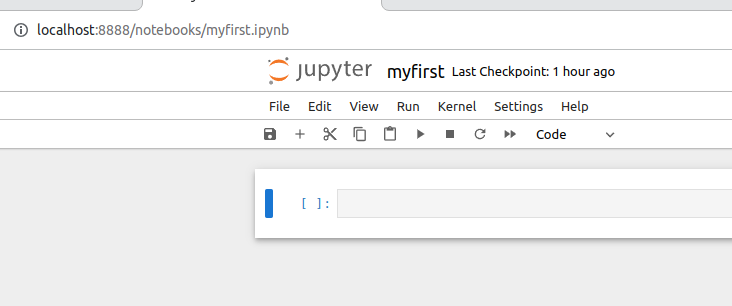
You can see at address bar notebook name changed to myfirst.ipynb
How to run multiple lines of code at once on Jupyter Notebooks?
As in starting of this article you have learn to run a single code cell but you know in jupyter we can run the multiple cells as well. In jupyter notebook there are many ways in which you could run the multiple cells. Go on the menu bar and click on”Run” . You would see the various options to run one cell and even multiple cells like you can see there is an option where you could “Run All Cells”.
1.Select All cells and run them
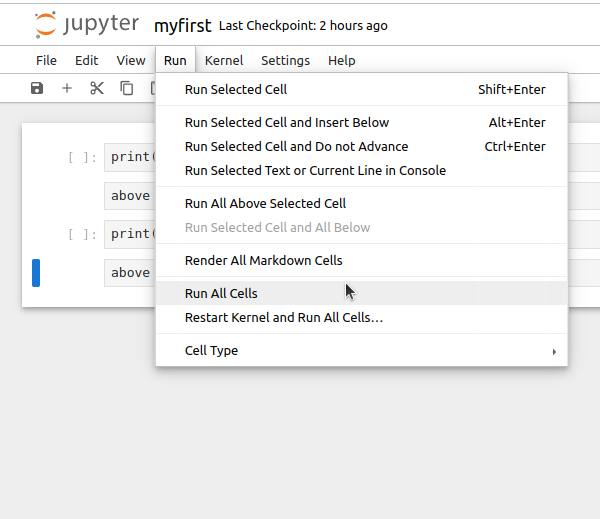
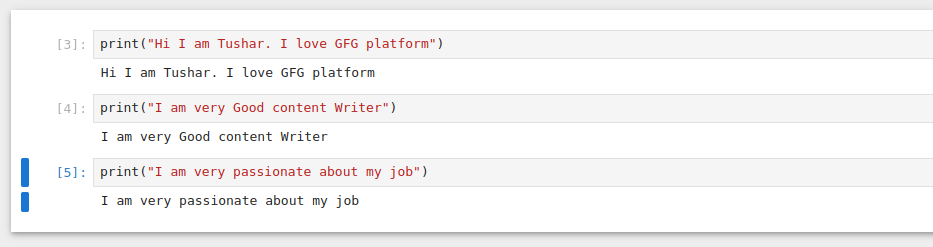
Click on it and it will run all cells .
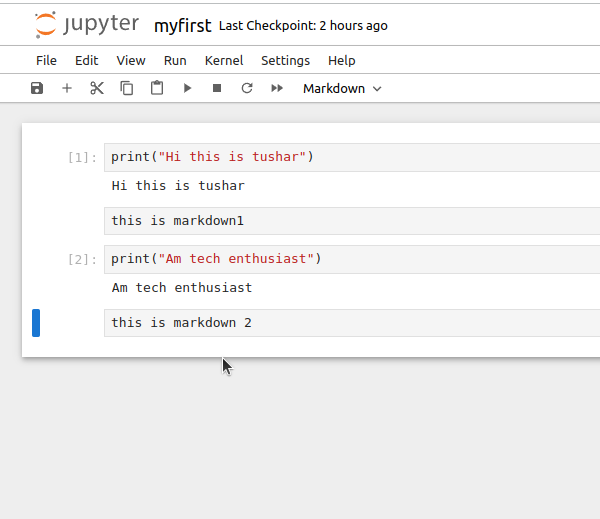
As you could see there on clicking ‘Run All Cells ‘ every cell has run and printed their respective output.
2.Select Desired multiple cells and run them:
You can select them as stated above in multiple cells selection method . hold ‘Shift key’ and click on the desired cell and got to ‘Run’ in menu bar and choose ‘Run selected Cells’.
Select desired multiple cells
Choose option ‘Run Selected Cells’
Share your thoughts in the comments
Please Login to comment...