How to use Tailwind CSS with Next.js Image ?
Last Updated :
01 Sep, 2023
In this article, we will learn how to use Tailwind CSS with Next.js Image. Tailwind is a popular utility-first CSS framework that simplifies the process of creating responsive web designs. It provides a set of pre-defined CSS classes that can be used to style HTML elements.
Next.js Image Component is just like a <img/> tag but with better performance, automatic optimization, lazy loading, responsive image rendering, and good for SEO ranking the width and height props are required
Prerequisite:
Syntax:
import Image from "next/image";
<Image src="img url" alt="img name" width={100} height={100} />
Props:
- src: Source link of image file
- alt: An alternative name for the image to display if the image is not rendered
- width: Width of the image
- height: Height of the image
Create a Next.js Project and Installation of Tailwind CSS
Step 1: Enter the following command to create a Next.js project
npx create-next-app@latest
Step 2: Enter the project name and Select Yes for Tailwind CSS and others as per your need
What is your project named?  my-app
Would you like to use TypeScript?  No / Yes
Would you like to use ESLint?  No / Yes
Would you like to use Tailwind CSS?  Yes
Would you like to use `src/` directory?  No / Yes
Would you like to use App Router? (recommended)  No / Yes
Would you like to customize the default import alias?  No / Yes
Note: In the latest version of Next.js the installation of Tailwind CSS and Next.js is made Simpler
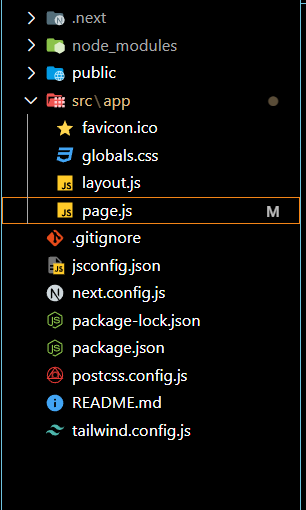
Project Structure:
Step 3: Enter the folder using the command
cd my_app
Approach
First, we will import an Image Component from “next/image” then we will add the following required props src, alt, width, and height then we will use Tailwind CSS to style the Image like adding a shadow, making the borders rounded, add padding, etc,
// next.config.js
/** @type {import('next').NextConfig} */
const nextConfig = {
    reactStrictMode: true,
    images : {
        domains : ['media.geeksforgeeks.org']
    }
}
module.exports = nextConfig
Example 1: In this approach, an image is loaded and styled using Tailwind CSS.
Javascript
import Image from "next/image";
export default function Home() {
return (
<div className="flex flex-col p-6 m-6
justify-center items-center">
<h1 className="text-2xl text-center
font-semibold text-green-600">
Geeks for Geeks Tailwind
Next.js Image
</h1>
<div className="p-10">
<Image
src=
width={300}
height={300}
className="shadow-2xl bg-white
rounded-xl p-4 shadow-red-800"
/>
</div>
</div>
);
}
|
Step 4: To run the project enter the following command
npm run dev
Then click on the link or enter localhost:3000 in your browser to open the project
Output:
.png)
Example 2: In this approach, we will use Tailwind CSS animations to animate the images
//next.config.js
/** @type {import('next').NextConfig} */
const nextConfig = {
reactStrictMode: true,
images : {
    domains : ['media.geeksforgeeks.org']
}
}
module.exports = nextConfig
Javascript
import Image from "next/image";
export default function Home() {
return (
<div className="flex flex-col p-6
m-6 justify-center
items-center">
<h1 className="text-2xl text-center
font-semibold text-green-600">
Geeks for Geeks Tailwind Next.js Image
</h1>
<div className="p-10 flex flex-row">
<Image
src=
width={300}
height={300}
className="shadow-2xl bg-red rounded-xl
p-4 m-4 shadow-rose-400
hover:rotate-45 duration-150
ease-in-out "
/>
<Image
src=
width={300}
height={300}
className="shadow-2xl bg-red rounded-xl
p-4 m-4 shadow-cyan-400
hover:scale-125
duration-150 ease-in-out "
/>
<Image
src=
width={300}
height={300}
className="shadow-2xl bg-red
rounded-xl p-4 m-4
shadow-green-400
hover:skew-x-12
duration-150 ease-in-out "
/>
<Image
src=
width={300}
height={300}
className="shadow-2xl bg-red rounded-xl
p-4 m-4 shadow-pink-400
hover:skew-y-12 duration-150
ease-in-out "
/>
</div>
</div>
);
}
|
To run the project enter the following command
npm run dev
Then click on the link or enter localhost:3000 in your browser to open the project
Output:

Share your thoughts in the comments
Please Login to comment...