How to target next sibling in Tailwind CSS ?
Last Updated :
06 Sep, 2023
In Tailwind CSS, you may run into a situation where you only want to target and format direct siblings of HTML elements. This article walks you through the process of accessing the direct sibling of a tag in Tailwind CSS by providing syntax, methods, and examples.
A solution that allows developers to easily access sibling elements in a tailwind CSS framework will greatly improve their ease of use and design experience. Such a solution should integrate with existing tailwind CSS tools and allow developers to harness the power of the framework while maintaining the flexibility and functionality it provides.
Tailwind CSS – Tailwind CSS is a utility-first CSS framework that provides a comprehensive set of pre-defined classes for rapid UI development. It focuses on composing styles using small, single-purpose utility classes, resulting in a highly customizable and efficient approach to styling web applications.
Approach to Target Next Sibling in Tailwind CSS
When we want to target a sibling element and change the styles of sibling elements based on the states of the other sibling elements we can use the peer class property.
We need to select the element whose state we want to observe and add a class peer to it. Then we can use this peer class and use pseudo-classes to select the states which we want to observe and change the properties which we want to change.
Syntax:
// For primary element
<div className="peer">Div 1</div>
// For target sibling element
<div className="peer-hover:text-2xl">Div 2</div>
Firstly, Create a react app and configure the tailwind CSS. To get help doing this you can refer to Tailwind with CRA 5.
Example 1: In this example, we will target the next sibling Div 2, and change the element shape while hovering over Div 1 element.
Javascript
function App() {
return (
<div
className="h-full w-full flex flex-col
place-content-center place-items-center"
>
<h1
className="text-4xl font-extrabold
text-green-700 p-4"
>
Geek For Geeks
</h1>
<div
className="h-48 w-48 m-2 flex
justify-center items-center
bg-green-300 rounded-full peer"
>
Div 1
</div>
<div
className="h-48 w-48 m-2 flex
justify-center items-center
bg-green-500 rounded-full
peer-hover:rounded-none"
>
Div 2
</div>
</div>
);
}
export default App;
|
Output: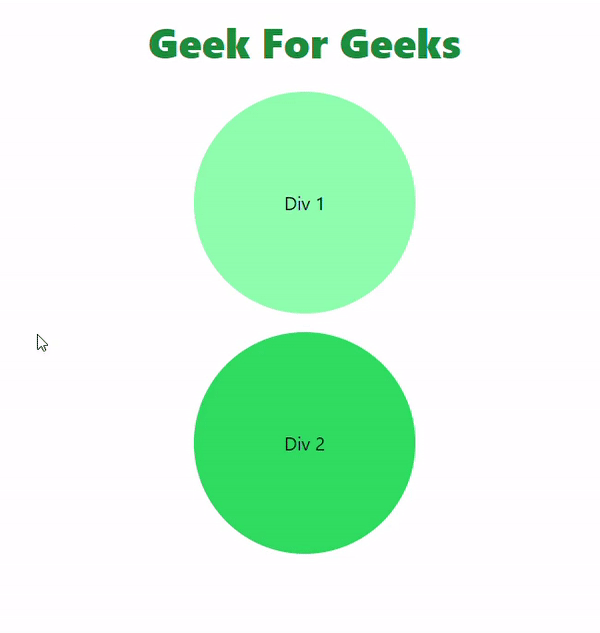
Example 2: In this example, we will target the next sibling Div 2, and change the background color while hovering over Div 1 element.
Javascript
function App() {
return (
<div
className="h-full w-full flex flex-col
place-content-center place-items-center"
>
<h1
className="text-4xl font-extrabold
text-green-700 p-4"
>
Geek For Geeks
</h1>
<div
className="h-48 w-48 m-2 flex
justify-center items-center
bg-green-300 peer"
>
Div 1
</div>
<div
className="h-48 w-48 m-2 flex
justify-center items-center
bg-green-500 peer-hover:bg-green-800"
>
Div 2
</div>
</div>
);
}
export default App;
|
Output:.gif)
Share your thoughts in the comments
Please Login to comment...