How To Use Azure CDN For Content Delivery ?
Last Updated :
15 Mar, 2024
Imagine, you are running a social media platform. Users from different parts of the world register in it and use it. The content feed in the application should be dynamically updated. The content such as images, text, etc is stored on a server in India. Users from other countries such as the US, and Europe found that the platform is leading to slower loading times and a less responsive user experience. The solution for this can be the usage of a Content Delivery Network(CDN)
What Is CDN?
- Content Delivery Network (CDN) is a tool that usually helps the content to be distributed among various servers based on a geographical location. This provides an alternative server node for users to download resources.
- In the above scenario, using CDN helps to distribute the content among various servers across the world. So the users from the US or Europe can access the data or content from the nearby servers based on their geographical location.
Overview Of Azure CDN
- Azure CDN is one of the services of Azure which helps in dealing with Content Delivery Network.
- It is the global CDN solution for delivering high-bandwidth content in low response time.
- Azure CDN caches the static files (Images, videos, etc) loaded from Azure Blob storage by using the closest point-of-preference(pop) server.
- Azure CDN can also handle dynamic content which cannot be cached. It does it by leveraging various network and routing optimizations.
Step-By-Step Approach Of Using Azure CDN For Content Delivery
Step 1: Login In To Azure Portal
- Login into the Azure portal with your active subscription.

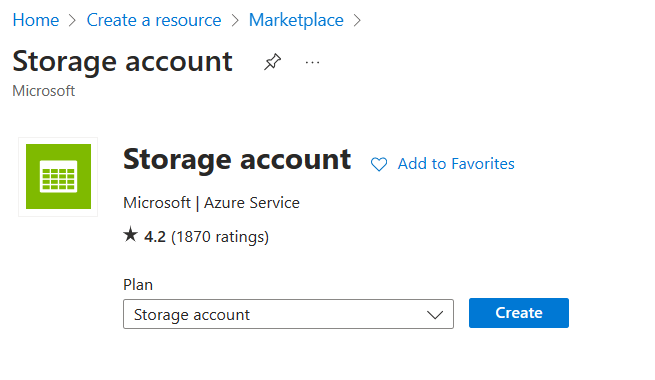
Step 2: Navigate To Storage Account
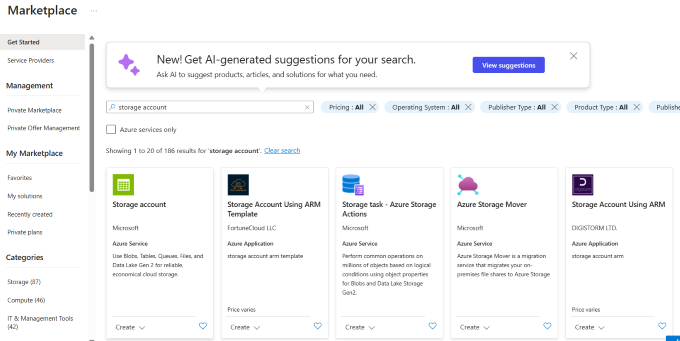
- Click on “create” to create the storage account and name it by following the below guidelines.
- Under the “Basics” tab, in the “Project Details“, Mention your subscription and resource group name.
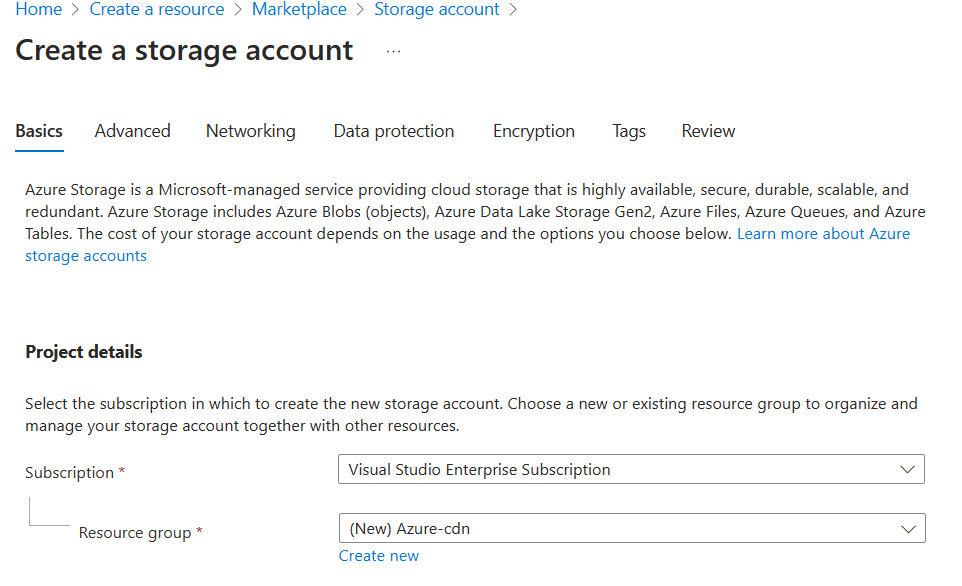
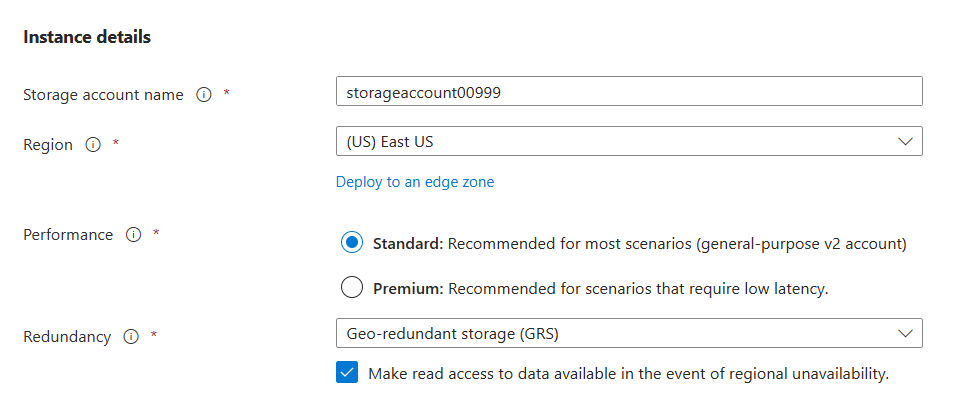
- In the “instance details”, add the storage account name and Region (change it if you need, otherwise default region is recommended) and keep the rest of the details as default. click “Review” and “create”
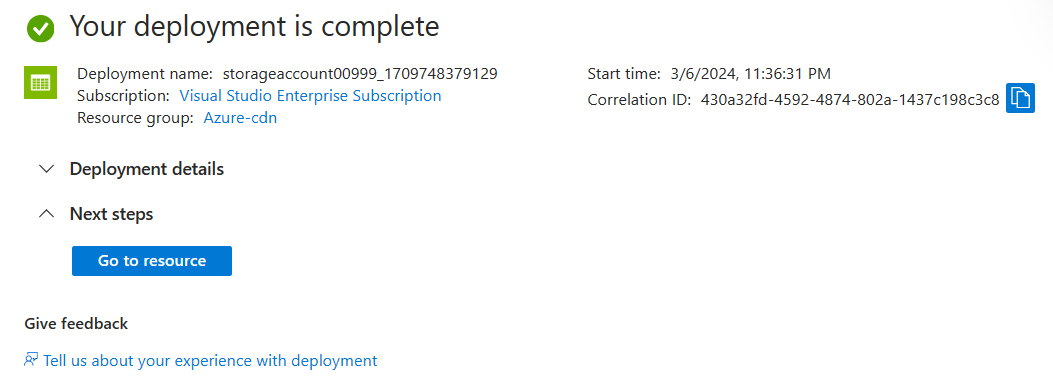
- Now, your instance will start deploying.
step 3: Upload The Content
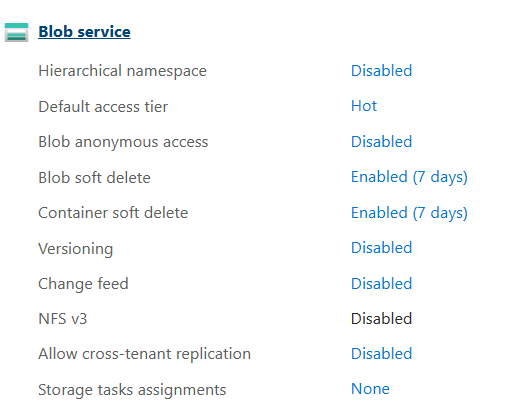
- For now, let’s go with static content like images. For that, let us create a blob storage(recommended for images).
- Inside your blob storage, create a new container.

- Name the container and click “create”.
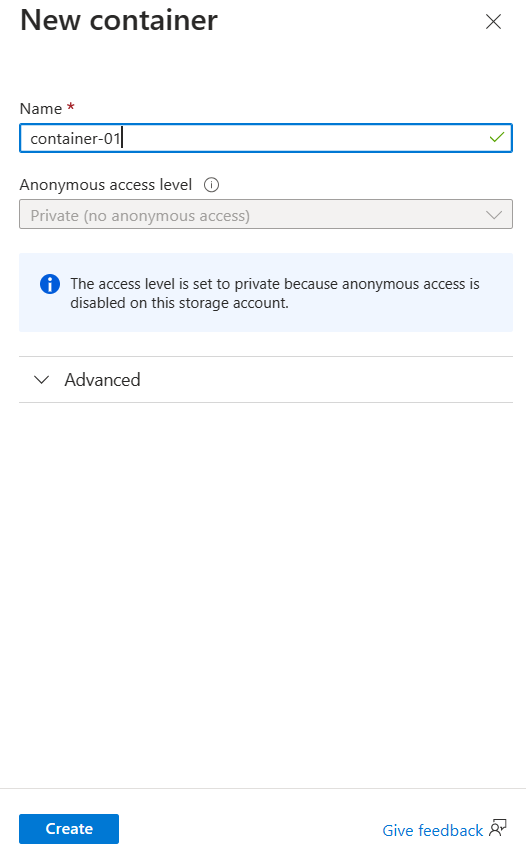
- The default access level is set to private. i.e. no anonymous access is allowed. To access the content, let us change the access level to container level from private.

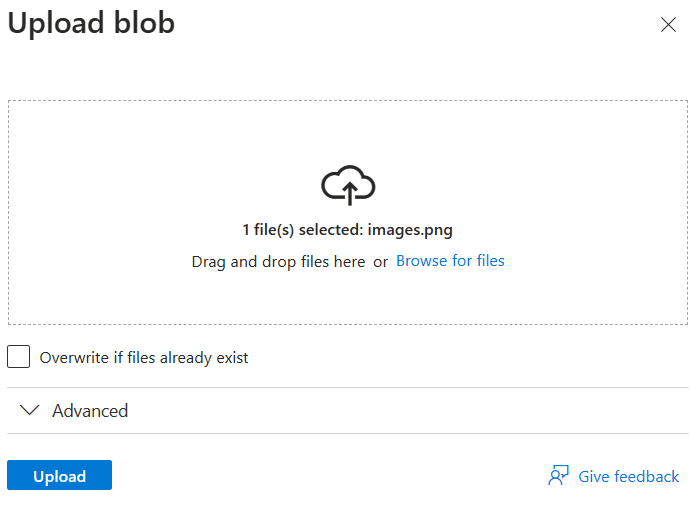
- Now, let us upload the static content in the container.

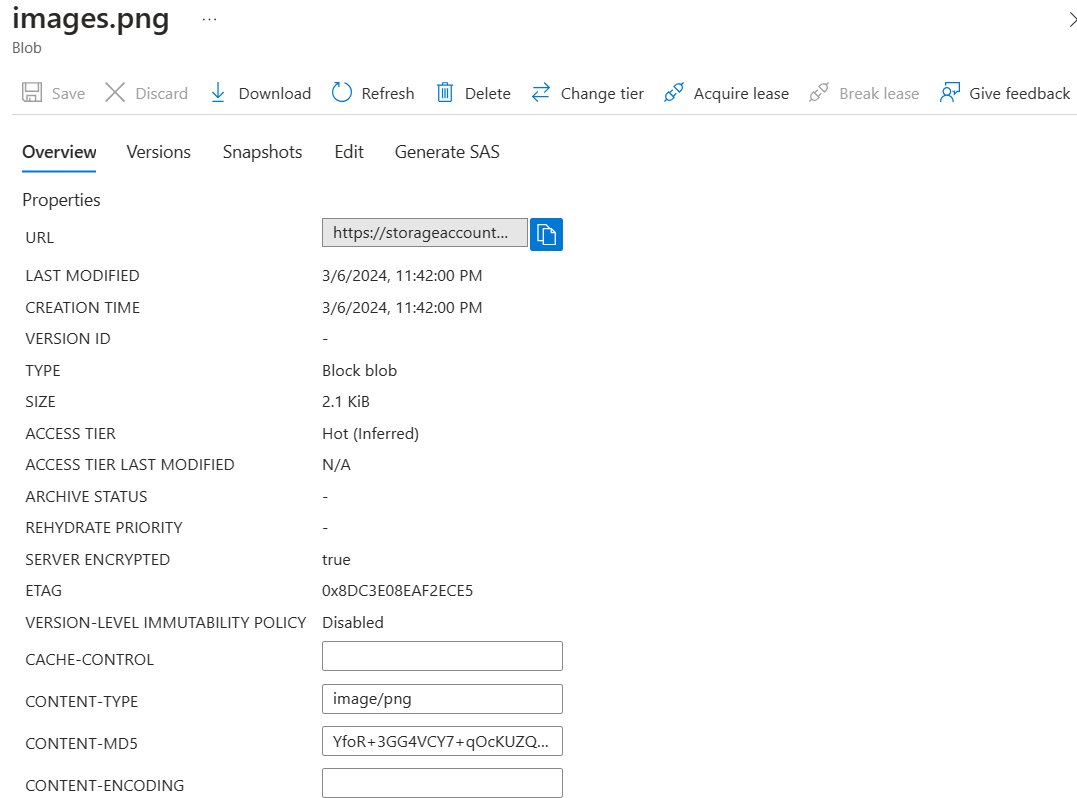
- Now, click on the uploaded image so that you can view all the properties of the image along with the URL.
step 4: CDN Integration
- let us create a CDN endpoint that bridges the Azure CDN and the content origin. To do that, navigate back to your storage account, and under the “Security + networking” section, click the Front Door and CDN option.

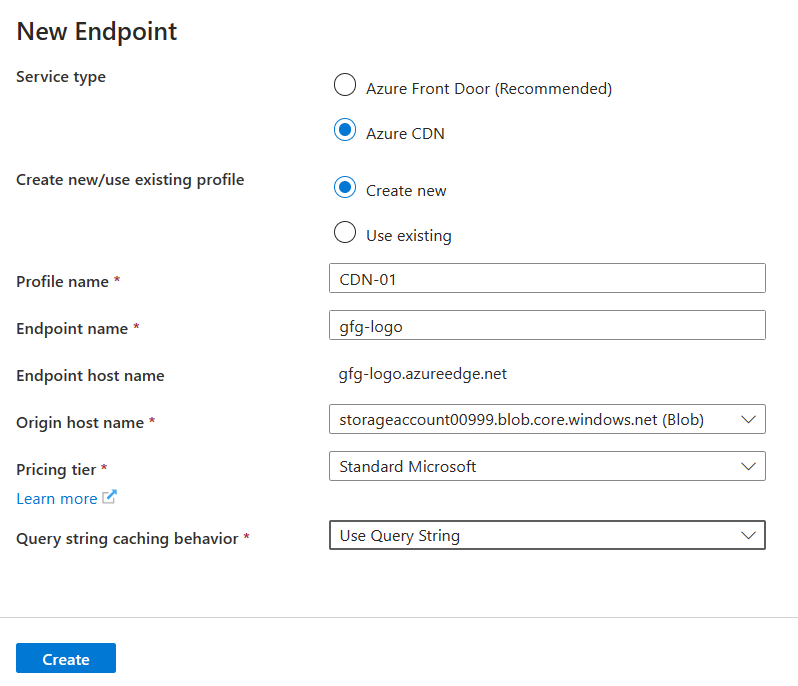
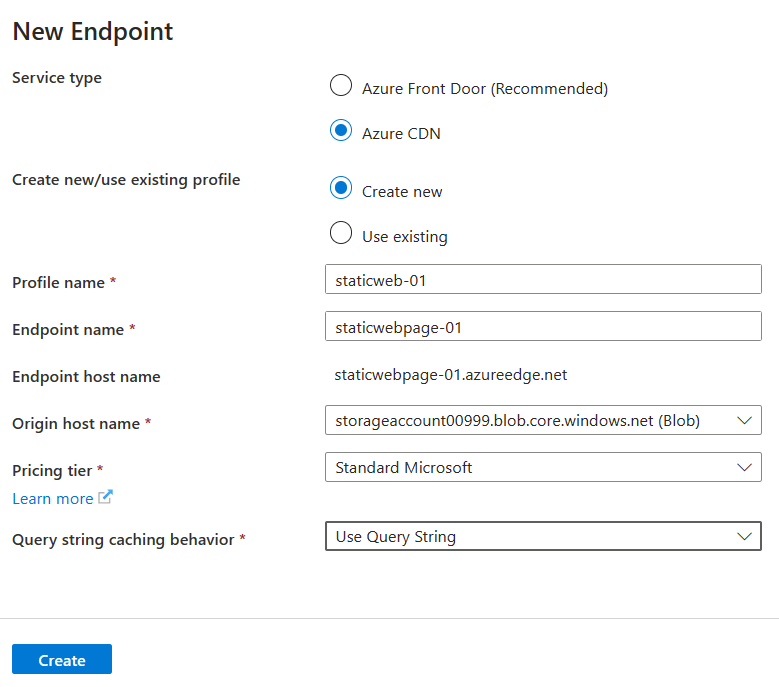
- Configure the properties of your new endpoint. Follow the below instructions if necessary
- choose Azure CDN for the Service type
- Create a new profile or use the existing one and customize the properties according to your requirements. The below properties are set to the basic level. click create.
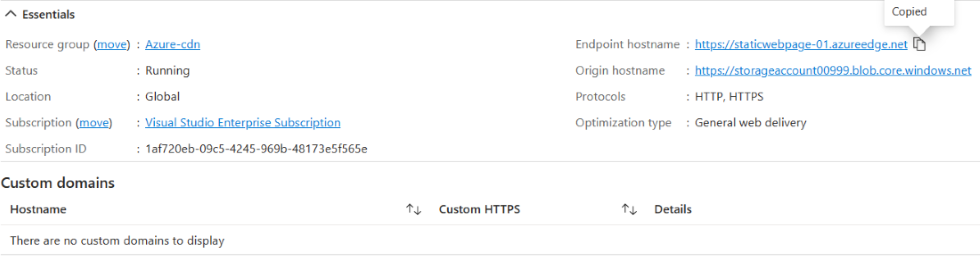
- once the deployment is successful, you can see the endpoint status as running.

- Now, navigate to the end point and copy the URL and paste it in the browser.
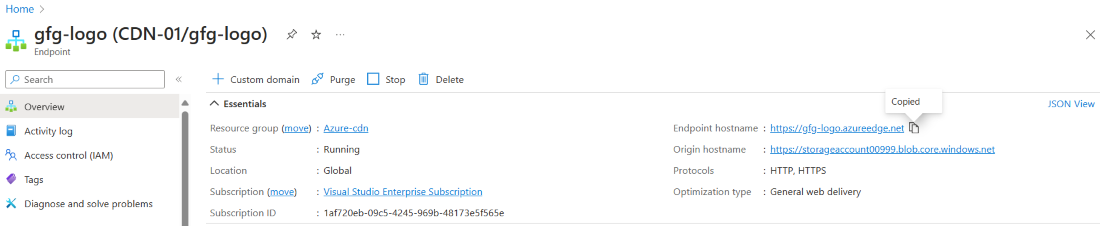
Note: The Endpoint hostname represents the URL of the endpoint of cdn and the origin hostname represents the nearest point of preference(server) from where the content is being accessed.
The content is delivered with minimum response time. The content is distributed along the blob storage across all the servers and retrived from the nearest point of preference. Hence, low loading time and greater user experience.
Creation Of Static Website
- Now, let apply the same logic for content through web pages.
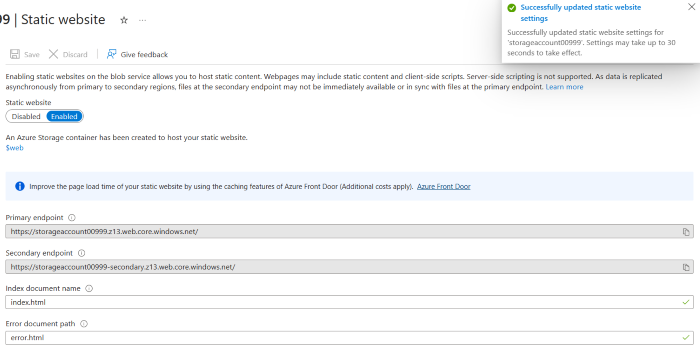
- The creation of a static website helps to deliver the static content to the users in different locations. To create a static website, Navigate to the storage account, and under the “Data management” section, click static website.

- Enable the access to create a static website and mention the document names for index and error as well and click save.

- Now, create these documents(index.html and error.html) in your local system.
HTML
<!DOCTYPE html>
<html lang="en">

<head>
    <meta charset="UTF-8">
    <meta name="viewport" content="width=device-width, initial-scale=1.0">
    <title>Document</title>
</head>

<body>
    <center>
        <h1>Hey there! This is Azure CDN tutorial</h1>
    </center>
</body>

</html>
- Creatte an error.html(optional) with the following code:
HTML
<!DOCTYPE html>
<html lang="en">

<head>
    <meta charset="UTF-8">
    <meta name="viewport" content="width=device-width, initial-scale=1.0">
    <title>Document</title>
</head>

<body>
    <center>
        <h1>Opps! Error!</h1>
    </center>
</body>

</html>
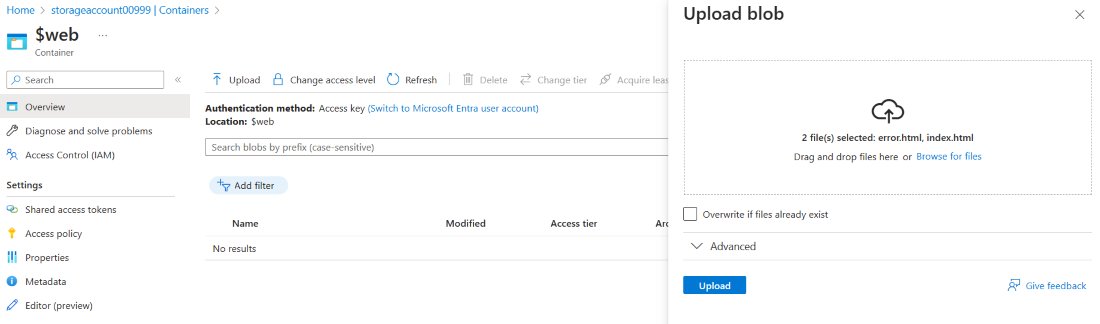
- Navigate to the container(blob storage) in your storage account and you can see a dedicated folder is allocated to store the content related to web.

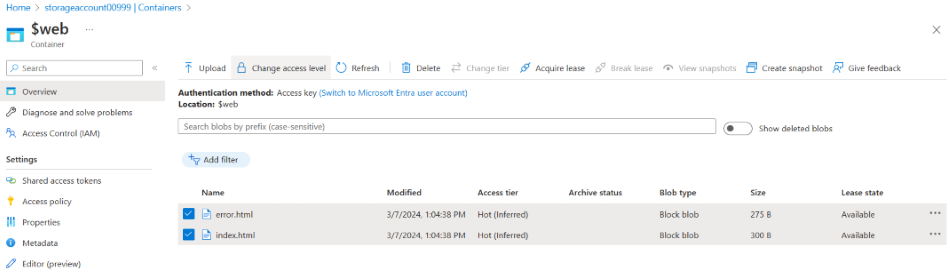
- Open the $web folder and upload the index.html and error.html files.

- Change the access level to container level from private

- Now, create an endpoint specifically for this static webpage.
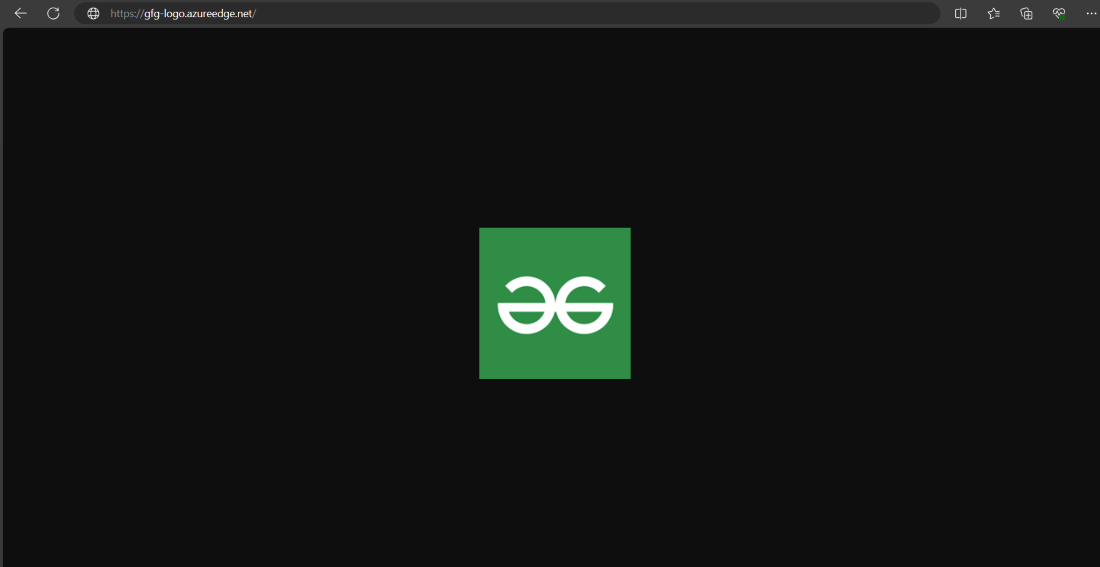
- Copy the endpoint URL and paste it on the browser to see the index.html page content.
- On browsing the content in the web you will the text with page as shown in the below screenshot.

- In this way we can use the Azure CDN for content delivery to reduce the response time and provide a better user experience.
Note: There can be static as well as dynamic content delivery. In this article, I have represented about the CDN through static content only.
Azure CDN For Content Delivery – FAQ’s
What Is Azure CDN?
Azure CDN is the Content Delivery Network service provided by Microsoft Azure inorder to provide better user experience for the user in access the content from the servers. This helps to reduce the response time of the content to reach the user.
How Does Azure CDN Work?
Azure CDN caches content at strategically located edge servers around the world. when the user requests for the content, the content is retrieved from the nearest edge server reducing latency and improving load times.
Can I Use My Own Domain With Azure CDN?
Yes, you can map your own domain with the Azure CDN’s endpoint.
What Is Difference Between Endpoint And Origin In Azure?
The Endpoint hostname represents the URL of the CDN’s endpoint which actually represents the content. The Origin hostname represents the origin of the content which means the URL of the nearest edge server.
Share your thoughts in the comments
Please Login to comment...