How to Test Smart Contracts on the Ganache?
Last Updated :
28 Feb, 2024
Smart contracts are self-executing pieces of code powered by blockchain technology which ensures transparency, immutability, and trust in a decentralized ecosystem. However smart contracts need thorough testing to ensure that they are flawless because once a smart contract is deployed in a main-net even the smart contract developer cannot modify the code. Thus they should be free from vulnerabilities and must be tested thoroughly before deploying them into a chain. In this article, we will discuss how to test smart contracts on Ganache, a popular blockchain emulator and testing tool.
What is Ganache?
Ganache is a testing tool created by the Truffle Suite for Ethereum-based blockchain projects.
- It provides a personal blockchain environment that allows developers to deploy, interact, and test smart contracts in a controlled environment.
- Ganache emulates an Ethereum-based blockchain in a local environment.
- Ganache is widely used in the blockchain development community due to its simplicity and speed, along with ease of integration with development frameworks like Truffle (Ganache Tool is created by the Truffle Suite).
- Ganache comes in two flavors: A Graphical User Interface and a Command Line Interface.
How to Test Smart Contracts on the Ganache?
Step 1: Installing Ganache
You can download the latest version from the official website and follow the installation instructions provided.
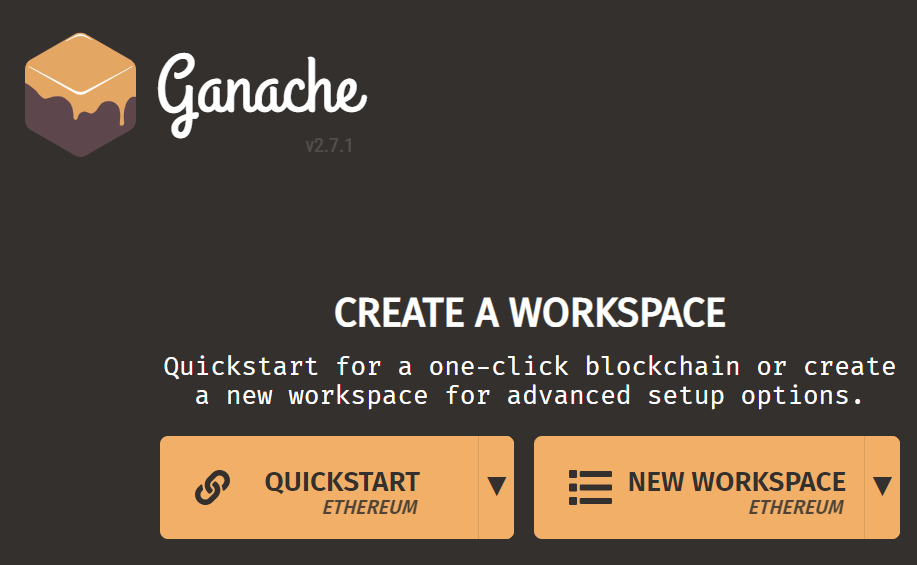
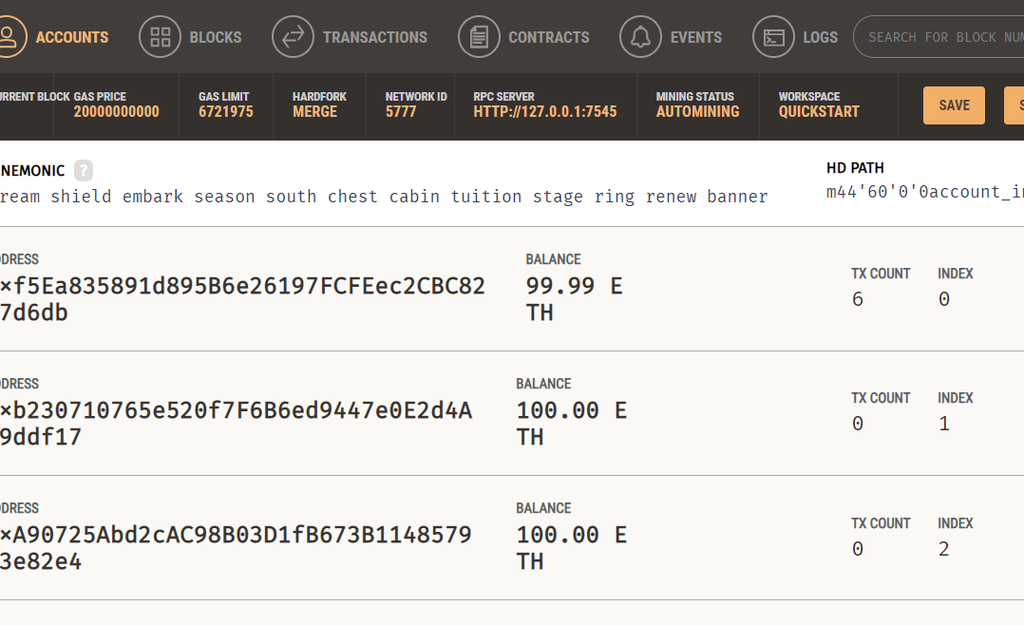
Once the installation is complete start an Ethereum blockchain instance by clicking the “Quickstart” button. This will fire up a local blockchain environment for you to test on.
Step 2: Installing Truffle and Initializing a project
Truffle is a development framework for Ethereum that simplifies the process of building, deploying, and testing smart contracts. To install Truffle, open your command line and run the following command.
npm install -g truffle
This command installs Truffle globally on your machine.
Setting up a Project:
Create a new project directory for your Ethereum-based project and navigate to it in the command line.
Initializing Truffle:
Run the following command to initialize a Truffle project within your project directory. You can initialize a Truffle project with the following command.
truffle init

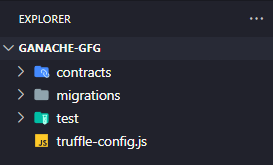
This will generate a fresh project comprising three directories (/contracts, /migrations, and /tests) and a configuration file named truffle-config.js.
Use the below code in the configuration file (truffle-config.js)
module.exports = {
networks: {
development: {
host: “127.0.0.1”,
port: 7545,
network_id: “*”
}
}
}
Let us understand the configuration file.
- networks: This section is used to define different blockchain networks. In this case, it’s specifying settings for the “development” network.
- development: This is the name of the network being configured. Truffle supports multiple networks (e.g., development, test, and live).
- host: Specifies the IP address where the Ethereum client (e.g., Ganache or a local Ethereum node) is running. In this case, it’s set to the loopback address “127.0.0.1,” indicating the local machine.
- port: Defines the port number on which the Ethereum client is listening. Here, it’s set to 7545, which is a commonly used port for local Ethereum development.
- network_id: This wildcard “” means that the configuration is applied to any network ID.
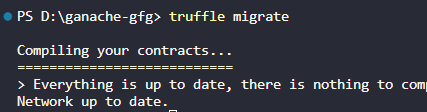
Now run the below command. It deploys smart contracts to the Ethereum blockchain, executing their migration scripts to ensure proper deployment and configuration.
truffle migrate
Step 3: Writing the Smart Contract
All the contracts are stored under the /contracts directory. Create a new solidity file in the contracts folder named ‘GanacheTesting.sol‘ and use the following code.
Solidity
pragma solidity >=0.4.22 <0.9.0;
contract GanacheTesting {
address public owner = msg.sender;
string public message;
constructor() public {
message = "Geeks for Geeks!";
}
modifier ownerOnly() {
require(
msg.sender == owner,
"Restrict to ownerTu"
);
_;
}
function setMessage(string memory _message)
public
ownerOnly
returns(string memory)
{
require(bytes(_message).length > 0);
message = _message;
return message;
}
}
|
This contract simply initializes a default message that is accessible by any network and a specific “setMessage” function which is designed exclusively for the smart contract’s owner. This function updates the message to a new value. Once the contract is deployed the contract initializes a default message, in our case, it is “Geeks for Geeks!” the modifier owner only is used to restrict access to certain functions. The setMessage function is also tagged with this modifier, providing exclusive authority to the owner of the contract.
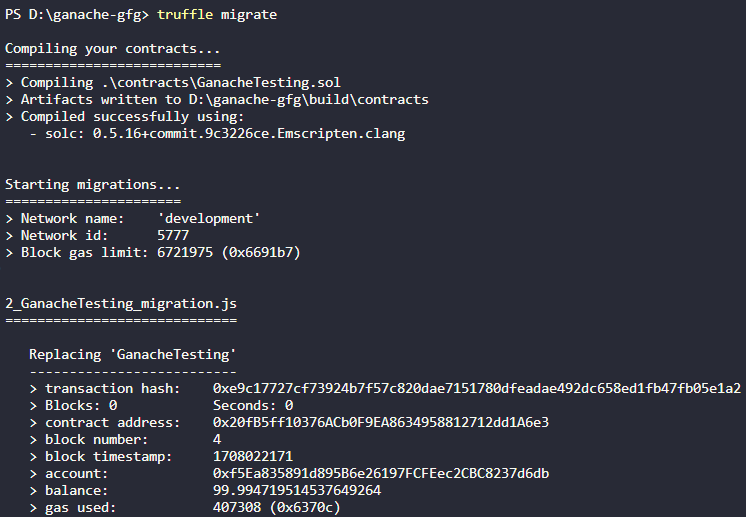
Step 4: Deploying the Smart Contract to the local test network
To deploy this smart contract on the local test network initiated by Ganache a migration process is employed. Create a new migration file for our smart contract name “2_GanacheTesting_migration.js”. The addition of “2_” at the beginning of the filename is a common convention in Truffle migrations. This numerical prefix helps to establish the order of execution for migration files. It ensures the migrations will happen sequentially, that is if the file is prefixed with “2_” implies that the file is the second one in sequence. Use the following code.
Javascript
const GanacheTesting = artifacts.require("GanacheTesting");
module.exports = function(deployer) {
deployer.deploy(GanacheTesting);
};
|
Use the following command.
truffle migrate
Step 5: Testing the deployed Smart Contract
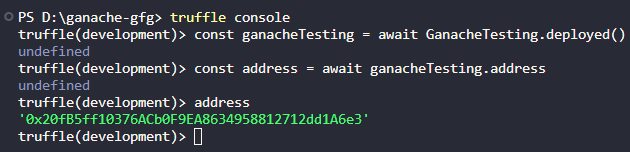
Once the contract has been deployed to the local test network it can be tested using the truffle console while within the terminal. In the terminal use the following command to fire up a console that we can use to interact with the smart contract.
truffle console
Execute the following command in the console to obtain the current address, allowing you to verify the functionality of the contract.
const ganacheTesting = await GanacheTesting.deployed()
const address = await ganacheTesting.address
address
To retrieve the message from the deployed contract use the following line of code.
const mess = await ganacheTesting.message()
mess

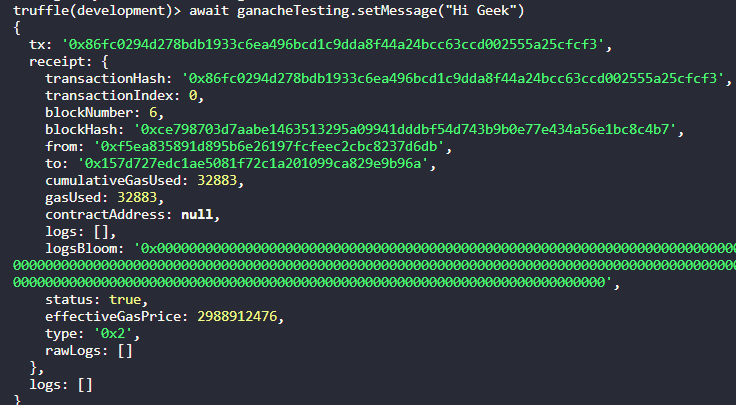
Update the message with a new value using the provided line, ensuring that the execution is restricted to instances where your address matches the contract owner’s address.
await ganacheTesting.setMessage(“Hi Geek”)
Retrieve the message using the following line.
await ganacheTesting.message()

Conclusion
In conclusion, testing smart contracts on Ganache provides a controlled environment for Ethereum-based blockchain projects. By installing Ganache, initializing a Truffle project, deploying contracts, and interacting with them through the Truffle console, developers can ensure the reliability and security of their smart contracts before deploying them on the mainnet. Thorough testing is important due to the immutable nature of smart contracts, preventing modifications once deployed.
Share your thoughts in the comments
Please Login to comment...