How to Perform Data Driven Testing from CSV to Postman Requests Scripts
Last Updated :
25 Jan, 2024
One essential technique to guarantee applications’ durability and dependability is data-driven testing. Using Postman and other data-driven testing tools can greatly improve the success rate and efficiency of your testing procedures. Ever wanted to know how to perform Data Driven Testing (DDT) from CSV files in Postman, then you are at the right place. In this article, you are going the explore a step-by-step guide to perform DDT in Postman.
Pre-requisites
- Basic knowledge of API
- Installed Postman and have prior knowledge of creating a request in Postman
How to Perform Data Driven Testing from CSV to Postman requests Scripts?
Step 1: Create an API request
1. Open Postman and create a new HTTP request by clicking on the new button in the right tab and then enter the request URL, for this article we are going to use JSONPlaceholder API URL:
“https://jsonplaceholder.typicode.com/posts”
2. Now select the request type as POST from the dropdown, after that go to the body tab under which select raw and then JSON, and now enter the below JSON data in the body section:
{
“title”: “Sample Title”,
“body”: “Your body for the post goes here …”,
“userId”: “1”
}
3. Now click on the Send button to test the API and now you should get “201 Created” status code.

Created and tested a new API request
Step 2: Add CSV Variables in the API Request
1. Firstly, create a CSV file named ‘ datafile.csv ‘ or of your choice and put the data in below format:
userId,title,body
1,”5 Simple Ways to Boost Your Productivity”,”Try the Pomodoro Technique, declutter your workspace, set achievable goals, prioritize your tasks, and take regular breaks”
2,”The Art of Time Management”,”Explore effective time management strategies to enhance your productivity and achieve your goals.”
3,”Staying Focused in a Digital World”,”Discover techniques for staying focused in the era of digital distractions and constant connectivity.”
4,”Building Healthy Habits for Success”,”Learn how to cultivate positive habits that contribute to your personal and professional success.”
5,”Mindfulness in the Workplace”,”Explore the benefits of mindfulness practices in the workplace and how they can positively impact your work life.”
2. Now we need to update the JSON data in body to the below code to replace the actual data with variables:
{
“title”: “{{title}}”,
“body”: “{{body}}”,
“userId”: “{{userId}}”
}
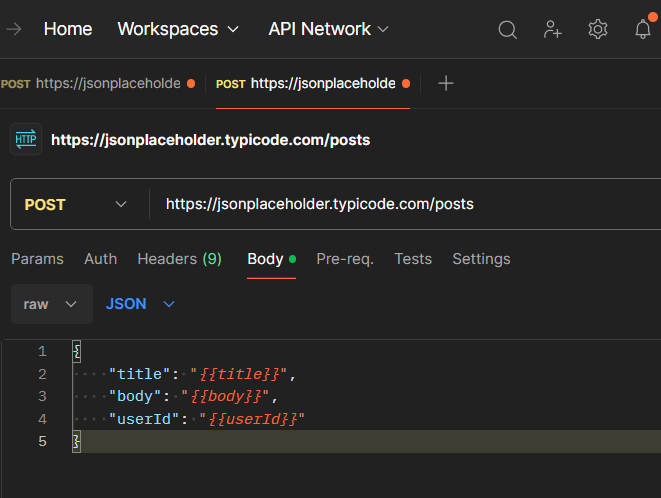
Replaced the data with variables
Step 3: Create a Collection and Add Request in the Collection
1. Now save the request in a collection (you can save it in a new collection or in the existing collection).
2. For the same click on save button “Save request to a collection” in right-top corner then click on “New Collection” in pop-up, name the collection as per your choice as shown:

Saving request in New Collection
Step 4: Run Collection by Importing CSV File
1. To run the collection, click on “Run Collection” along with your new collection (Postman Testing in my case).
2. To import the CSV file, click on the “Select File” and select the CSV file that you created above.
3. To preview the CSV file you can click on preview button beside “Data File Type”.
4. Please make to check the “Persist responses for a session” checkbox to save the responses.
5. Finally click on Run <Collection name> (“Run Postman Testing” in my case).

Running Collection
Step 5: Add Test to Validate the CSV Data
1. Now we have run the collection successfully, we want to validate test as well.
2. To validate test, we need to add test in the request.
3. For adding test, switch back to the request we created earlier and go to the “Tests” section and add below code:
Javascript
pm.test("Status code is 201", function () {
pm.response.to.have.status(201);
});
pm.test("Verify Title and Body", function () {
var jsonData = pm.response.json();
pm.expect(jsonData.title).to.eql(data['title']);
pm.expect(jsonData.body).to.eql(data['body']);
});
|
4. Now we have added tests, so to run the collection just click on the “Run Again” button in Postman Testing or follow above steps again.
5. Now, examine all the tests that has been passed as shown below:
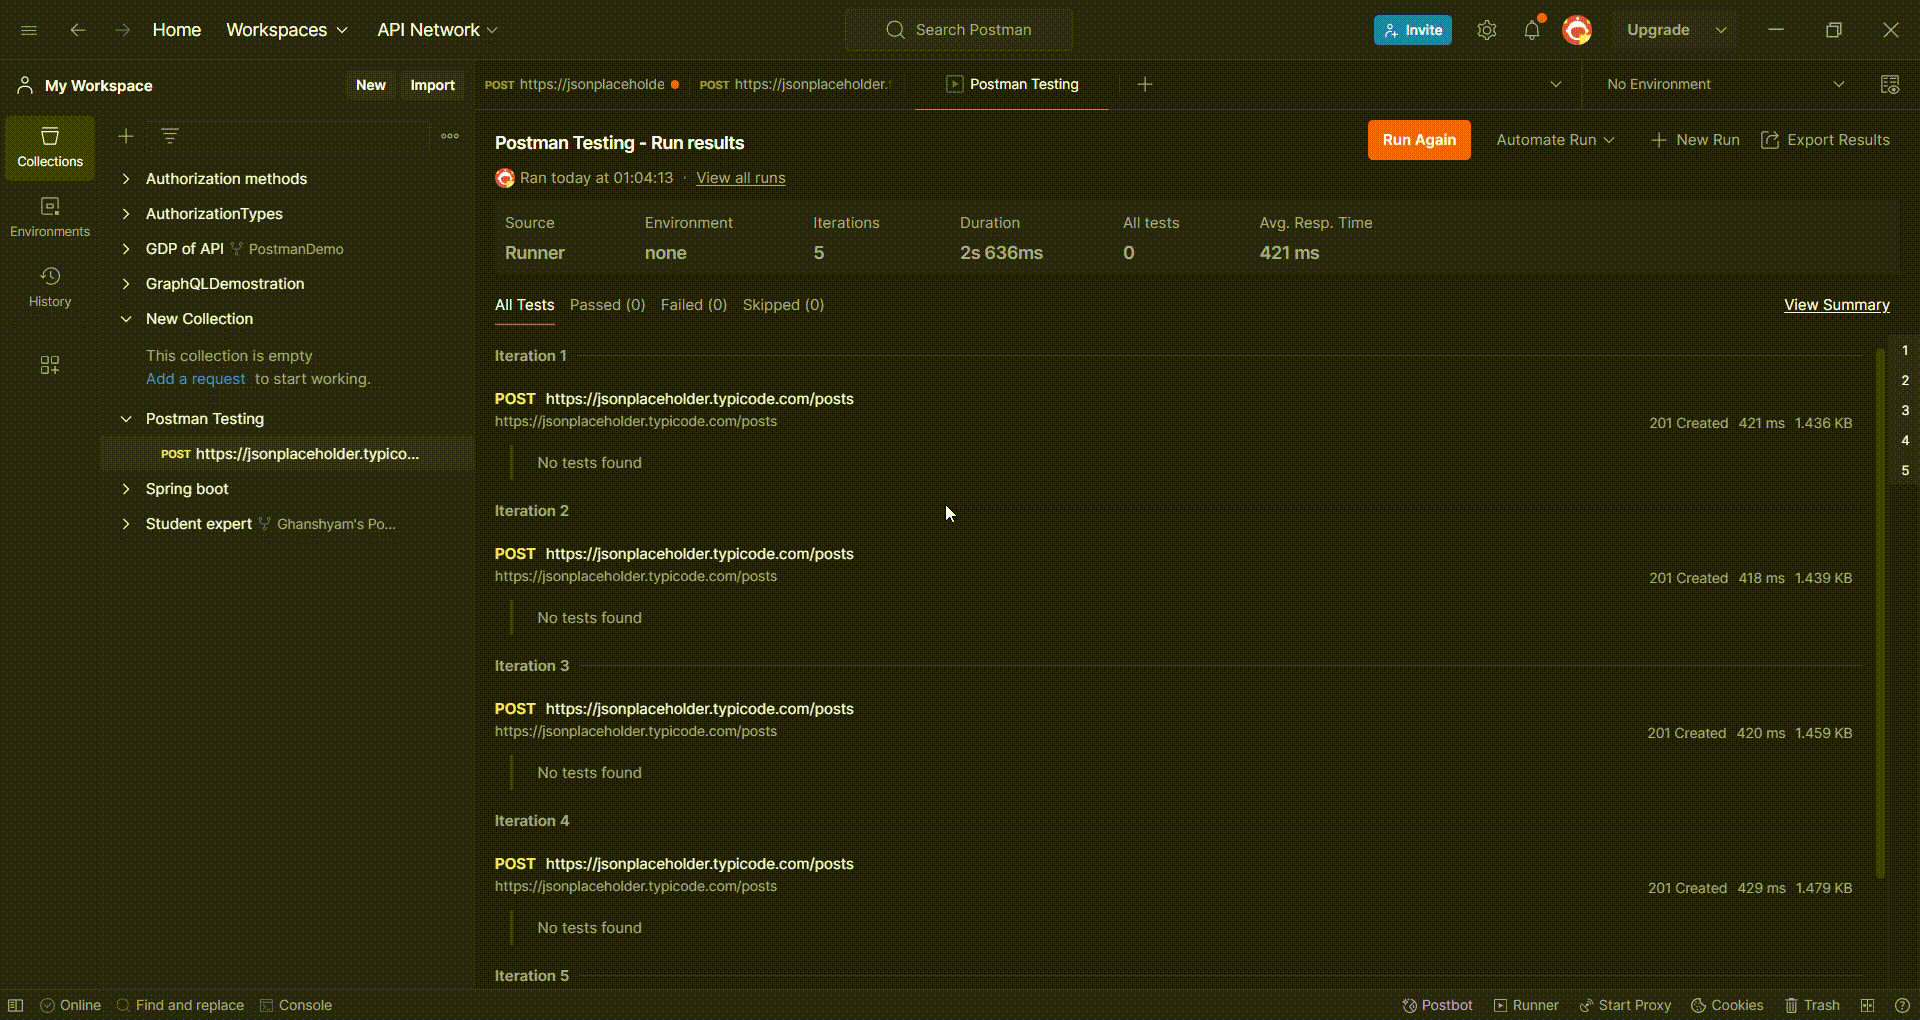
Running Collection for Test
Note:
Before running Collection save all the request.
Conclusion
Gaining proficiency with CSV files in Postman for data-driven testing increases the range of your testing and improves the script’s flexibility to accommodate different scenarios. Take advantage of this and use thorough and severe testing procedures to improve the standard of your applications.
Share your thoughts in the comments
Please Login to comment...