How to Normalize State in Redux Applications ?
Last Updated :
03 Apr, 2024
In Redux applications, efficient state management is essential for scalability and maintainability. Normalization is a technique used to restructure complex state data into a more organized format, improving performance and simplifying state manipulation.
This article covers the concept of normalization in Redux, exploring various approaches, steps to implement it, and an example application.
Approach 1: Manual Normalization
- Manually restructuring nested data structures into separate entities.
- Define unique identifiers for each entity.
- Normalize relationships by storing references or foreign keys.
Approach 2: Using Normalizr Library
- Utilize the Normalizr library to streamline the normalization process.
- Define schemas to specify how nested data should be normalized.
- Use normalize() function provided by Normalizr to normalize data based on defined schemas.
Normalizing State in Redux Applications
- Identify Entities: Break down your application data into distinct entities. These entities could represent different types of objects such as users, posts, comments, etc.
- Normalize Data: Normalize each entity’s data structure. This means organizing related data into separate tables/objects and establishing relationships using unique identifiers (IDs).
- Flatten Structure: Flatten nested data structures to simplify access and updates. Instead of embedding objects within other objects, store references to them using their IDs.
- Create Lookup Tables: Maintain lookup tables or indexes to quickly access specific data by ID. These tables could be objects or maps where keys are IDs and values are the corresponding entity objects.
- Use Selectors: Implement selectors to encapsulate the logic for accessing normalized state. Selectors abstract away the details of state shape, making it easier to retrieve data from the store.
Steps to Create React Application And Installing Module:
Step 1: Create a React application using the following command:
npx create-react-app myapp
Step 2: After creating your project folder i.e. foldername, move to it using the following command:
cd myapp
Step 3: Install Redux and Normalizr packages:
npm install redux normalizr
Folder Strutcure:
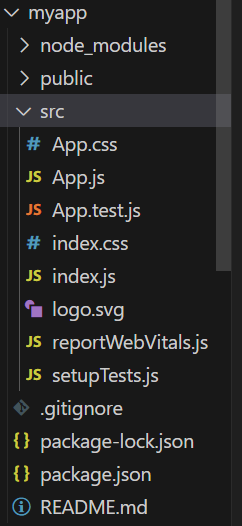
Project Structure
Updated dependencies in package.json file:
"dependencies": {
    "normalizr": "^3.6.2",
    "react": "^18.2.0",
    "react-dom": "^18.2.0",
    "react-scripts": "5.0.1",
    "web-vitals": "^2.1.4",
}Example: Below is an example of normalize state in Redux Applications.
JavaScript
import React from 'react'
import Normalize from './components/Normalize'

const App = () => {
    return (
        <div>
            <Normalize />
        </div>
    )
}

export default App
import React from 'react'
import { normalize, schema } from 'normalizr';

const Normalize = () => {

    const userSchema = new schema.Entity('users');
    const postSchema = new schema.Entity('posts', {
        author: userSchema
    });

    const data = {
        users: [
            { id: 1, name: 'Alice' },
            { id: 2, name: 'Bob' }
        ],
        posts: [
            {
                id: 1, title: 'Post 1',
                author: { id: 1, name: 'Alice' }
            },
            {
                id: 2, title: 'Post 2',
                author: { id: 2, name: 'Bob' }
            }
        ]
    };

    const normalizedData = normalize(data, {
        users: [userSchema],
        posts: [postSchema]
    });

    console.log(normalizedData);

    return (
        <div style={{
            textAlign: "center",
            fontWeight: "bolder",
            fontSize: "larger"
        }}>Normalize State in Redux Applications</div>
    )
}

export default Normalize
Output:

Output
Share your thoughts in the comments
Please Login to comment...