How to Install Power ISO on Windows?
Last Updated :
05 Oct, 2021
Power ISO is an Application Software that acts as a burning tool for the computer which helps the user to make multiple copies of the data on CD & DVD. This is the software program that is easily available to all the OS Versions of Windows. By using this we are able to make the Image File of all the Data which is kept in the CD, DVD & Pen Drives. Image Files are the kind of files in which viruses cannot cause any damage. Currently, there are many types of Burning Tools like Nero, Rufus & Power ISO, etc. But in this, we will focus on the Installation of the Power ISO Software.
Installing Power ISO:
Follow the below steps to install power ISO in your Windows operating system:
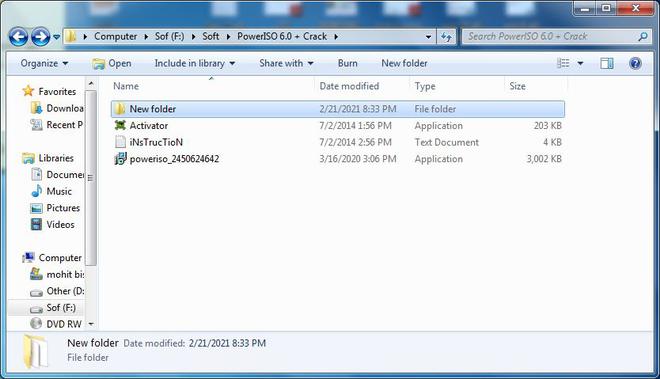
Step 1: First visit the Power ISO Official Website and download the installer.
Step 2: After you have downloaded the software from above mentioned website then Double-Click on the setup to start the Installation.
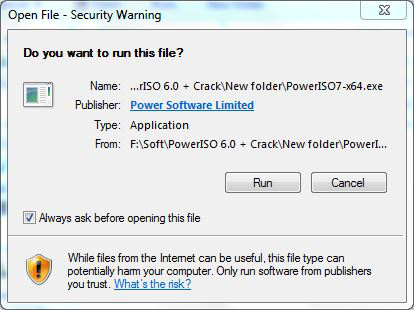
Step 3: Click on the Run Button shown in the Power ISO installation window.
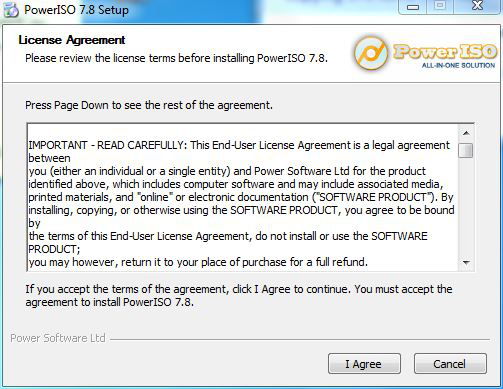
Step 4: Agree to the terms of uses by clicking on the “I Agree” button.
Step 5: Select the path where you want to install the software by clicking on the Browse Button shown in the Window.
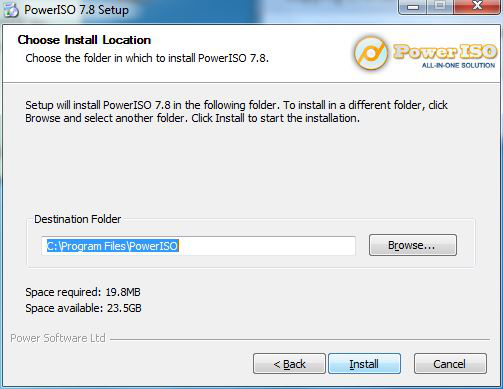
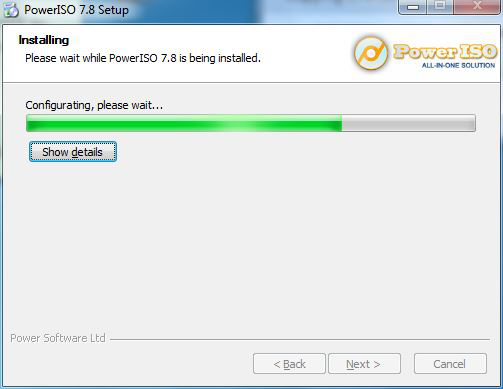
Step 6: After Selecting/ Setting the Path Click on the Install button. Then wait for some time till the file is loading in the PC / Laptop of the user.
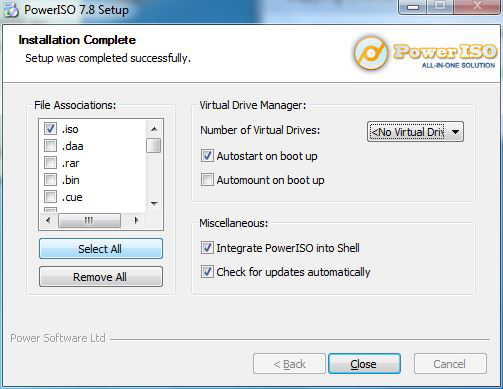
Step 7: After the Completion Click on the Next button.

Step 8: Now select the file Extension you want to open in that Software.
Step 9: Finally, press the Close Button.
After Following all the Above steps the Burning Tool is Successfully Installed and is ready to use by the user.
Share your thoughts in the comments
Please Login to comment...