How to Install Nomacs Image Viewer on Ubuntu
Last Updated :
24 Oct, 2023
Nomacs Image Viewer is a free and open-source application that allows users to view, edit, and manage digital images. Application is available on various platforms including Windows, Linux, and MacOS. Nomacs application supports various file formats including JPEG, PNG, TIFF, BMP, and many more. Nomacs application has a simple and user-friendly user interface that is easy to navigate. The application offers various manipulation tools, such as cropping, resizing, and color adjustments. Nomacs is also capable of handling large image collections without any issues. In this article, we will install the Nomacs Image Viewer application on the Ubuntu system using 2 different methods.
Installing Nomacs Image Viewer on Ubuntu
We can install Nomacs on Ubuntu using 2 different methods:
- Method 1: Installation using APT Manager
- Method 2: Installation using Flatpak Manager
Let’s explore both installation methods one by one.
Method 1: Installation using APT Manager
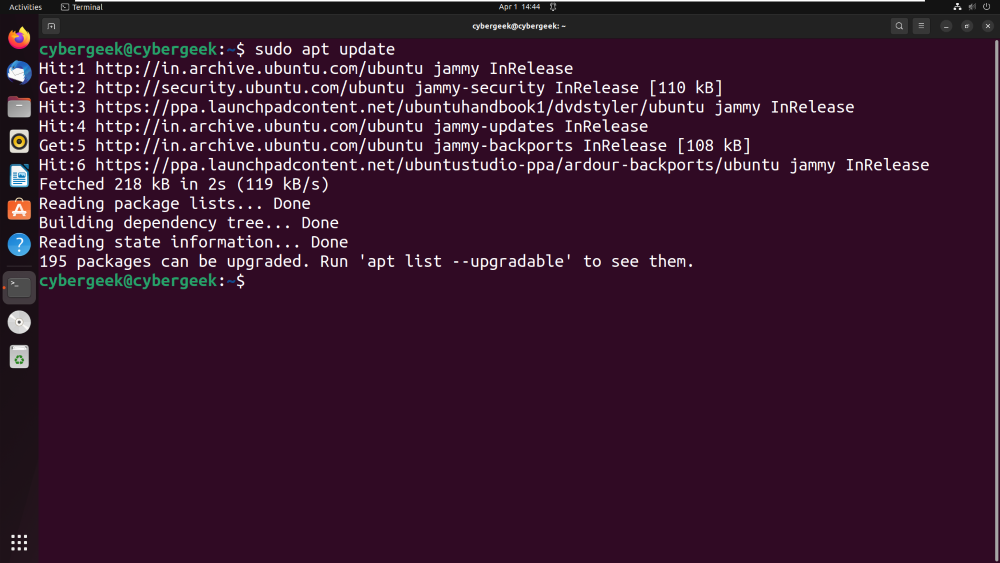
Step 1: Start the installation process by updating the repositories of the Ubuntu system. This is also important to flush and rebuild the APT index cache so that it can identify the latest available versions of packages through the system repositories. Execute the below command in the terminal to update the repositories.
sudo apt update
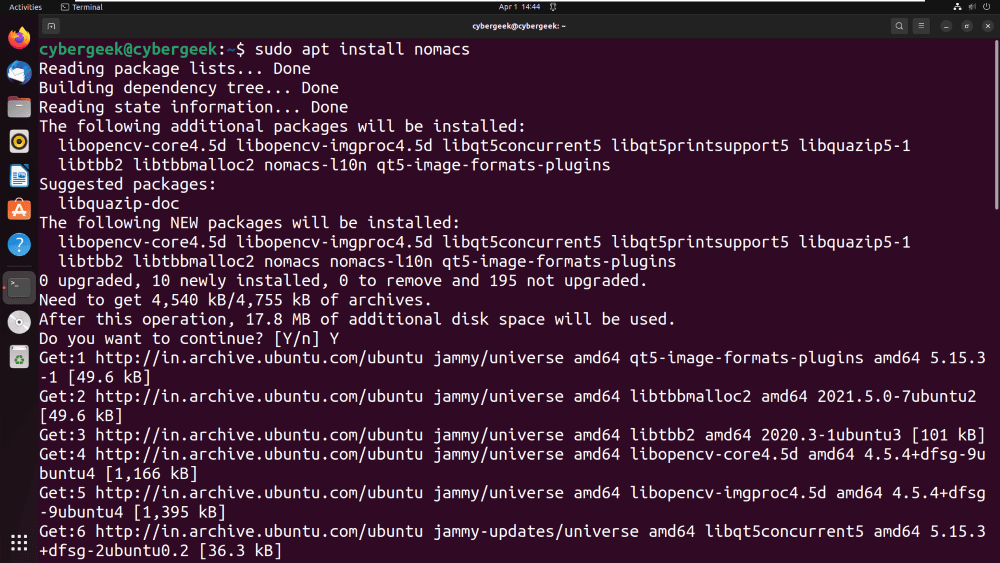
Step 2: After updating the repositories, there is nothing else to do, we need to execute the installation command for Nomacs using apt manager. Execute the below command to install the application without any error.
sudo apt install nomacs
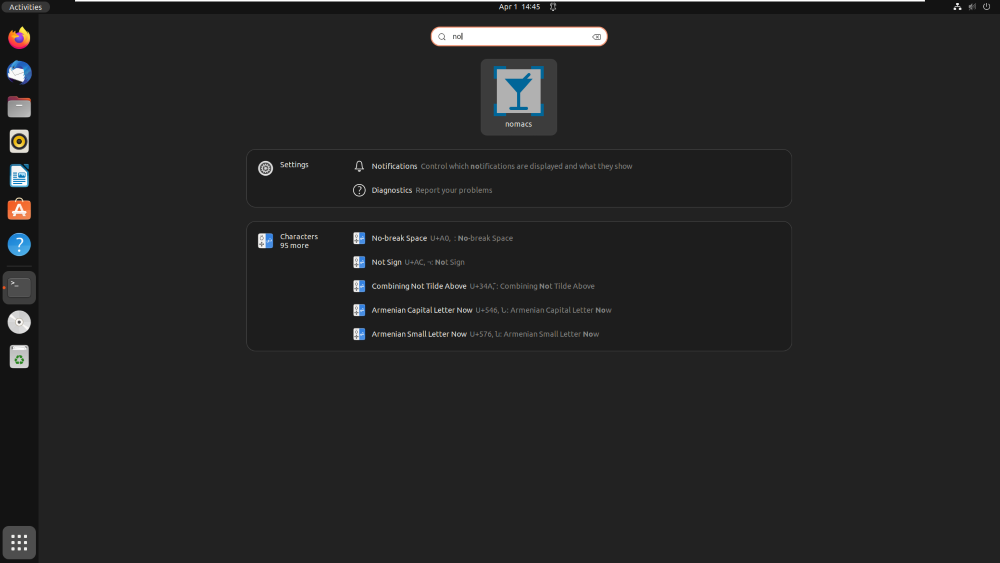
Step 3: Once the installation process is done, we are good to launch the application for usage. Search the application name in All Applications. You will see the application icon as shown below screenshot, Click on the Icon to open the application for usage.
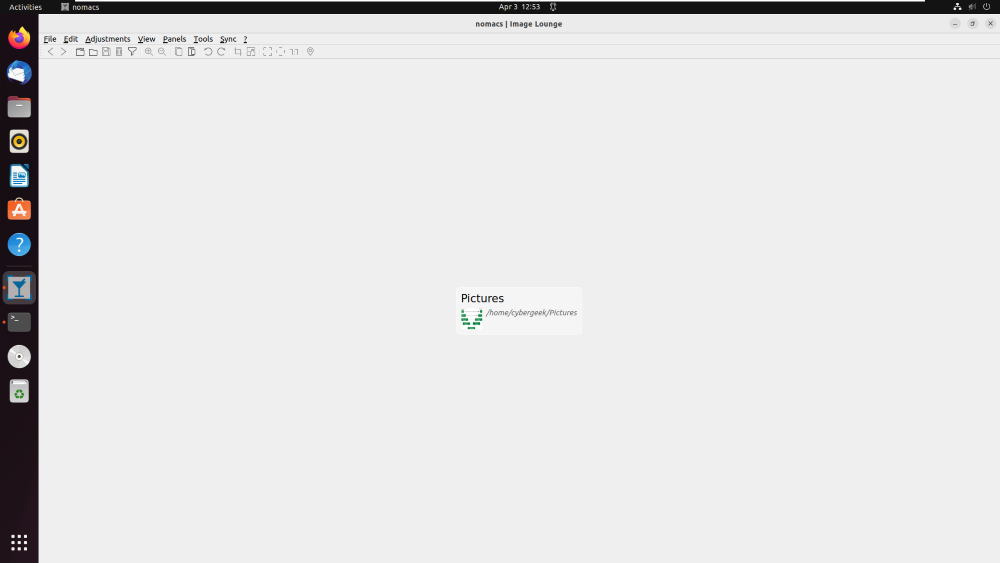
Step 4: After clicking the icon the application will be launched, You can see the GUI of the application where there are various options to open the image file, perform editing on the image, and perform adjustments on the file. Also, other tools can be used.
Method 2: Installation using Flatpak Manager
Step 1: Same as Method 1, we need to update the repositories using the apt manager, so we will once again update the repositories using the below command.
sudo apt update
Step 2: After updating the repositories, we need to install flatpak package manager by using the below command. You can ignore this step if you already have the flakpak manager installed on the system.
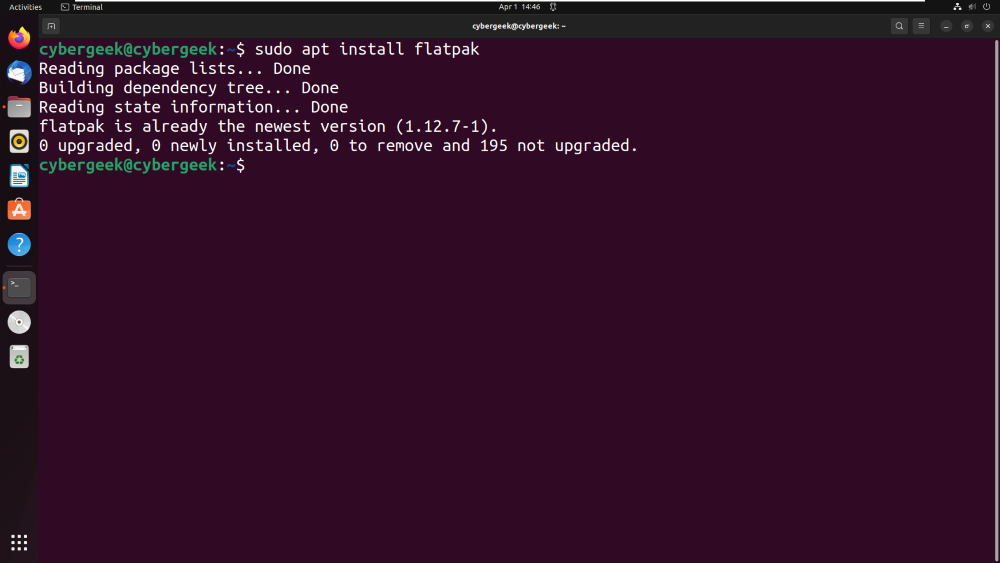
sudo apt install flatpak
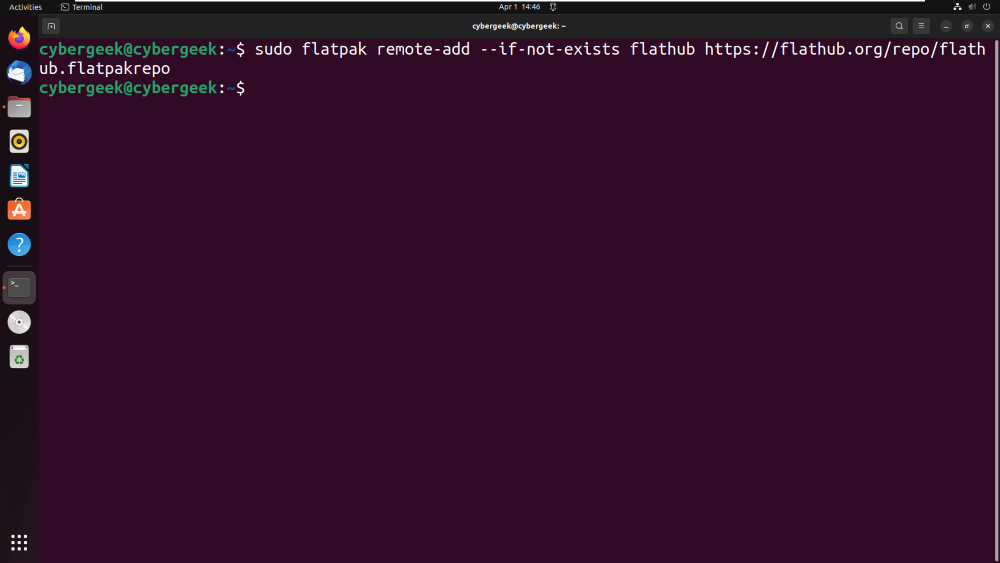
Step 3: After installing, we need to Enable Flathub repository. So to enable this, we will run the below command in the terminal.
sudo flatpak remote-add --if-not-exists flathub https://flathub.org/repo/flathub.flatpakrepo
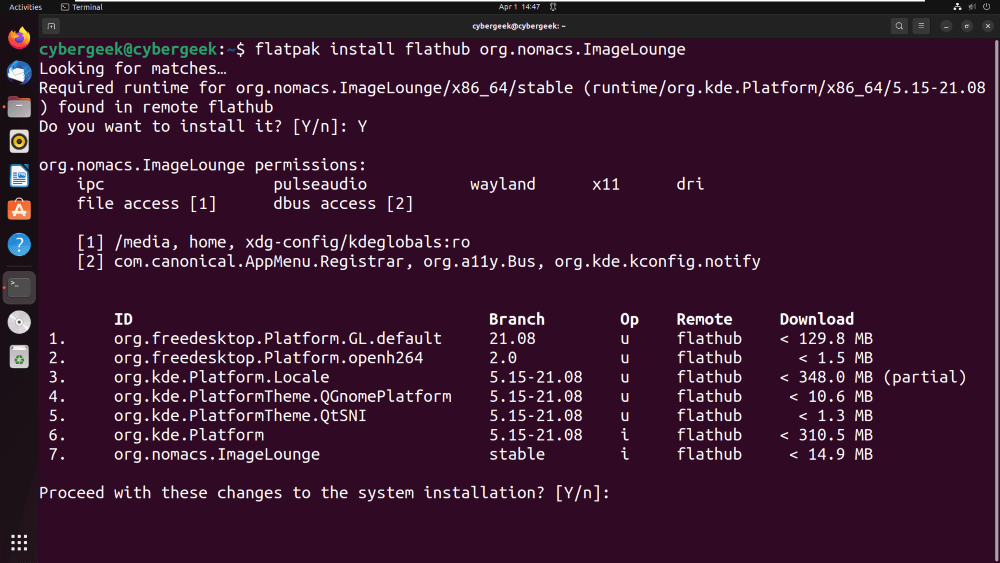
Step 4: Now, by using Flatpak Manager, we will install the Nomacs Image Viewer application on our Ubuntu System.
flatpak install flathub org.nomacs.ImageLounge
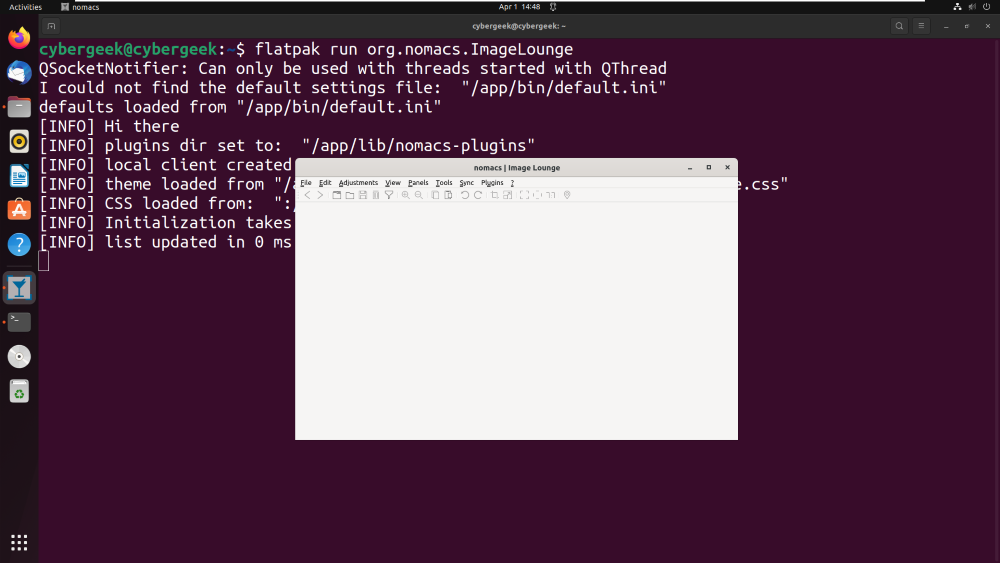
Step 5: After installation, we can launch the Nomacs Image Viewer application using the terminal itself. Execute the below command on the same terminal to launch the application for usage.
flatpak run org.nomacs.ImageLounge
Usage of Nomacs Image Viewer
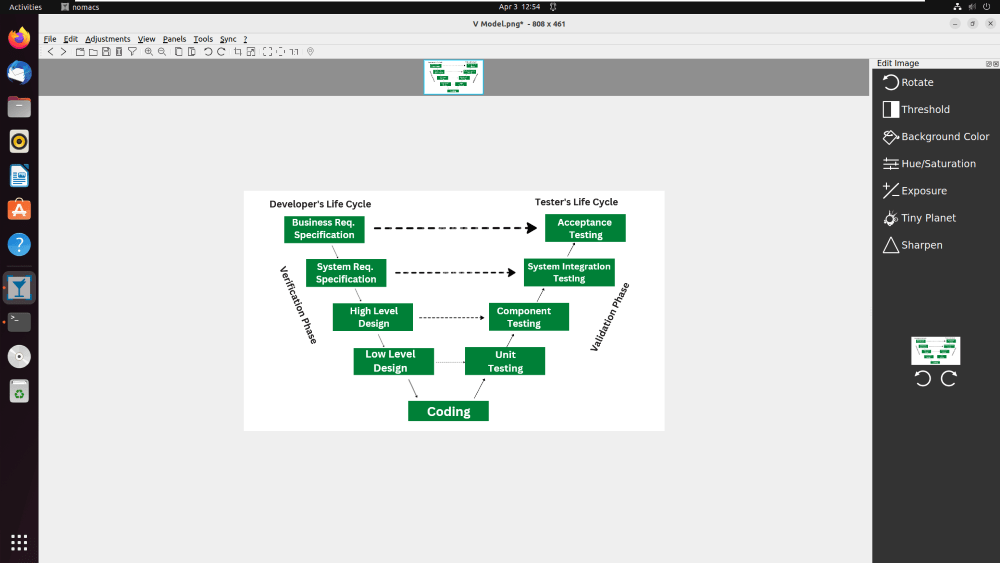
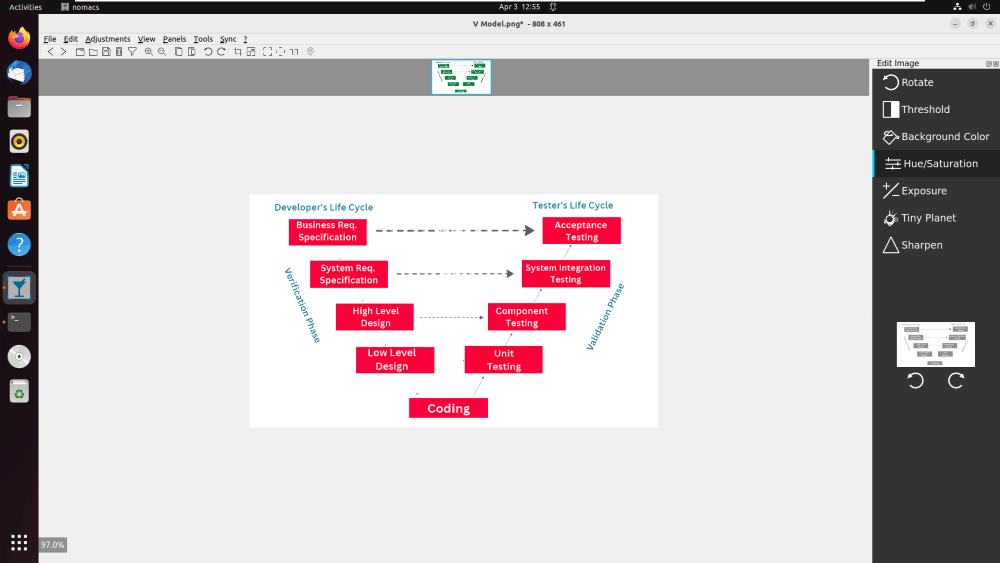
We can perform various operations on Images using this application. In the below screenshot, you can see that we have opened an image from our local space, We can Edit the image by changing the Background color and hanging the Hue/Saturation of the image.
From the above image, we have edited the image, you can see the difference between the above image and the below image.
Uninstalling Nomacs Image Viewer from Ubuntu
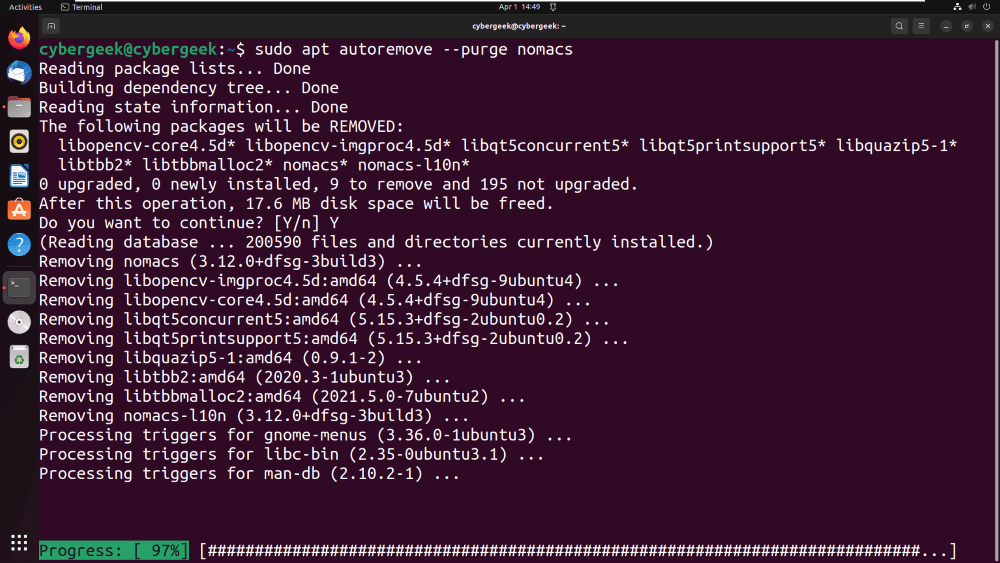
After usage, we can remove the application by using the below steps. In the below screenshot, we have removed the application using apt manager. Just execute the below command in the terminal to remove the application and its files.
sudo apt autoremove --purge nomacs
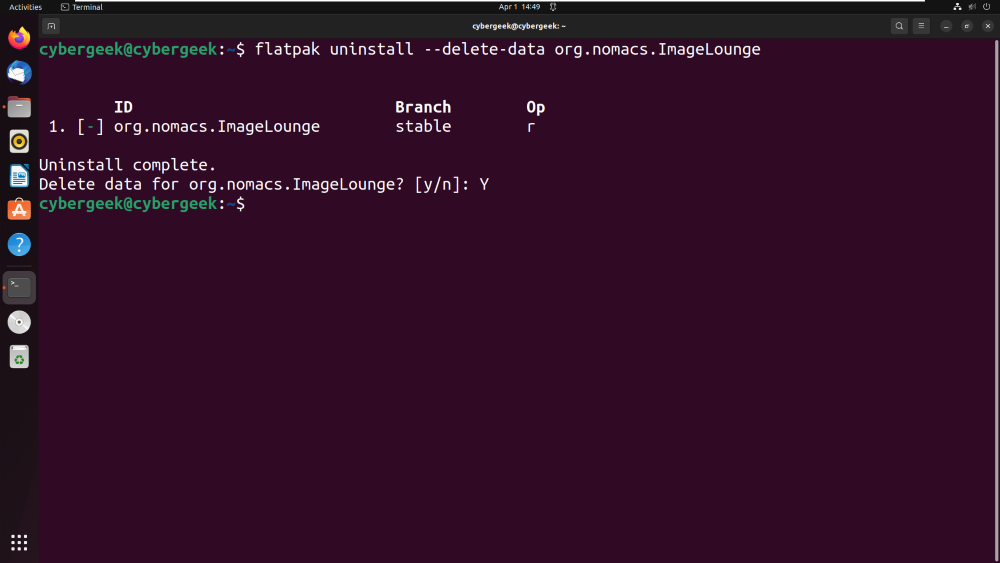
In the above screenshot, we have removed the application using apt manager, in the below screenshot, we will be removing the application using flatpak manager. As we have done installation using 2 methods, the removal process of the application will also be done using 2 methods.
flatpak uninstall --delet-data org.nomacs.ImageLounge
Conclusion
In Conclusion, Nomacs Image Viewer is a feature-rich and advanced application that offers users a simple and user-friendly GUI with a wide range of manipulation tools like changing BG color and changing Saturation. Applications also support multiple file formats. The installation process of the application is also quite easy and with multiple methods. Users can choose the method of installation as per their choice.
Share your thoughts in the comments
Please Login to comment...