How to install Kioptrix Level 1 on VirtualBox
Last Updated :
27 Jan, 2022
Kioptrix is a downloadable VM image file on Vulnhub. It is a VM image challenge to get root access by any means possible. The goal of these is to learn the basic tools and techniques in vulnerability assessment and exploitation. There is more than one way to complete the kioptrix challenge by getting root access.
There is a total of 5 kioptrix vulnerable VM machines present on the Vulnhub website.
- Level 1(#1)
- Level 1.1(#2)
- Level 1.2(#3)
- Level 1.3(#4)
- Level 2011(#5)
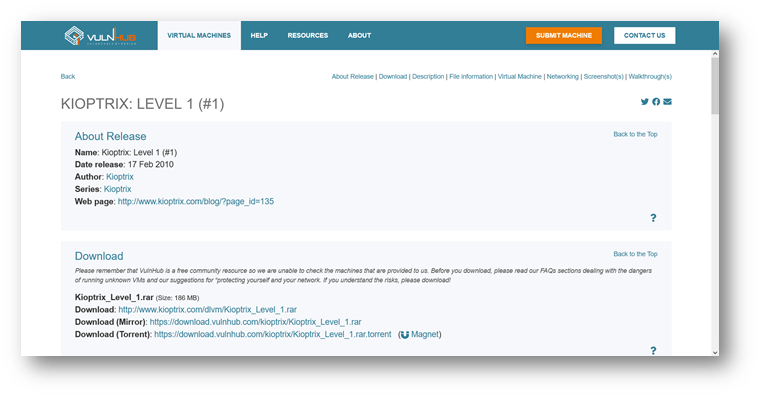
Download Kioptrix: Level 1 (#1)
You can download the Kioptrix level from their Website. To visit their website click here.
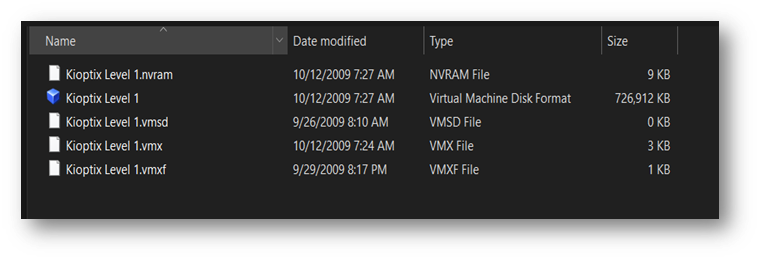
Once the download is complete, extract the “.rar” file. The folder contains the following files:
Installation
- Create a new machine in Virtual Box.
- Set a name of your choice for your VM, select “Linux” & select a computer architecture.
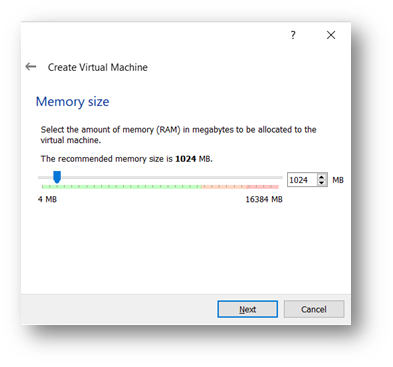
- Define the minimum memory size to 1024 MB or leave it by default and select “Do not add a virtual hard disk”.
- After creating, wait for your VM to appear in your VM.
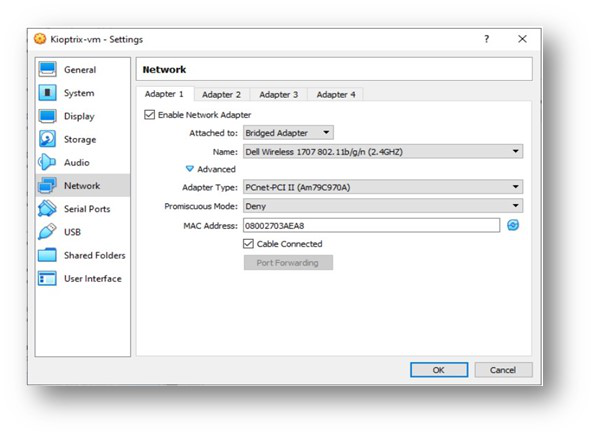
- Click on Network, change the attachment setting to “Bridge Adapter”.
- Expand the Advance setting -> select Adapter Type to “PCnet-PCI II (Am79c970A)”.
Note: Keep network setting same in Linux to access the Kioptrix.
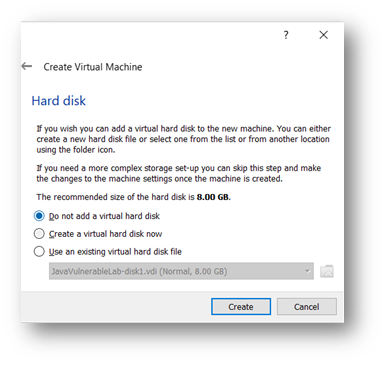
- Select Storage ->Controller: IDE-> “Add Hard disk” button->“Choose Existing Disk”.->Search and add the Kioptrix VMDK disk file.

- Click OK to save and then close the VM settings.
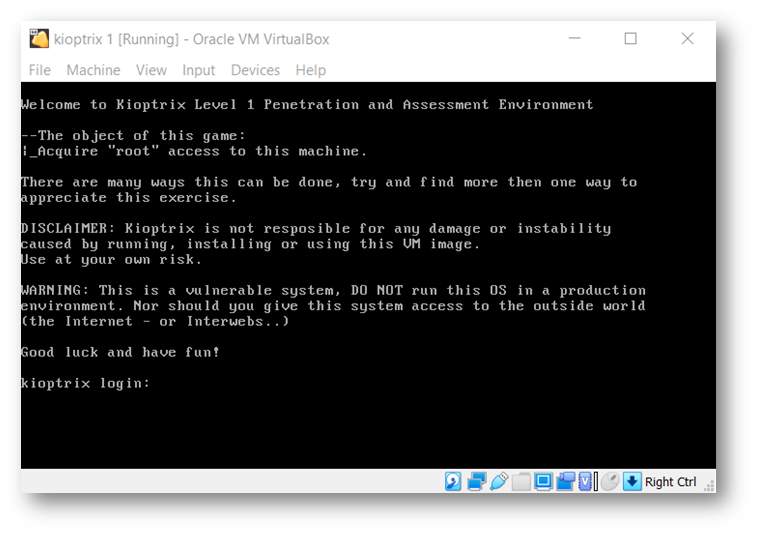
- Below is the screenshot of the newly created Kioptrix VM.
Share your thoughts in the comments
Please Login to comment...