Pre-requisites: Ubuntu, Terminal
Git is a distributed revision control system with an emphasis on speed, data integrity, and support for distributed non-linear workflows. Every Git working directory is a full-fledged repository with complete history and full version-tracking capabilities, independent of network access or a central server. GitHub is a Web-based Git repository hosting service, which offers all of the distributed revision control. Unlike Git, which is strictly a command-line tool, GitHub provides a Web-based graphical interface. GitHub is used for ‘version control’. This means that GitHub is used for software development projects when more than a person(or a group) is working on it. What GitHub does is it creates a cloud-based centralized repository for everyone working in the group and allows everyone working on the project to update the information. One can also use BitBucket if not GitHub.
Installing Git with Default Packages
Step 1: Type the command listed below to launch the Terminal.
If you are executing as a normal user
Sudo apt-get install git
If you are executing as a Root user
Sudo apt-get install git
Installing/Downloading Git from Source
Follow these instructions to install Git from the source on Ubuntu:
Step 1: The first step is to use the command below to update the package list.
sudo apt update
Step 2:The requirements needed to install git must be installed.
sudo apt install libcurl4-gnutls-dev libexpat1-dev gettext libz-dev libssl-dev build-essential
Step 3:Use the following command to download the Git source code from the GitHub website.
wget https://github.com/git/git/archive/refs/tags/v2.31.1.tar.gz
Step 4:Run the following command to extract the downloaded archive.by using the tar command
tar -xvf v2.31.1.tar.gz
Step 5: Use the following command to navigate to the extracted directory
cd git-2.31.1
Step 6: Run the following command to configure the build.
make configure
Step 7: Set up the script by running the command below.
./configure --prefix=/usr/local
Step 8: We need to compile the source code which can be done with the help of the following command.
make all
Step 9: Install Git by using the following command.
sudo make install
Step 10: Check to see if it is installed and if so, what version is.
git --version
The git version should be displayed by the aforementioned command, allowing us to confirm that git is installed.
Setting Up Git
Step 1: Goto www.github.com and sign into your account. If you’re a new user, you can simply sign-up. (You can also use www.bitbucket.org as an alternative, but we will use GitHub here). You’ll have a username from here. Let us say that it’s
GFG-USER
 Step 3:Before using git, we must set up our GitHub credentials(git config) so that we may use the capability of committing code to the GitHub account. The subsequent commands can be used to do this as shown in the image below
git config --global user.name "****"
git config --global user.email "****"
Step 4: The “/.gitconfig file“ contains all the data that was configured using the aforementioned command, and the following command can list all the configurations.
git config --list
How to Use Git Step-by-Step Guide
Step 1: Go to your GitHub account and create a repository with a name(let’s say the name of your project). We are creating a repository with the name My project 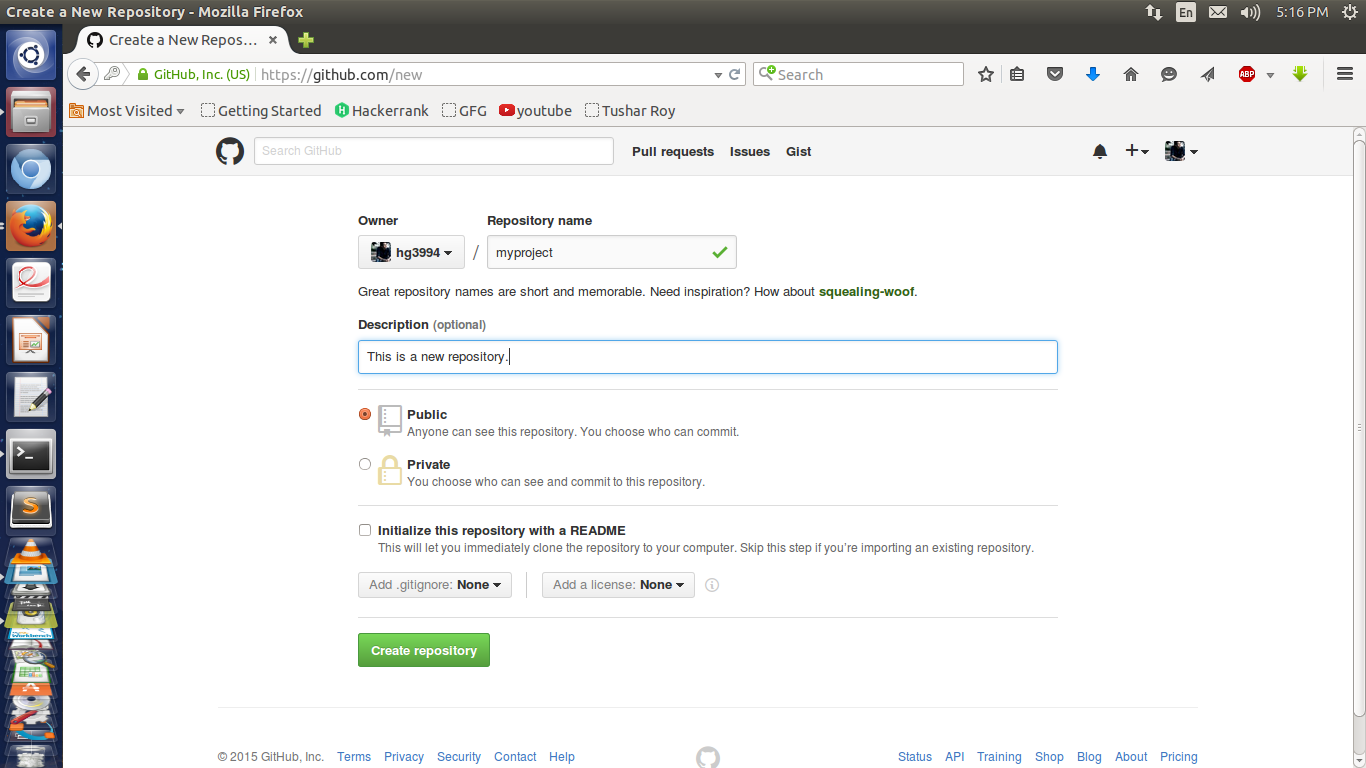 Step 2: Make a folder with the name of your project and change your current directory to that directory.
mkdir my-project cd my-project
Step 3: Now we want to initiate Git for this folder.
git init
Step 4: Now we will set up the remote, which tells git where the repository is located.
git remote add origin https://github.com/your_username/myproject.git
We have now configured and installed git and, created and configured a repository. Let’s say we have a simple file in the project folder HelloWorld.c and we want to share it with a friend who is working on the same project.
Step 5: To add this file we will type git add hello-world.c Or if we have a lot of files to be transferred from the folder to our git account, then we can use the command. This would transfer the file(s) in the list which we will later commit.
git add .
Step 6: Next, when we are finished adding the files, then we will have to commit to adding.
git commit -m 'your_message'
Step 7: Next, we need to push the commit that we just made onto the repository on GitHub
git push origin master
It would automatically ask you for your username and password for GitHub. After entering the details, go to GitHub and refresh. The files would get added there.
Username for ' https://github.com your_username Password for ' https://your_username@github.com ' : *******
Step 8: We have successfully transferred a file to your GitHub account. Now let’s add one more file aboutme.txt and edit our file HelloWorld.c. Following the same procedure we will first add the files, commit and then push them to the GitHub account. ( git add )
git add. git commit -m 'your_message'
git push origin master
Step 9: When we would go to our GitHub account, we would see the entire hierarchy of the modification of the file. Here, we would see the changes we made to the HelloWorld.c file in the respective commits.
Now, Let’s say one of the co-workers of the project needs to work on hello world. c. After making some changes, he wants to update the file on GitHub.
Step 10: First he would have to download the whole repository in which the file HelloWorld.c is present into his system. A folder named my project gets downloaded with all the files in it. The necessary changes are made and then the file is similarly added, committed, and pushed similarly as above. (git clone)
git clone https://github.com/your_username/myproject.git
Step 11: If the first user wishes to see the changes, then he can see them by typing (git pull) master is a branch.
git pull origin master
Article By Harshit Gupta: Kolkata-based Harshit Gupta is an active blogger having a keen interest in writing about current affairs, technical Blogs, stories, and personal life experiences. Besides being passionate about writing, he also loves coding and dancing. Currently studying at IIEST, he is an active blog contributor at Geeks for Geeks.
Share your thoughts in the comments
Please Login to comment...