How to Install Burp Suite on MacOS?
Last Updated :
21 Mar, 2022
Burp Suite is computer software used by cyber security engineers to scan vulnerabilities in applications. It is available for different operating systems like macOS, Linux, Windows, etc. It is provided with lots of features that make it easy to test any application web or app against any cybersecurity-related issues. It has three versions which are Burp suite community edition, Burp suite professional, and Burp suite enterprise edition.
Installing Burp Suite on macOS
Follow the below steps to install Burp Suite on MacOS:
Step 1: Visit the official Burp Suite website using any web browser.

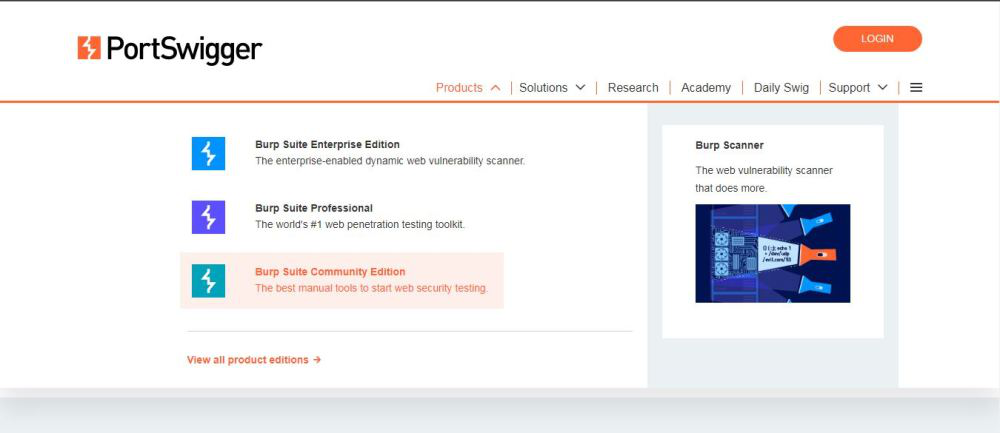
Step 2: Click on Products, a list of different Burp Suites will open, choose Burp suite Community Edition as it is free, click on it.
Step 3: New web page will open, which will ask for an email id, and another option is to Go Straight to downloads. Click on Go straight to downloads.

Step 4: After clicking on Go straight to downloads new web page will open which will contain two versions of the burp suite one is Burp suite community edition and the other is burp suite professional along with compatibility for different operating systems.
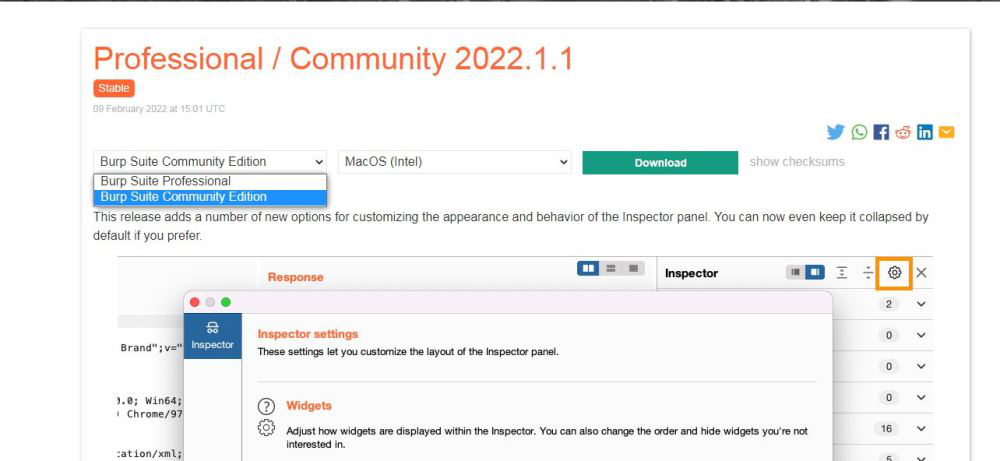
Step 5: Choose Burp suite Community Edition along with MacOS. Click on the download button, downloading of the executable file will start shortly and will be completed in some time.
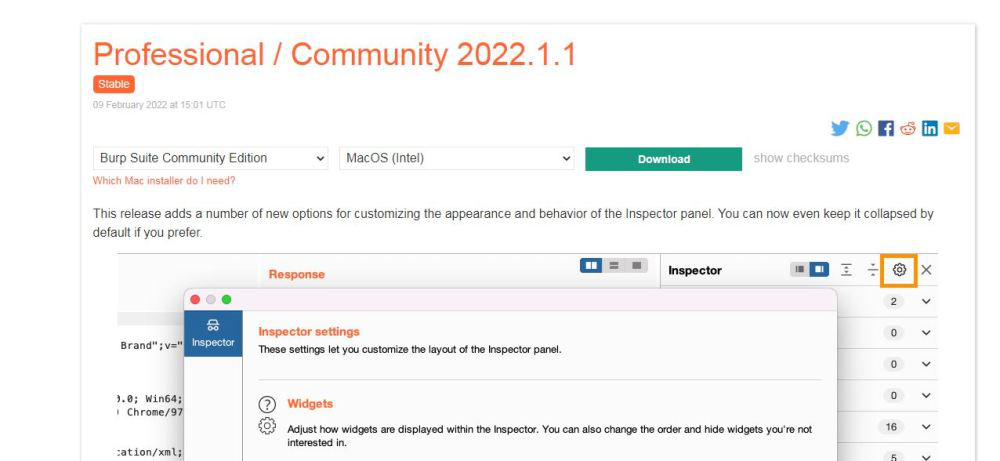
Step 6: Now check for the executable file in downloads in your system and run it.
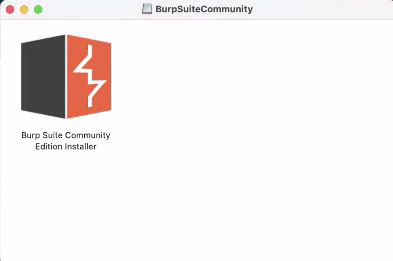
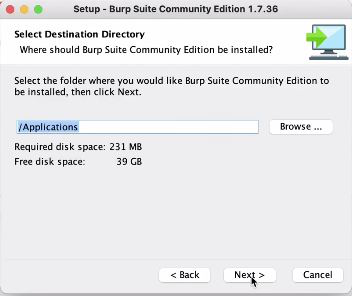
Step 7: The next screen will be of installing location so select the drive which will have sufficient memory space for the installation process.
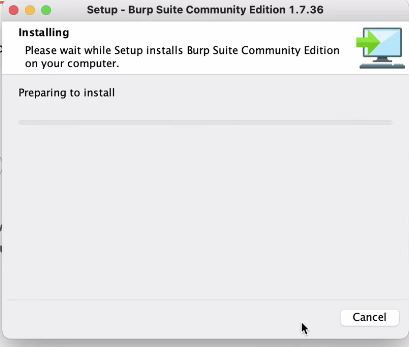
Step 8: After this installation process will start and will take some minutes to complete the installation process.
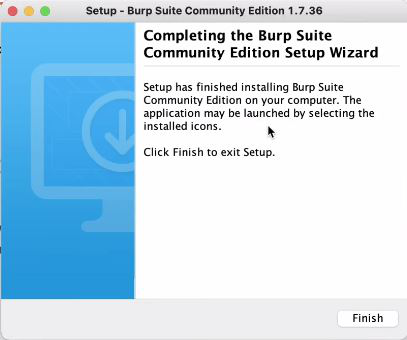
Step 9: Click on the Finish button after the installation process is complete successfully.
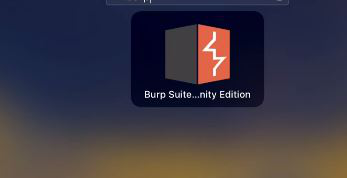
Step 10: Burp suite is successfully installed on the system and an icon is created on the desktop.
Step 11: New screen containing information regarding the project will appear, Choose a temporary project and click the Next button.
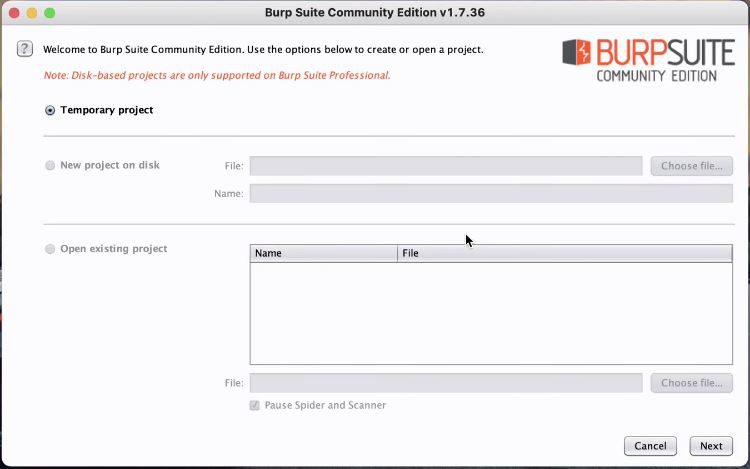
Step 12: Next screen is about using default settings or loading from a configuration file, click on Use Burp Defaults.
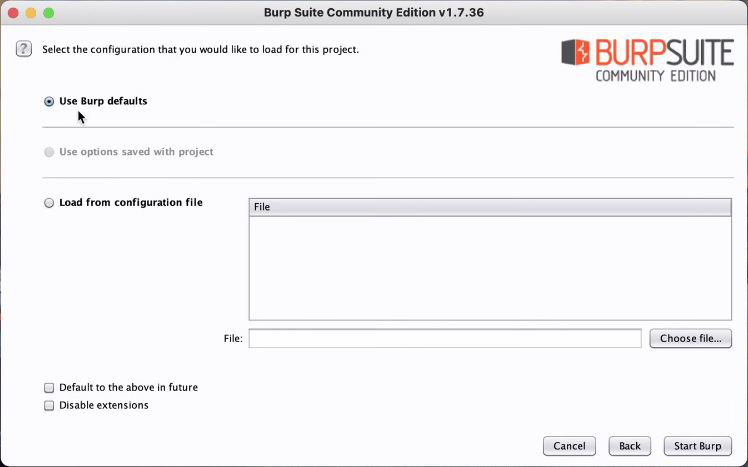
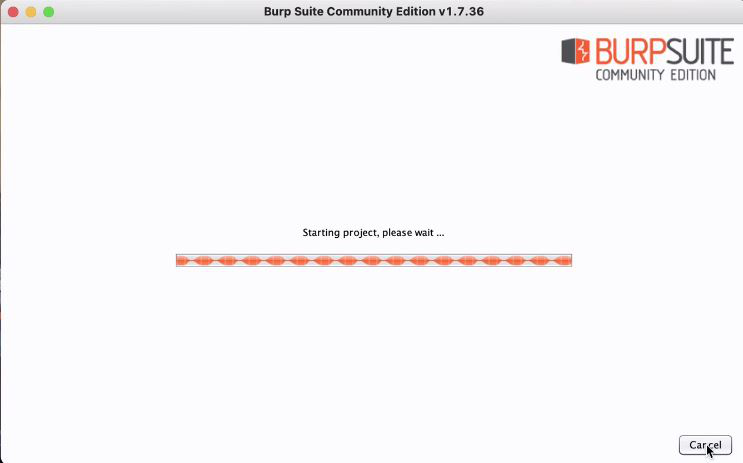
Step 13: Project will start loading.
Step 14: Finally new project window will appear.
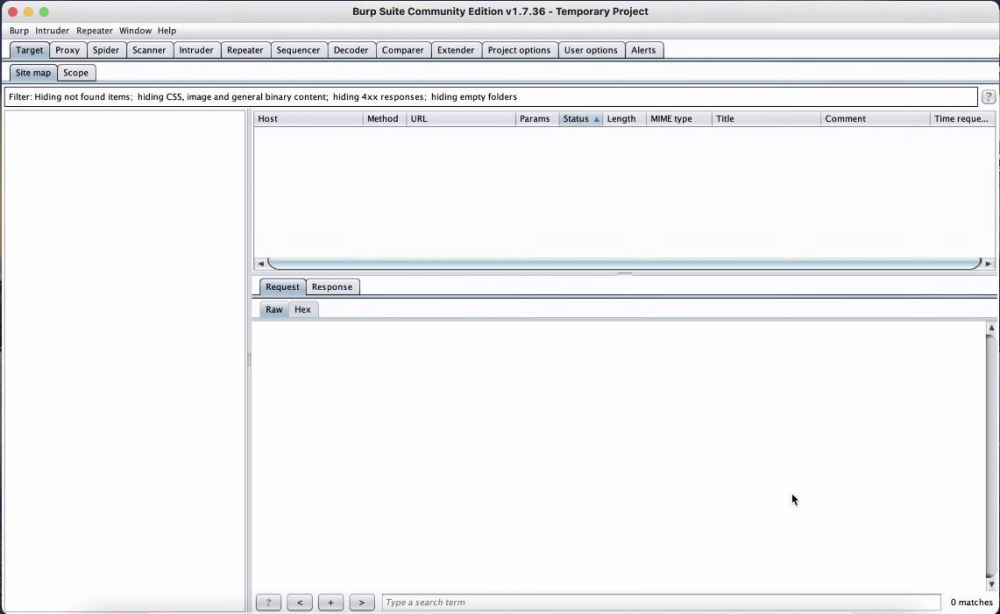
Congratulations!! At this point, you have successfully installed Burp Suite on your MacOS system.
Share your thoughts in the comments
Please Login to comment...