How to Install and Use React Bootstrap with Gatsby JS?
Last Updated :
02 Nov, 2023
In this article, we are going to learn how to install and use React Bootstrap with Gatsby JS. We will install GatsbyJS, then we will install React-Bootstrap in the project to use the class and components of Bootstrap.
Prerequisites
Approach
To begin, we’ll install the Gatsby CLI globally on your machine to create a Gatsby project. Next, we’ll initiate a new Gatsby project and set up the essential project details. Following that, we’ll install React-Bootstrap and create a new file to import the Bootstrap CSS. This will allow us to incorporate Bootstrap into our project.
Steps to create Gatsby Project and Install required modules:
Step 1: Install the Gatsby using the following command
npm install -g gatsby-cli
Step 2: Then create a Gatsby Project using the following command
gatsby new
Step 3: Enter the following prompts as per your need
What would you like to call your site?
√ · GFG-Boot
What would you like to name the folder where your site will be created?
√ GFG/ gfg-boot
√ Will you be using JavaScript or TypeScript?
· JavaScript
√ Will you be using a CMS?
· No (or I'll add it later)
√ Would you like to install a styling system?
· No (or I'll add it later)
Done
Step 4: Now install React-Boostrap by using the following command
npm install react-bootstrap bootstrap
Step 5: Create a gatsby-browser.js and the following import in the file
import 'bootstrap/dist/css/bootstrap.min.css'
Project Structure:

Project Strucrure
The updated dependencies in package.json file will look like:
 "dependencies": {
    "@testing-library/jest-dom": "^5.17.0",
    "@testing-library/react": "^13.4.0",
    "@testing-library/user-event": "^13.5.0",
    "bootstrap": "^5.3.2",
    "react": "^18.2.0",
    "react-bootstrap": "^2.8.0",
    "react-dom": "^18.2.0",
    "react-scripts": "5.0.1",
    "web-vitals": "^2.1.4"
  }
Example 1: This example implements the above-mentioned approach.
Javascript
import * as React from "react";
import { Container, Navbar, Nav, Button } from "react-bootstrap";
const IndexPage = () => {
return (
<div>
<Navbar bg="light"
expand="lg">
<Container>
<Navbar.Brand href="#home">
GastbyStrap
</Navbar.Brand>
<Navbar.Toggle aria-controls="basic-navbar-nav" />
<Navbar.Collapse id="basic-navbar-nav">
<Nav className="ml-auto">
<Nav.Link href="#about">About</Nav.Link>
<Nav.Link href="#services">Services</Nav.Link>
<Nav.Link href="#contact">Contact</Nav.Link>
</Nav>
</Navbar.Collapse>
</Container>
</Navbar>
<div className="banner">
<Container>
<h1>
Welcome to My Website using
Gatsby and React Boostrap
</h1>
<Button variant="primary"
href="#services">
Explore
</Button>
</Container>
</div>
</div>
);
};
export default IndexPage;
export const Head = () => (
<title>Home Page</title>
);
|
Steps to Run this project:
Step 1: Write the following command in the terminal of project directory
npm run develop
Output
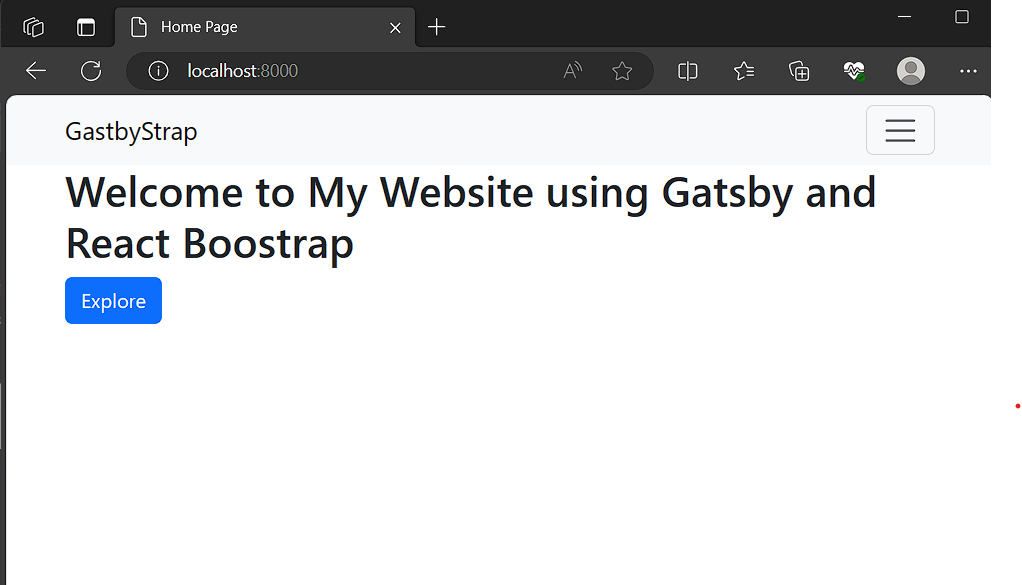
Output
Share your thoughts in the comments
Please Login to comment...