How to Impose High CPU Load and Stress Test on Linux Using ‘Stress-ng’ Tool
Last Updated :
26 Dec, 2023
The system must have the capacity to handle a high workload regarding systems administration activities including performance testing. One such method used in testing the robustness of a system at its limit points is known as stress testing. Stress-ng is also a great versatile and strong tool for stress testing. This article is aimed at providing instructions on how to set up to overstress a Linux system or high-CPU load.
Installation of Stress-ng Tool in Linux
In this section, we will see the complete installation steps of the Stress-ng tool in the Linux environment. Follow the below commands to install the tool without encountering any error or problem.
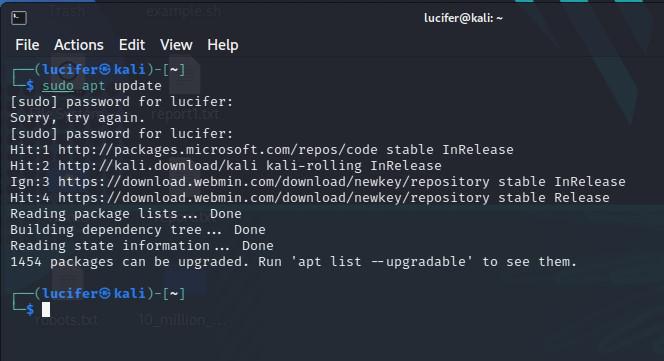
Step 1: To make sure your system is up to date, before installing any tool we will perform a package update using the below command:
sudo apt update
Updating System
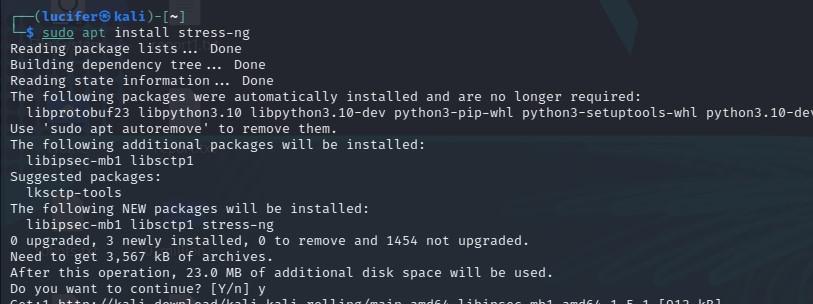
Step 2: After the repositories are updated, we are ready to install the stress-ng tool, so to install type the command mentioned below in the terminal:
sudo apt install stress-ng
Installing Stress-ng Tool
How to Impose High CPU Load and Stress Test on Linux?
In this section, we will see how we can impose a High CPU Load and Stress Test on Linux with different options. We will see various examples with each example having different options and flags included:
Example 1: Imposing High CPU Load
Stress-ng also gives us a multitude of settings with which you can stress various components in our system.
Syntax:
stress-ng --cpu <number_of_cpus> --timeout <duration_in_seconds>
stress-ng: The command itself, indicating the use of the stress-ng tool.--cpu <number_of_cpus>: Specifies the CPU stress test, where <number_of_cpus> the desired number of CPU workers to stress.--timeout <duration_in_seconds>: Sets a time limit for the stress test, <duration_in_seconds> representing the duration for which the stress test should run.
Command:
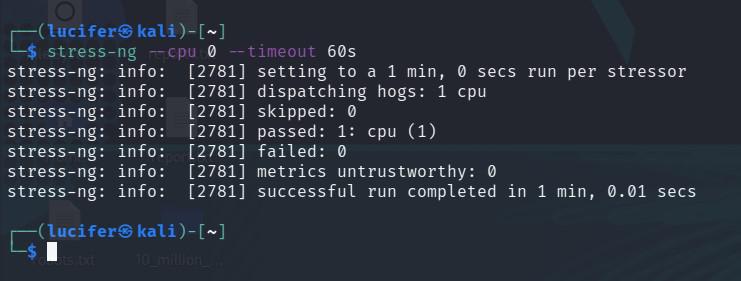
Now, we need to replace <number of cpus> with the desired number of CPU workers and <duration in seconds> with the duration for which we want the test to run.
stress-ng --cpu 0 --timeout 60s
Output:
Imposing High CPU Load
The –cpu 0 option states that we are using all the available CPUs. We can specify the CPU frequency by adjusting the –cpu option value
Example 2: To stress a specific percentage of CPU
This parameter is used to implement the specific percentage of stress on the system.
Syntax:
stress-ng --cpu-load <percentage> --timeout <duration_in_seconds>
stress-ng: The main command for invoking the stress-ng tool.--cpu-load <percentage>: Specifies the percentage of CPU load to be generated. Replace <percentage> with the desired value, such as 50 for 50% CPU load.--timeout <duration_in_seconds>: Sets the duration for which the stress-ng tool will run, inducing the specified stress. Replace <duration_in_seconds> with the desired duration in seconds.
Command:
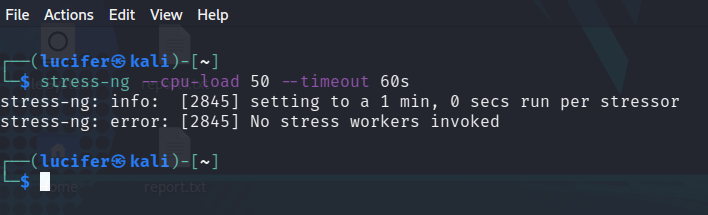
Replace <percentage> with the desired CPU load percentage. For instance, to stress the CPU at 80% for 10 minutes:
stress-ng --cpu-load 80 --timeout 60s
Output:
To stress a specific percentage of CPU
Example 3: Sequential CPU Stress with Timeout
In this example, we will perform sequential CPU stress with a timeout parameter.
Syntax:
stress-ng --cpu <number_of_cpus> --timeout <duration_in_seconds> --sequential
stress-ng: The main command for invoking the stress-ng tool.--cpu <number_of_cpus>: Specifies the number of CPUs to stress. Replace <number_of_cpus> with the desired number of CPUs. For example, --cpu 4 to stress 4 CPUs.--timeout <duration_in_seconds>: Sets the duration for which the stress-ng tool will run, inducing the specified stress. Replace <duration_in_seconds> with the desired duration in seconds.--sequential: Indicates that the stress-ng workload will be applied sequentially.
Command:
To sequentially stress each CPU for 2 minutes, you can use the following command:
stress-ng --cpu 0 --timeout 120s --sequential 3
It involves –sequential as an option which makes sure stress-ng stresses each CPU sequentially, one by one, and timeout determines the time of stress testing in the system.
Output:
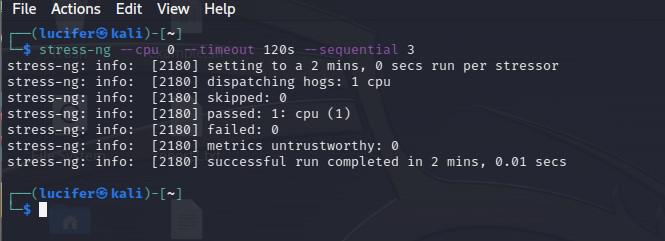
Sequential CPU Stress with Timeout
Example 4: Custom CPU Stress Method
In this example, we will perform custom CPU stress.
Syntax & Command:
If you want to stress all components of the system simultaneously (CPU, memory, I/O, etc.), you can use the ‘–all‘ option:
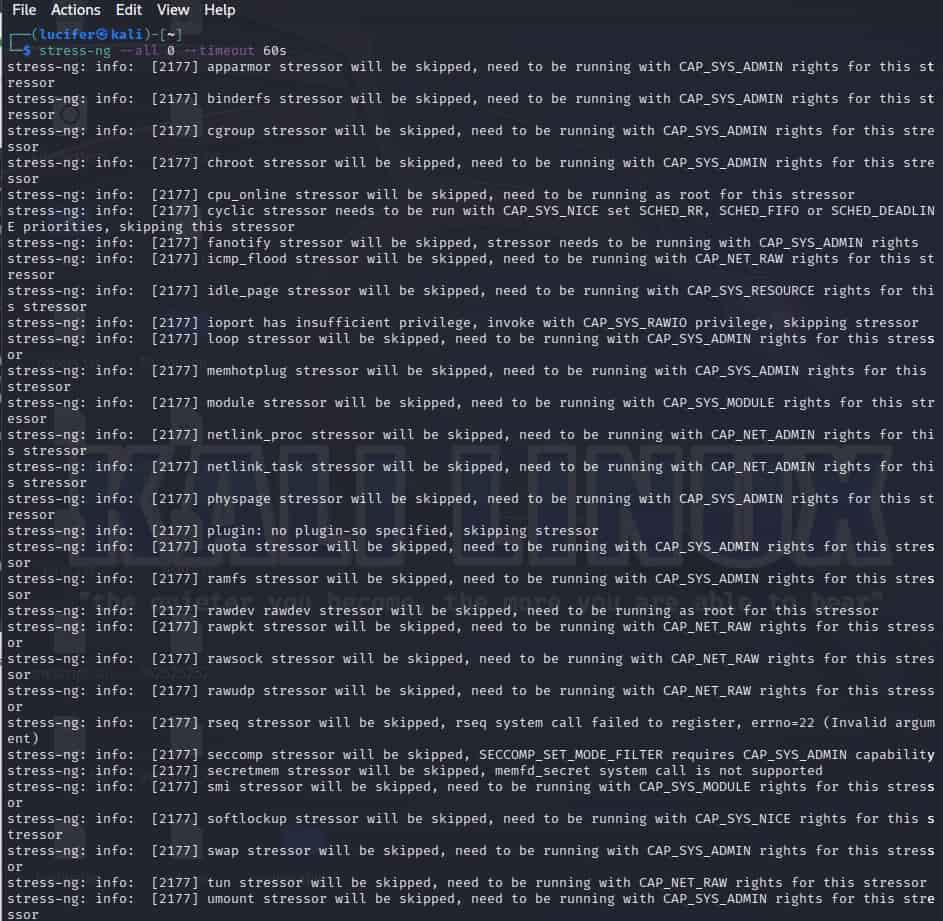
stress-ng --all --timeout 60s
stress-ng: The main command for invoking the stress-ng tool.--all: Specifies that stress should be applied to all available stressors. This includes CPU, memory, I/O, and other stressors depending on the system.--timeout 240s: Sets the duration for which the stress-ng tool will run. In this case, it’s set to 240 seconds (4 minutes).
This stresses numerous components in the system, serving as an overall or total stress test.
Output:
Custom CPU Stress Method
Example 5: Random Stress with Timeout
In this example, we will perform random stress with a timeout parameter.
Syntax & Command:
For a random combination of stressors with a timeout of 4 minutes, use the command mentioned below:
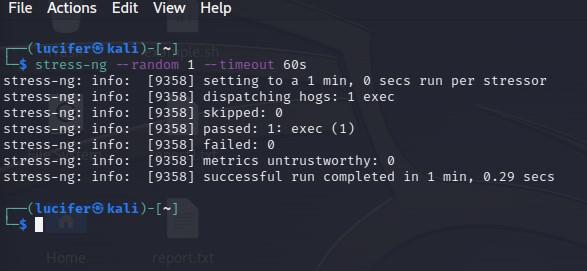
stress-ng --random 1 --timeout 60s
stress-ng: The main command for invoking the stress-ng tool.--random 1: Specifies the use of random stressors. The 1 indicates the number of stressors, and in this case, it’s set to 1 random stressor.--timeout 240s: Sets the duration for which the stress-ng tool will run. In this case, it’s set to 240 seconds (4 minutes).
The –random is a very flexible stressing parameter that can be applied to a mixture of different stress factors.
Output:
Random Stress with Timeout
Additional CPU Stress Testing Options Provided by Stress-ng tool
More than this, Stress-ng will give you additional options that you can use to stress test your machine’s CPU. Some notable ones include:
- –cpu-method: Give the way of doing CPU straining (example may be ‘all’ or ‘bitops’, or ‘matrix’).
- –cpu-ops: Indicate the number of operations per second for the CPU stressor.
- –cpu-ops-precision: State the accuracy of the operation per second calculations.
Finally, you may also try out the stress test using these options based on your personal needs. You can also refer to the help option if you want to see what other options stress-ng offers. you can see the example below in the image with the command:
stress-ng -h
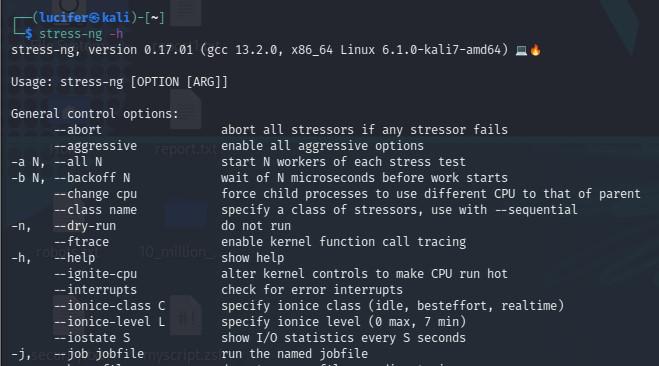
Help Page of stress-ng too
Conclusion
In conclusion, system administration and performance tuning involve a key element known as stress testing. The ‘stress-ng’ tool greatly helps in putting pressure (CPU load) onto the Linux machine and evaluating its operational abilities under stressful parameters. It is vital to observe the instructions on installing and using this software to subject your Linux machine to a rigorous examination and see whether it works out in harsh environments.
Share your thoughts in the comments
Please Login to comment...