This article introduces stress command, a command line tool available for Linux-based operating systems to evaluate the performance and reliability of a system under a variety of workloads by introducing stress (heavy load) to the system. First, we see the introduction, then the installation, and finally usage.
Introduction to “stress” command
stress is a command-line tool available in Linux to test the performance and reliability of computer systems. It has a variety of use cases like –
- It is used by system administrators to evaluate the scalability of their system.
- It is used by kernel programmers to evaluate the performance characters of the kernel.
- It is used by systems programmers to test for classes of bugs which generally occur only when the system is under heavy load.
As per the description available for the command –
Note: this is a tool that imposes a configurable amount of CPU, memory, I/O, or disk stress on a POSIX-compliant operating system and reports any errors it detects.
In simplified terms, the command can stress the CPU, memory, I/O, or disk of the system (which is POSIX-compliant) and report any errors if detected during the stress process. Moreover, we can configure the level of stress. Also, remember that stress is not a benchmark tool (at least by intention).
Note: It is recommended to run stress with proper user privileges (using sudo) or as the root user to get the best functioning.
Installation of `stress` command in Linux
stress can be installed using package managers available on different linux systems. Here are the commands for a few popular distros –
For Fedora/Red Hat –
$ sudo dnf install stress
For Debian/Ubuntu –
$ sudo apt-get install stress
Here is a screenshot from the installation on Fedora –
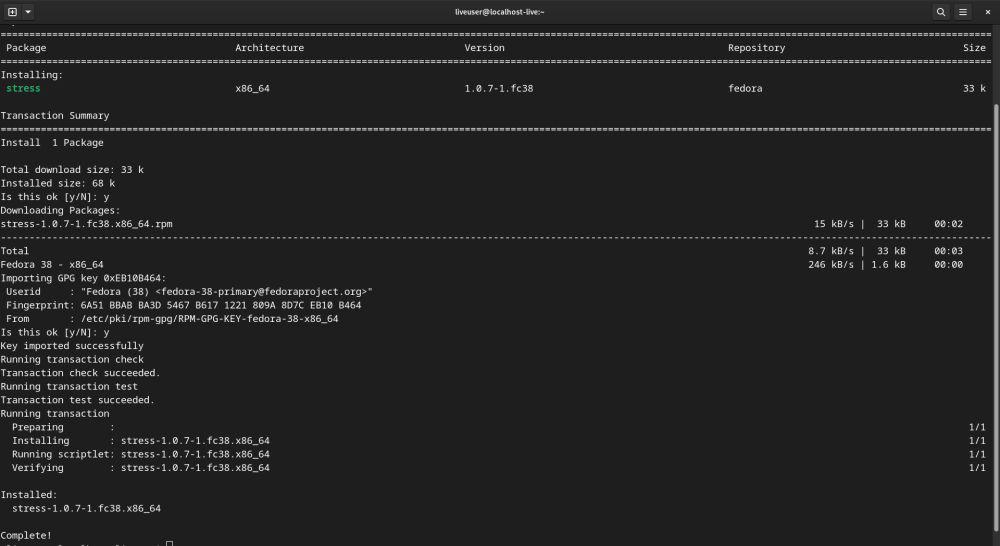
Figure 1: Terminal output on Fedora, the result of stress command installation.
Once installed, you can reassure yourself using the command –
$ stress --version
If installed successfully, it outputs the version number (as shown in the screenshot below) –

Figure 2: Screenshot showing version number of stress on terminal
Usage of `stress` command in Linux
The syntax to use the command is as follows-
$ stress [options]
Here is a list of basic options –
|
-d
|
stress the storage.
|
|
-c
|
stress the CPU.
|
|
-v
|
stress the memory.
|
|
-i
|
stress io.
|
|
-t
|
decide the time period for the stress (in seconds).
|
A list of all the available options and their precise usage description can be obtained by running the command –
$ man stress
It will open the man (manual) page for the command.
Now we see a few usage examples. The screenshots are from “Fedora” but the working is the same across all distributions. The approach in the screenshots is simple – I have opened the terminal on left half and the system-monitor application on the right half. We run the commands on the terminal and monitor the load on the system monitor.
Stressing the CPU with a stress command
Syntax :
$ stress -c N
N is an integer specifying the number of CPUs to stress. For example, here is the command to stress 8 CPU cores with a timeout of 10 seconds-
$ stress -c 8 --timeout 10
Below (Figure 3) is the resultant screenshot. One can notice in the top graph of the system monitor (right) that the CPU usage shoots up to 100% while the command is running.

Figure 3: Screenshot showing the effect of stressing CPU with stress command.
Stressing the memory with stress command
Syntax :
$ stress --vm N --vm-bytes B
where N is the number of workers and B is the malloc bytes per worker (256M by default).
For example here is the command to stress the memory with 20 workers each of size 128M for 10 seconds-
$ stress --vm 20 --vm-bytes 128M --timeout 10
Figure 4 shows the resultant screenshot. Notice the middle graph (titled Memory and Swap) grew suddenly depending on the amount of stress we specified. Also, the CPU usage has spiked to full load.

Figure 4: Screenshot showing the effect of stressing memory with the stress command.
Combining different loads
We can even combine different loads. For example, with this command, we combine CPU and memory load –
$ stress -c 8 --vm 20 --vm-bytes 128M --timeout 5
This says stress 8 CPU cores and memory with 20 service workers each with malloc size 128M for 5 seconds.
Frequently Asked Questions
1. Can we use stress command for benchmarking?
No. Stress command is designed to test the reliability and performance of the system under heavy (or configurable amount of) load but not measure the performance (i.e. benchmarking).
2. Is there any newer version of to stress command?
Yes. stress-ng is an updated version of the stress command.
3. What things can we stress with the stress command?
One can stress hard disk/storage, memory, CPU, and io with the stress command.
4. Is stress good enough for the production environment?
Yes. It has been used by a lot of people in production environments for things like kernel testing, testing embedded systems under load, etc.
5. Is stress free and open-source?
Yes. It is distributed under GPL license.
Conclusion
stress is a simple yet powerful open-source command line tool to test a system under stress (heavy load). It can be used to stress hard disk, io, memory, and CPU in any POSIX-compliant operating system (such as Linux) and it will report any errors encountered while stressing. Moreover, we can combine multiple stress tests together and/or configure the magnitude of each separately too.
Share your thoughts in the comments
Please Login to comment...