How to generate dynamic content with CGI?
Last Updated :
08 Dec, 2023
In this article, we will explore how we can generate dynamic content with CGI (Common Gateway Interface) script on a Windows machine. We will create a webpage in which various user interactions can be performed, dynamic data is been displayed as per user input.
CGI Script: A CGI script is nothing but a program that is executed on the web server and can also generate dynamic web content. We can use this to make the web application form, server-side content, etc.
Web Server: A web Server is an important utility in which the information requests and responding to the request are done properly, To run the CGI scripts, the Web Server is required.
HTTP: Hypertext Transfer Protocol is the foundation of data communication on the World Wide Web. It defines how messages are formatted and transmitted.
Prerequisites
- XAMPP Web Server
- Python Installation
- Create CGI Script
Creating Dynamic Content with CGI Script
Follow the below-added steps to create the dynamic content with CGI Script on a Windows Machine using XAMPP Web Server.
Step 1: Firstly, we will be navigating to the CGI directory which is in the “C:\xampp\cgi-bin” on the XAMP folder. The directory can be different if you have configured the XAMPP server on a different location. But the provided path is the standard and default path.
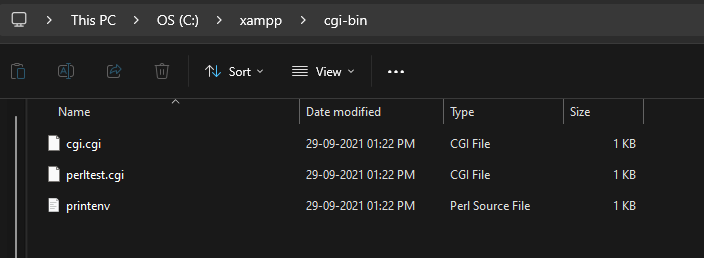
Step 2: Once, we have navigated to the directory, we need to create a new file with the extension as (.cgi). The filename can be anything as per our need. We will name the file as gfg.cgi.

Step 3: After the creation of the file, we need to paste the following code into this newly created file. Make sure to replace the shebang as per your Python Executable Path.
Python3
import cgi
def generate_html_header():
print("Content-type: text/html\r\n\r\n")
print("<html><head>")
print("<title>Dynamic Webpage</title>")
print("<style>")
print("body { font-family: Arial, sans-serif; background-color: #f0f0f0; margin: 0; padding: 0; }")
print(".container { max-width: 500px; margin: 0 auto; background-color: #fff; padding: 20px; border: 1px solid #ddd; border-radius: 5px; }")
print("form { text-align: center; }")
print("input[type='text'] { padding: 10px; width: 100%; border: 1px solid #ccc; border-radius: 5px; }")
print("input[type='submit'] { background-color: #4CAF50; color: white; padding: 10px 20px; border: none; border-radius: 5px; cursor: pointer; }")
print("h1 { color: green; text-align: center; transform-origin: center bottom; transition: transform 0.3s; }")
print("h1:hover { transform: rotate(180deg) scale(1.1); }")
print(".title-container { text-align: center; margin-top: 20px; }")
print("@keyframes bounce { 0%, 100% { transform: translateY(0); } 50% { transform: translateY(-20px); }}")
print("</style>")
print("</head><body>")
print("<div class='container'>")
def generate_html_form():
print("<form method='post' action=''>")
print("<p>Enter a number: <input type='text' name='number' /></p>")
print("<input type='submit' value='Calculate Square' />")
print("</form>")
def calculate_square():
form = cgi.FieldStorage()
number = form.getvalue("number")
if number:
try:
number = float(number)
square = number ** 2
print("<p>The square of {} is {:.2f}</p>".format(number, square))
except ValueError:
print("<p>Please enter a valid number to calculate its square.</p>")
generate_html_header()
print("<div class='title-container'><h1>GeeksforGeeks</h1></div>")
generate_html_form()
calculate_square()
print("</div></body></html>")
|

Running and Testing the CGI Script
As we have created and pasted the code in the CGI Script, we will run and test the dynamic content on the Web Server using the XAMPP Web Server.
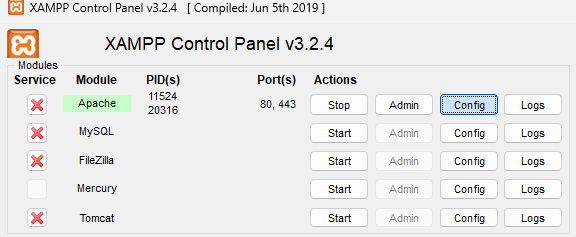
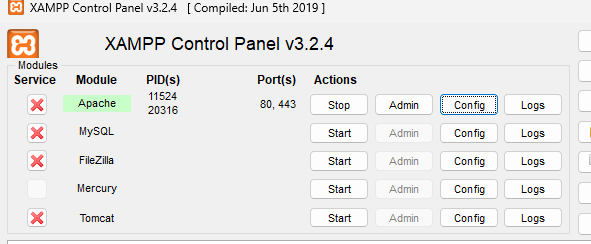
Step 1: First, we need to launch the XAMPP Control Panel from the start menu. Make sure to run it as an administrator to have full control.

Step 2: After opening, we need to click on the Config of the Apache module to edit the configuration file.
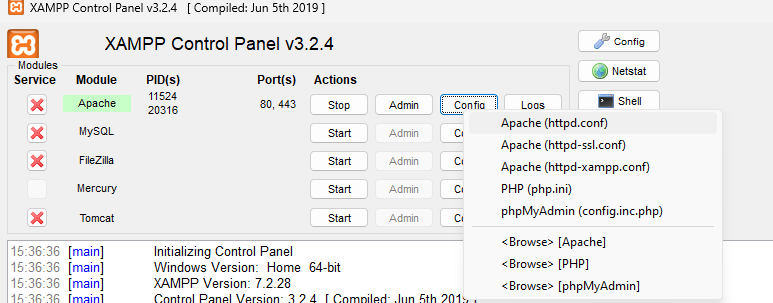
Step 3: After clicking on the option, we need to select the file as Apache (httpd.conf) and click on it.
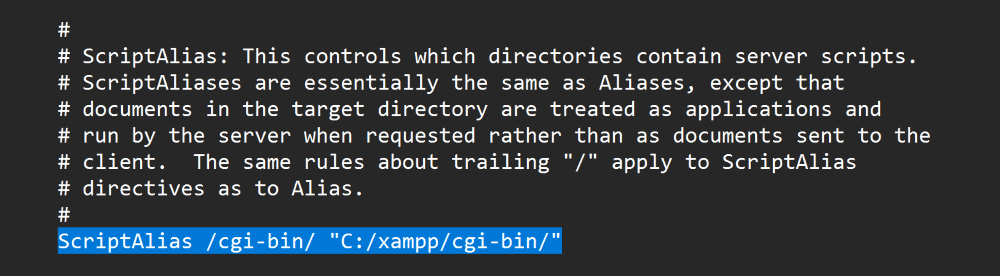
Step 4: Once the file gets opened, we need to find the line as ScriptAlias /cgi-bin/ “C:/xampp/cgi-bin/” and uncomment it from the config file.
Step 5: We need to save the file once the changes are been done and need to restart the Apache Web Server.
Step 6: Now, we can access the script through a web browser by navigating to “http://localhost/cgi-bin/gfg.cgi” in our web browser.
Share your thoughts in the comments
Please Login to comment...