Handling File Uploads via CGI
Last Updated :
08 Dec, 2023
In this article, we will explore how we can handle file uploads via CGI (Common Gateway Interface) script on Windows machines. We will develop a form in which there will be the functionality of uploading the file, when the user uploads the file and submits the form, the data is been passed to the CGI script and the file that is uploaded will get stored in the directory where CGI script is been saved.
Concepts Related
- CGI Script: A CGI script is nothing but a program that is executed on the web server and can also generate dynamic web content. We can use this to make the web application form, server-side content, etc.
- Web Server: A web Server is an important utility in which the information requests and responses to the request are done properly, To run the CGI scripts, the Web Server is required.
- HTTP: Hypertext Transfer Protocol is the foundation of data communication on the World Wide Web. It defines how messages are formatted and transmitted.
Prerequisites
- XAMPP Web Server
- Python Installation
- Create CGI Script
Handling File Uploads via CGI Forms
Follow the below-specified steps to handle the file uploads via from in CGI script on a Windows Machine using XAMPP Web Server.
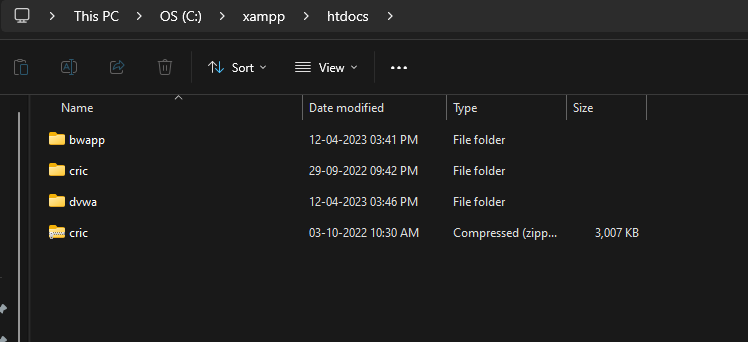
Step 1: Firstly, we need to navigate to the htdocs directory in the XAMPP Folder. This directory can be found at “C:\xampp\htdocs“. This directory contains the web pages that we need to run on the XAMPP Server. The standard path is specified, but if you have configured the XAMPP on a different directory, then you need to navigate to that directory.
Step 2: After navigating to the directory, we need to create a basic HTML form that contains file upload functionality which will allow the users to upload the files from the local drive.
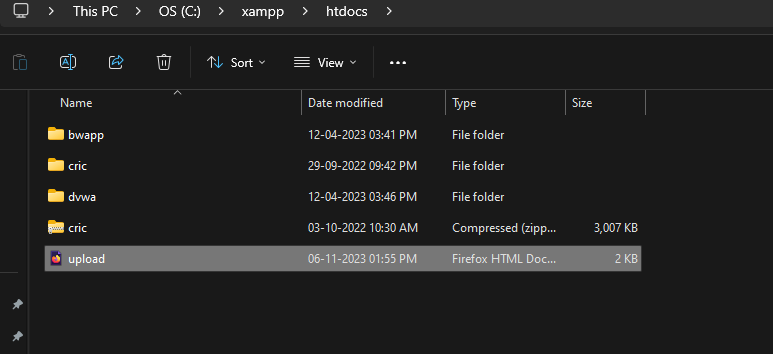
Step 3: After creating the file, paste the below code in the file which has the input elements developed using the HTML tags.
HTML
<!DOCTYPE html>
<html>
<head>
<title>File Upload Form</title>
<style>
body {
font-family: Arial, sans-serif;
background-color: #f2f2f2;
}
form {
width: 400px;
margin: 0 auto;
padding: 20px;
background-color: #fff;
border: 1px solid #ccc;
border-radius: 5px;
box-shadow: 0 0 10px rgba(0, 0, 0, 0.2);
}
h1 {
color: green;
}
h3 {
color: #333;
}
input[type="file"] {
margin: 10px 0;
}
input[type="submit"] {
background-color: #007bff;
color: #fff;
border: none;
padding: 10px 20px;
border-radius: 5px;
cursor: pointer;
}
input[type="submit"]:hover {
background-color: #0056b3;
}
</style>
</head>
<body>
<form action="/cgi-bin/upload_handler.cgi" method="post" enctype="multipart/form-data" accept-charset="UTF-8">
<h1>GeeksforGeeks</h1>
<h3>Uploading File Form</h3>
<input type="file" name="file">
<input type="submit" value="Upload File">
</form>
</body>
</html>
|
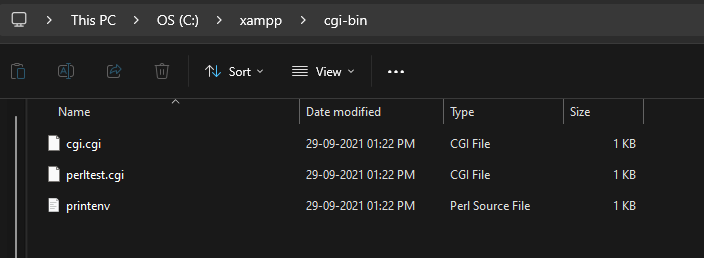
Step 4: Now, we will be navigating to the CGI directory which is in the “C:\xampp\cgi-bin” on the XAMP folder. The directory can be different if you have configured the XAMPP server on a different location. But the provided path is the standard and default path.
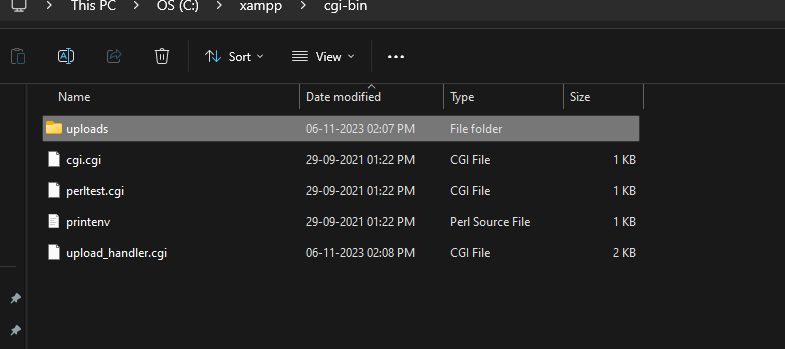
Step 5: After navigating to the cgi-bin folder. We need to create a new file as upload_handler.cgi. The filename can be anything as per our need. Here, for this example will name the file as upload_handler.cgi.

Step 6: Once the file is been created, we need to paste the below code in the created upload_handler.cgi file. Make sure to replace the shebang as per your Python Executable Path.
Python3
import cgi
import cgitb
import os
import datetime
cgitb.enable()
form = cgi.FieldStorage()
print("Content-type: text/html\n")
print("<html>")
print("<head>")
print("<title>File Upload Result</title>")
print('<style>')
print(' body { font-family: Arial, sans-serif; background-color: #f2f2f2; }')
print(' .result { width: 500px; margin: 0 auto; padding: 20px; \
background-color:
box-shadow: 0 0 10px rgba(0, 0, 0, 0.2); }')
print(' .error { color: red; }')
print(' h1 { color: green; }')
print(' h3 { color: #333; }')
print(' .file-info { font-size: 16px; margin-top: 10px; }')
print('</style>')
print("</head>")
print("<body>")
if "file" in form:
file_item = form["file"]
if file_item.filename:
file_name = file_item.filename
file_path = 'uploads/' + file_name
with open(file_path, 'wb') as file:
file.write(file_item.file.read())
print(f"<h1>GeeksforGeeks</h1>")
print("<h3>CGI Script to Receive File from Form</h3>")
print(f"<h2>File '{file_name}' uploaded successfully.</h2>")
upload_datetime = datetime.datetime.now().strftime('%Y-%m-%d %H:%M:%S')
print(f"<div class='file-info'>Uploaded on: {upload_datetime}</div>")
local_path = os.path.abspath(file_path)
print("<div class='file-info'>")
print(f"Instructions to view the uploaded file locally on your drive:")
print("<ul>")
print("<li>Locate the uploaded file in the 'cgi-bin/uploads' folder.</li>")
print("<li>Open the file using your preferred local application \
(e.g., a text editor, image viewer, etc.).</li>")
print("</ul>")
print("</div>")
else:
print("<h1 class='error'>Error: No file was uploaded.</h1>")
else:
print("<h1 class='error'>Error: No file field found in the form.</h1>")
print("</body>")
print("</html>")
|
Step 7: In the same cgi-bin directory, we need to create a folder named uploads, which will save all the uploaded files from the form.
Running and Testing the CGI Script
Once the file creation and code insertion process is been done, then our next task is to configure the web server and run the application/examples on the web server. So follow the below steps to run the example on the XAMPP Server.
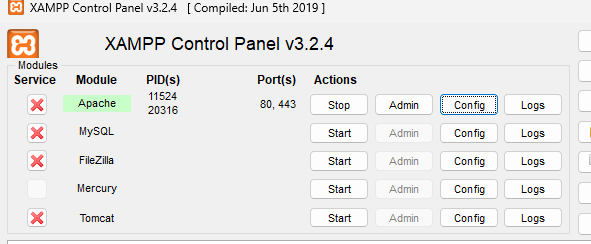
Step 1: First, we need to launch the XAMPP Control Panel from the start menu. Make sure to run it as an administrator to have full control.
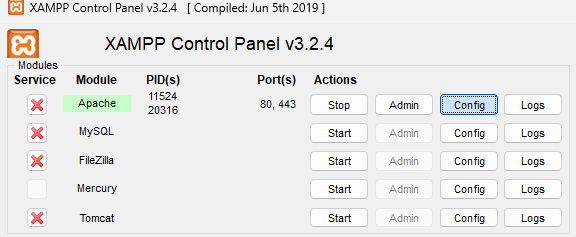
Step 2: After opening, we need to click on the Config of the Apache module to edit the configuration file.
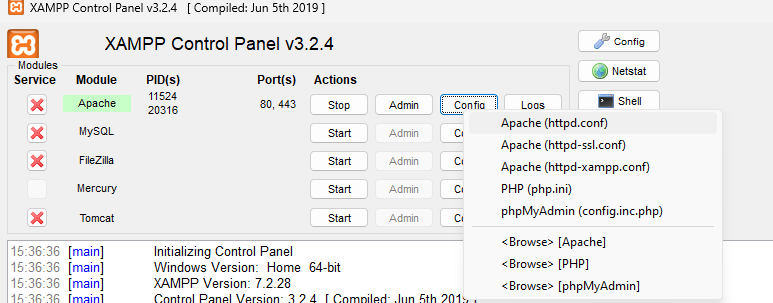
Step 3: After clicking on the option, we need to select the file as Apache (httpd. conf) and click on it.
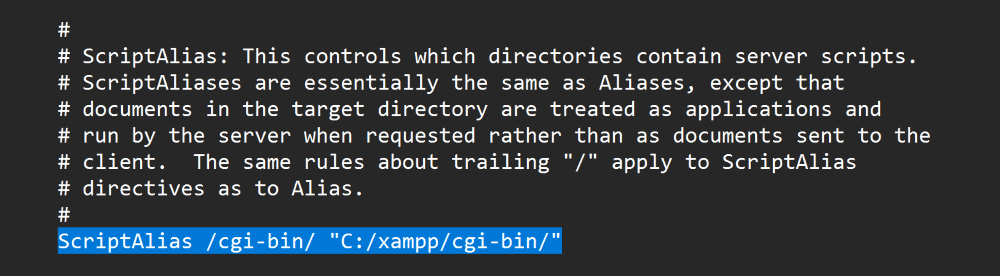
Step 4: Once the file gets opened, we need to find the line as ScriptAlias /cgi-bin/ “C:/xampp/cgi-bin/” and uncomment it from the config file.
Step 5: We need to save the file once the changes are been done and need to restart the Apache Web Server.
Step 6: Now, we can access the script through a web browser by navigating to “http://localhost/form.html” in our web browser.
In the below output, we can see that, initially, in the uploads folder there were no files present, then we navigated to the form and uploaded the sample image, after uploading we clicked on submit button, which sent the data along with the uploaded file to CGI script, In the script, the image was retrieved along with the name and the upload date and time. Then once again, when we check the uploads folder, the image was saved in the uploads folder.
Video Output
Share your thoughts in the comments
Please Login to comment...