Swap file takes space in the disk storage and later act as a memory for computation whenever the RAM in our system is full, it is important to create swap space in the Ubuntu system if you feel like your physical RAM is not enough to compute the work, the swap space can be created without any third party software because the ubuntu has a built-in feature for creating swap space files.
What is swap space in Ubuntu?
The swap file is used to fulfill the need for the physical RAM when the RAM is full but the system still needs additional computational power then it can use the swap space we create to fulfill this need, so in this article, we will understand how to add swap space on ubuntu system step by step.
Note: Only a user with sudo or root access can activate the swap space.
The size for the swap file is based on the size of RAM that you may currently have on your system, for example below is the general idea for the requirement of swap space but it can vary as well:
- A computer that has less than 2 GB RAM – This requires creating the same size swap 2 times more than the RAM size.
- A computer that has 2 GB to 8 GB RAM – This requires creating the same size swap as the RAM size.
- A computer that has more than 8 GB RAM – This requires creating at least 4 GB of the swap files.
How to add swap space on Ubuntu:
Adding the swap space in Ubuntu follows two steps, in the first step we create the swap file and then in the second step we activate the swap space on Ubuntu, so let’s understand each of these steps one by one:
Create the swap space:
In the first step, we will have to create the swap space, for this, we will have to follow the steps given below:
Step 1: Create the file for swap:
This is the first step, we will create a swap file in the system, for this, we will have to enter the following command:
sudo fallocate -l 2G /swapfile
Lets understand what this command actually says:
- fallocate: This is a command-line utility for allocating space to files in various ways, for this case it’s being used to create a file.
- -l 2G: This command is used in Ubuntu so that we can create a swap file of size 2 gigabytes, you can change the 2G to other value if you want to increase or decrease the size of swap file.
- /swapfile: This is the path and name of the file to be created. In Linux systems, swap files are used as virtual memory.
Output:
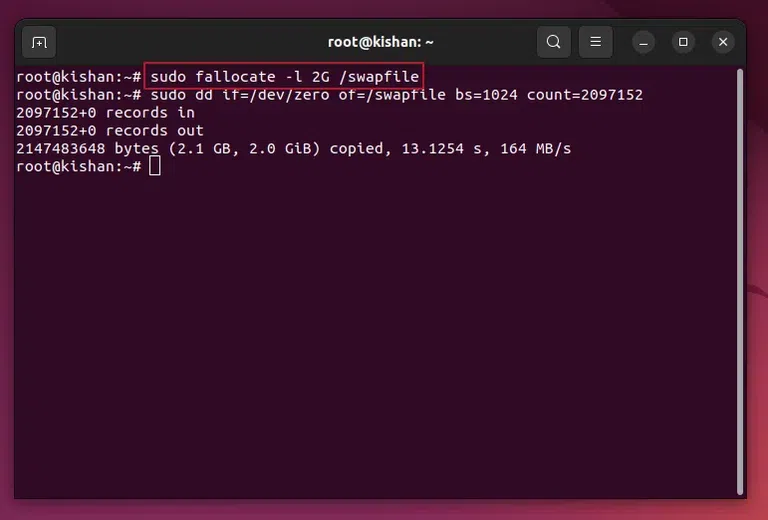
sudo fallocate -l 2G /swapfile
If you are getting an error as “allocate failed: Operation not supported” then it means that your system does not have to allocate facility, in that case, you can also use the below command:
sudo dd if=/dev/zero of=/swapfile bs=1024 count=2097152
This command is also used in Ubuntu so that we can create a swap file, but it uses a different approach than the fallocate command, it has the following components:
- sudo: This command is used to execute another command with superuser access.
- dd: This command is a utility used for converting and copying files. It’s used for tasks like creating disk images.
- if=/dev/zero: This option specifies the input file to use. in this case we are using /dev/zero, this is a special file that provides as many null bytes (zeroes) as you read from it.
- of=/swapfile: This option specifies the output file to write to. in our case, it’s /swapfile, this is the path and name of the file to be created.
- bs=1024: This option is used to set the block size to use. in this case, it’s set to 1024 bytes (1 kilobyte).
- count=2097152: This option specifies the number of blocks to copy, since the block size is 1024 bytes and the count is set to 2097152, it creates a file of size 1024 * 2097152 bytes which is equal to 2GB.
Step 2: Set permissions for the file:
Now we will change the permission for this file to 600, this means that regular users can not read/write the file, for this we will use the following command:
sudo chmod 600 /swapfile
This command is used in Ubuntu to modify the permissions of a file named /swapfile, let’s understand the command:
- sudo: This command is used to execute another command with superuser access.
- chmod: This command is used to change the permissions of a file/directory.
- 600: This is the permission mode which we are setting for the file. in linux, permissions are represented by three digits, each digit representing permissions for different groups of users: owner, group, and others. In our case, 600 means: the first digit (6) specifies permissions for the owner of the file, which is read and write (4 for read, 2 for write, and 1 for execute, so 4+2=6).
- The next two digits are set to 0, which means no permissions for the group and others.
- /swapfile: This is the path and name of the file whose permissions we are modifying.
Output:
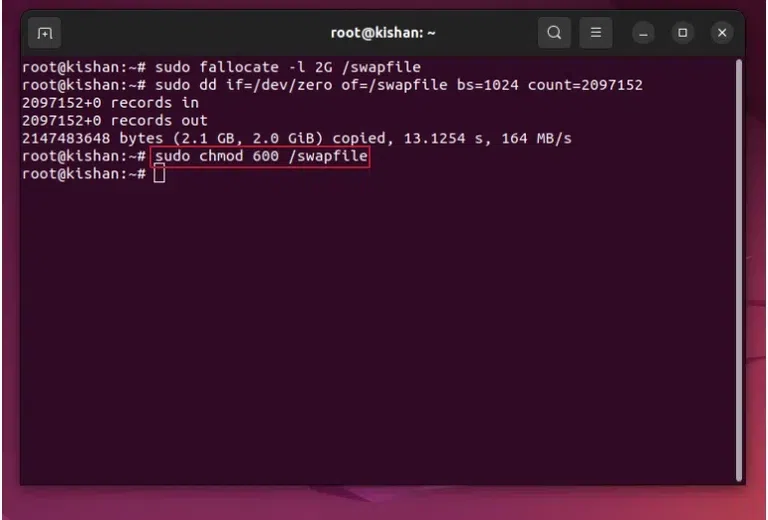
sudo chmod 600 /swapfile
Step 3: Create Linux Swap area:
Now we will have to create an area for the Linux swap, you will have to use the below command:
sudo mkswap /swapfile
This command is used in Ubuntu so that we can set up the swap area on a specified file. lets understand the command:
- sudo: This command is used to execute another command with superuser access.
- mkswap: This is the command that we have used to set up a Linux swap area on a device or file.
- /swapfile: This is the path and name of the file where the swap area will be set up.
Output:
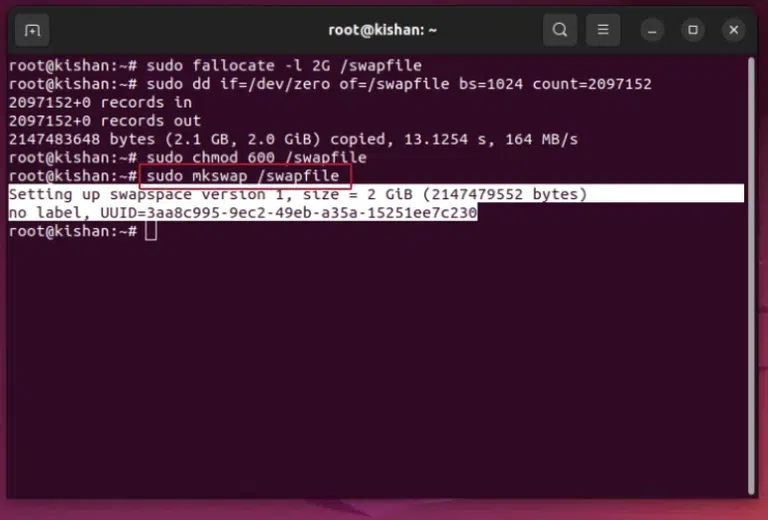
sudo mkswap /swapfile
Activate the swap file & finalize:
Step 1: Activate the swap file:
Now we can finally activate the swap file, for this, we will have to use the following command:
sudo swapon /swapfile
This command is used in Ubuntu to enable a swap area on a specified file. lets understand the command:
- swapon: This is the command used to activate a swap area.
Note: Other commands are same as above so no explanation is needed.
Output:
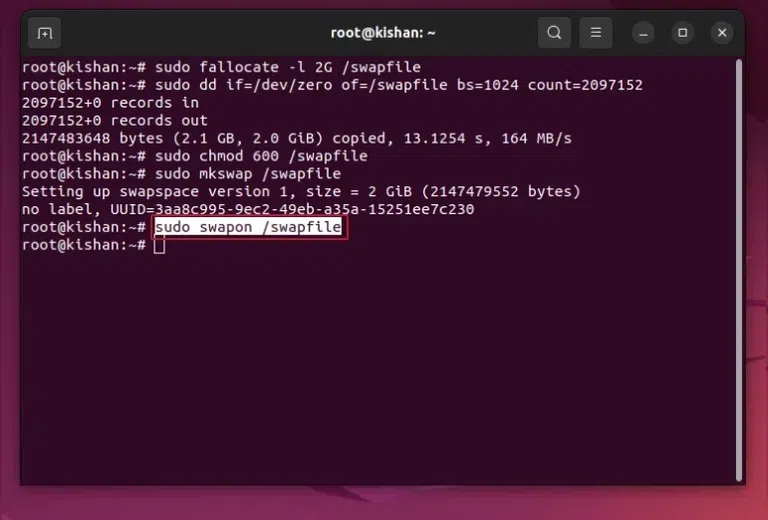
sudo swapon /swapfile
Step 2: Make permanent changes:
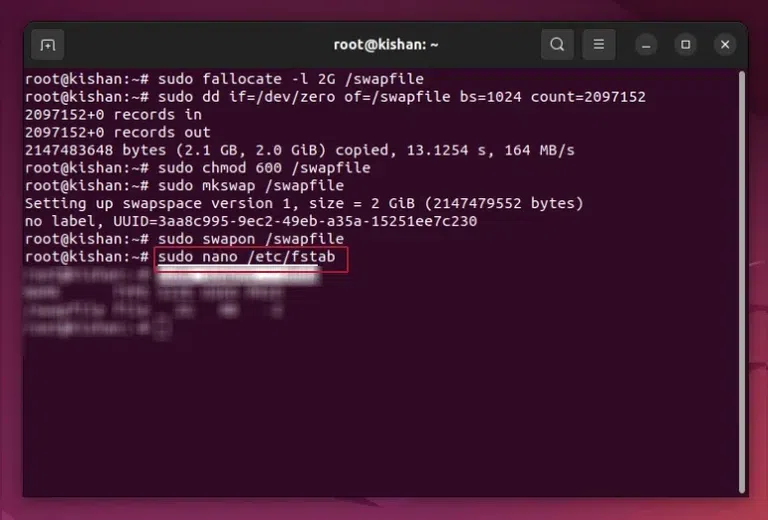
Now we will have to make the changes permanent in the system, we will have to open the path “/etc/fstab” For this enter the following command:
sudo nano /etc/fstab
This command opens the /etc/fstab file using the nano text editor with superuser privileges. lets understand what this command does:
- nano: This is a command-line text editor in Linux. its used for making it easy for users to edit text files from the terminal.
- /etc/fstab: This is the path to the file being opened, the /etc/fstab file is a system configuration file used by linux in order to control how filesystems are managed during the boot process.
Output:
sudo nano /etc/fstab
Step 3: Paste the code:
Now we will have to paste the following line into the file that we have just opened:
/swapfile swap swap defaults 0 0
The command we are using above is used for an entry in the /etc/fstab file. lets understand this command:
- defaults: This field is required for the mount options, defaults is a placeholder for a set of default options suitable for most systems, these options are used because they include enabling read/write access and other settings.
- 0: This field is used by the dump command to determine if the filesystem needs to be dumped, for the swap partitions, this is set to 0, which says that no dump is needed.
- 0: This field is used by the fsck command to determine the order in which filesystems are checked during the boot time. for the swap partitions, we set this to 0, which means that no filesystem check is necessary.
Output:

/swapfile swap swap defaults 0 0
Note: after this, save the file using the shortcut CTRL + T.
Step 4: Verify the swap file:
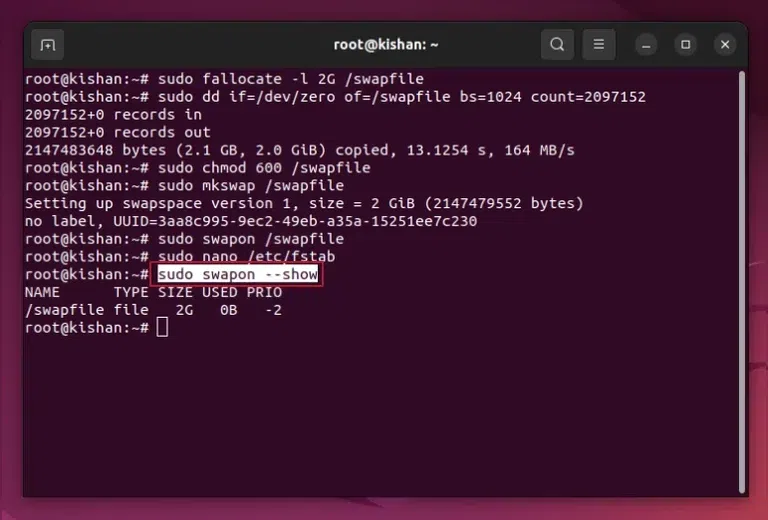
Now we will have to check whether the swap file is created and activated or not, by entering the following command:
sudo swapon --show
The swapon –show command is used to display a list of currently active swap devices or files, lets understand this command:
- swapon: This command is used to set and then configure swap space on the system.
- –show: This option is used with swapon so that we can display the currently active swap devices.
Output:
sudo swapon –show
This means that we have successfully created and activated the swap file on the Ubuntu system.
How to Add Swap Space on Ubuntu 20.04 – FAQs
How do I check if my Ubuntu 20.04 system has swap space enabled?
It is very easy to check if you have swap space enabled, you can use the following command in the terminal to check if swap space is enabled:
sudo swapon --show
What command should I use to create a swap file on Ubuntu 20.04?
To create a swap file, you can use the dd command to allocate space and the mkswap command to set it up as swap space. here is an example for this command:
sudo fallocate -l [size]G /swapfile && sudo chmod 600 /swapfile && sudo mkswap /swapfile && sudo swapon /swapfile
How can I add a swap partition to my Ubuntu 20.04 system??
You can use the mkswap command to set up an existing partition as swap space and the swapon command so that you can enable it, for example (Remove the partition to the partition identifier (example – /dev/sda3):
sudo mkswap /dev/[partition]
sudo swapon /dev/[partition]
What is the command to configure Ubuntu 20.04 to automatically mount swap space on boot?
To configure Ubuntu 20.04 to automatically mount swap space on boot, you can edit the /etc/fstab file, here is an example for this:
sudo nano /etc/fstab
Add the following line at the ending of the file:
/swapfile none swap sw 0 0
How can I resize an existing swap file on Ubuntu 20.04?
You can use the following commands to resize an existing swap file (you will have to replace the [new size] with the new size of the swap file you want to set in gigabytes):
sudo swapoff /swapfile
sudo fallocate -l [new size]G /swapfile
sudo chmod 600 /swapfile
sudo mkswap /swapfile
sudo swapon /swapfile
Conclusion
Swap files are handy when you are running full of physical RAM, in this article we have understood how we can create the swap file and also activate it so that whenever the Ubuntu system runs out of physical RAM then the system can easily use the swap file as memory, follow this article step by step to understand how you can create swap files in ubuntu.
Share your thoughts in the comments
Please Login to comment...