How to achieve Two-Way Data Binding in Angular with ngModel ?
Last Updated :
24 Nov, 2023
Two-way Data Binding in Angular allows you to automatically synchronize data between a component class property and an input element (e.g., an input field) in your template. To achieve this binding, it’s typically used with Angular [(ngModel)] directive. This is basically the combination of the Property Binding & the Event Binding, which helps to communicate in a two-way manner between the property in the component and a user interface element, such as an input field.
In this article, we will learn how to achieve Two-Way Data Binding in Angular with ngModel, along with understanding their implementation through the illustrations.
Steps for Installing & Configuring the Angular Application
Step 1: Create an Angular application using the following command.
ng new appname
Step 2: After creating your project folder i.e. appname, move to it using the following command.
cd appname
Project Structure
It will look like the following:

Approach 1
In this approach, we will bind a string. Two-way binding means, that whatever value we may enter from the front end, it will be automatically bound to the variable in the typescript file.
Example: This example illustrates the basic implementation of Two-Way Data Binding in Angular using the [(ngModel)] Directive.
HTML
<h2 style="color: green">
GeeksforGeeks
</h2>
<h2>
How to Achive Two-Way Data
Binding in Angular with ngModel ?
</h2>
<input [(ngModel)]="message"
placeholder="Enter your message" />
<p>
You entered:
<b style="color: green;">
{{ message }}
</b>
</p>
|
Javascript
import { Component } from '@angular/core';
@Component({
selector: 'app-root',
templateUrl: "./app.component.html",
})
export class AppComponent {
message: string = '';
}
|
Javascript
import { NgModule }
from '@angular/core';
import { BrowserModule }
from '@angular/platform-browser';
import { HttpClientModule }
from '@angular/common/http';
import { FormsModule }
from '@angular/forms'
import { AppComponent }
from './app.component';
@NgModule({
declarations: [
AppComponent
],
imports: [
BrowserModule,
HttpClientModule,
FormsModule
],
providers: [],
bootstrap: [AppComponent]
})
export class AppModule { }
|
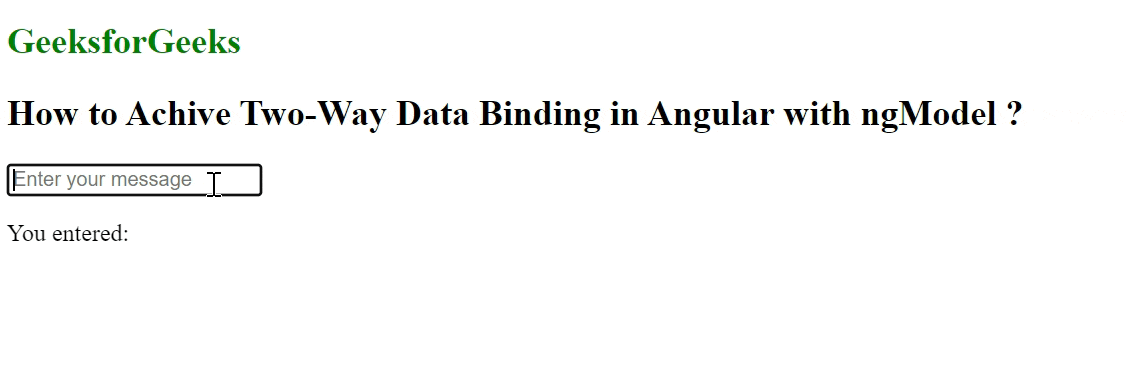
Output:
Approach 2
In this approach, we will provide two strings in the input and perform two-way binding of the variables using the contact() function. To bind the data in Angular, we will call the function to perform their concatenation and display the result.
Example: This example illustrates the basic implementation of Two-Way Data Binding in Angular by concatenating the 2 strings.
HTML
<h2 style="color: green">
GeeksforGeeks
</h2>
<h2>
How to Achive Two-Way Data
Binding in Angular with ngModel ?
</h2>
<input [(ngModel)]="val1"
placeholder="Value 1" />
<input [(ngModel)]="val2"
placeholder="Value 2" />
<button (click)="concat()">
Concatenate
</button>
<p>
Your Concatenation is:
<b style="color: green;">
{{ result }}
</b>
</p>
|
Javascript
import { Component } from '@angular/core';
@Component({
selector: 'app-root',
templateUrl: "./app.component.html",
})
export class AppComponent {
val1: string = "";
val2: string = "";
result: string = ""
concat() {
this.result = (this.val1) + this.val2
}
}
|
Javascript
import { NgModule }
from '@angular/core';
import { BrowserModule }
from '@angular/platform-browser';
import { HttpClientModule }
from '@angular/common/http';
import { FormsModule }
from '@angular/forms'
import { AppComponent }
from './app.component';
@NgModule({
declarations: [
AppComponent
],
imports: [
BrowserModule,
HttpClientModule,
FormsModule
],
providers: [],
bootstrap: [AppComponent]
})
export class AppModule { }
|
Output:

Share your thoughts in the comments
Please Login to comment...