How do you initialize state in a class component?
Last Updated :
25 Apr, 2024
In React, class components are a way to create and manage stateful components. Initializing the state is a crucial step when working with class components as it allows you to store and manage dynamic data that can be updated and affect the component’s rendering. In this article, we will explore how to initialize the state in a class component, including various considerations and best practices.
We have discussed different approaches below to initialize the state in class component:
1. Using the Constructor method:
In this approach, we use the constructor method to set the initial state. Make sure to call super(props) before initializing the state.
Javascript
class MyComponent extends React.Component {
constructor(props) {
super(props);
this.state = {
count: 0,
};
}
render() {
return <div>{this.state.count}</div>;
}
}
|
2. Class Property (public class field syntax) with Babel:
This syntax is concise and doesn’t require a constructor. It’s enabled by Babel and is available with recent versions of React.
Javascript
class MyComponent extends React.Component {
state = {
count: 0,
};
render() {
return <div>{this.state.count}</div>;
}
}
|
3. Static getDerivedStateFromProps Method (rarely used):
Thie getDerivedStateFromProps method is rarely used and is mainly for updating the state based on props changes. It’s important to note that it’s static and doesn’t have access to this.
Javascript
class MyComponent extends React.Component {
static getDerivedStateFromProps(props, state) {
if (props.initialCount !== state.count) {
return {
count: props.initialCount,
};
}
return null;
}
render() {
return <div>
{this.state.count}
</div>;
}
}
|
Steps to initialize state in a class component:
- Choose one of the three approaches mentioned above.
- Decide what data you want to store in the state.
- Define the initial state in the chosen approach, usually within the constructor or class property.
- You can access and update the state within the component’s methods, such as render, componentDidMount, or custom methods.
The updated dependencies in package.json file will look like:
"dependencies": {
    "react": "^17.0.2",
    "react-dom": "^17.0.2"
}
Example: Let’s see an example using the constructor approach:
Javascript
import React,
{
Component
} from 'react';
class Counter extends Component {
constructor(props) {
super(props);
this.state = {
count: 0,
};
}
incrementCount =
() => {
this.setState(
{
count: this.state.count + 1
});
};
render() {
return (
<div style={
{
margin: "10px 10px"
}}>
<p>
Count: {this.state.count}
</p>
<button style={
{
padding: "5px 5px",
border: "2px solid black",
background: "aliceblue",
borderRadius: "8px"
}
} onClick={this.incrementCount}>
Increment
</button>
</div>
);
}
}
export default Counter;
|
Output:
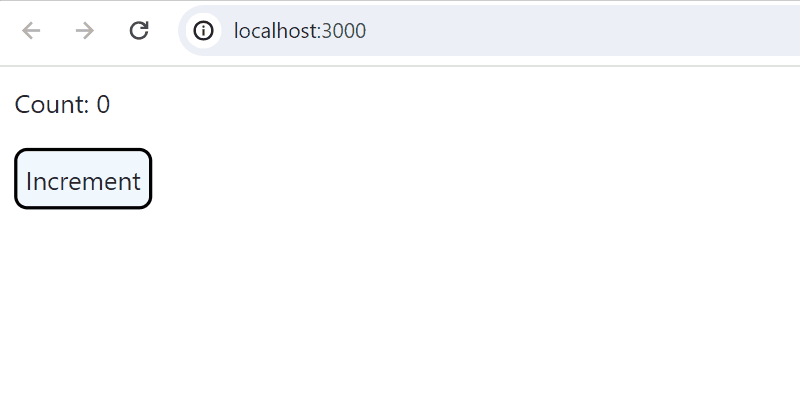
Output
Conclusion:
In conclusion, initializing state in a class component is an essential step in building dynamic and interactive React applications. By following the approaches and guidelines outlined in this article, you can effectively manage and update state within your class components.
Share your thoughts in the comments
Please Login to comment...