How do you configure routes in Angular?
Last Updated :
02 May, 2024
In Angular, configuring routes is an important part of building single-page applications (SPAs) and managing navigation between different components. By defining routes, we can map URLs to specific components, enabling users to access different views within our application.
This enhances user experience by providing a seamless and dynamic interaction. Configuring routes correctly is important for building a robust and user-friendly application. In this article, let us discuss the process of configuring routes in Angular and explore different approaches to achieve this.
Using Basic Routing
While creating the new Angular project, Angular CLI asks for creating Angular Routing module, this helps in creating app.routing.module.ts file, where we can configure the Routing. This is the simplest approach to configuring routes in Angular. This approach involves defining routes using the RouterModule.forRoot() method in the root module of your application.
- Define Routes: To configure routes, start by creating an array of Route objects that define the URL paths and corresponding components. Each Route object consists of a path, component, and optional properties such as data and guards.
- Import and Configure RouterModule: Next, import the RouterModule from the @angular/router package and add it to the imports array in the root module. Use the RouterModule.forRoot() method to configure the routes by passing the defined routes array as an argument.
- Add Router Outlet: To render the appropriate component based on the current route, add the <router-outlet></router-outlet> directive to the template of the root component. This directive acts as a placeholder where Angular dynamically injects the component associated with the current route.
Using Advanced Routing Features
In addition to the basic route configuration, Angular provides several advanced routing features that allow you to handle dynamic navigation and pass data between components using routing parameters.
Route Parameters:
Route parameters are placeholders in the URL that can be used to pass dynamic values. They are defined within the route’s path and are denoted by a colon followed by the parameter name. For example,
{
  path: 'users/:id',
  component: UserComponent
}
In the above configuration, :id is a route parameter representing the user’s ID. When the URL matches this route pattern, Angular extracts the value from the URL and makes it available to the component.
To access the route parameter within the component, we can use the ActivatedRoute service provided by Angular.
import { ActivatedRoute } from '@angular/router';

@Component({ ... })
export class UserComponent {
  constructor(private route: ActivatedRoute) {
    this.route.params.subscribe(params => {
      const userId = params['id'];
    });
  }
}
The params property of the ActivatedRoute object provides access to the route parameters. By subscribing to the params observable, we can retrieve and use the parameter value within the component.
Child Routes:
Angular allows creating nested routes by defining child routes within a parent route. This approach is useful when building complex applications with hierarchical navigation structures.
Define Parent and Child Routes:
In the routes array, define a parent route that contains a children property. The children property should be an array of Route objects representing the child routes. Each child route can have its own path, component, and additional properties.
Configure Child Routes:
In the parent component’s template, add a <router-outlet></router-outlet> directive to serve as a placeholder for rendering the child components. When a child route is activated, Angular automatically renders the corresponding child component within this outlet.
const routes: Routes = [
  {
    path: 'products',
    component: ProductsComponent,
    children: [
      { path: ':id', component: ProductDetailComponent },
      { path: ':id/edit', component: ProductEditComponent }
    ]
  }
];
Here, ProductsComponent acts as parent, and ProductDetailComponent,ProductEditComponent acts as child components, and the route for them will be appended after `products`.
Steps to create Angular application
Step 1: Create the angular project using the following command.
ng new project
Folder Structure:

Dependencies:
"dependencies": {
    "@angular/animations": "^17.3.0",
    "@angular/common": "^17.3.0",
    "@angular/compiler": "^17.3.0",
    "@angular/core": "^17.3.0",
    "@angular/forms": "^17.3.0",
    "@angular/platform-browser": "^17.3.0",
    "@angular/platform-browser-dynamic": "^17.3.0",
    "@angular/platform-server": "^17.3.0",
    "@angular/router": "^17.3.0",
    "@angular/ssr": "^17.3.0",
    "rxjs": "~7.8.0",
    "tslib": "^2.3.0",
    "zone.js": "~0.14.3"
},
"devDependencies": {
    "@angular-devkit/build-angular": "^17.3.0",
    "@angular/cli": "^17.3.0",
    "@angular/compiler-cli": "^17.3.0",
    "@types/express": "^4.17.17",
    "@types/jasmine": "~5.1.0",
    "@types/node": "^18.18.0",
    "jasmine-core": "~5.1.0",
    "karma": "~6.4.0",
    "karma-chrome-launcher": "~3.2.0",
    "karma-coverage": "~2.2.0",
    "karma-jasmine": "~5.1.0",
    "karma-jasmine-html-reporter": "~2.1.0",
    "typescript": "~5.4.2"
}
Now let us learn how to create routes for our application
Step 2: Let us create home and about components
ng g component home
ng g component about
Step 3: Implement the Code
HTML
<!-- app.component.html -->

<h1>Angular Router Example</h1>
<nav>
    <a routerLink="/home" routerLinkActive="active">Home</a>
    <a routerLink="/about" routerLinkActive="active">About</a>
</nav>
<router-outlet></router-outlet>
<!-- home.component.html -->

<p>home works!</p>
<!-- about.component.html -->

<p>about works!</p>
// app.component.ts

import { Component } from '@angular/core';
import { Router } from '@angular/router';

@Component({
    selector: 'app-root',
    templateUrl: './app.component.html',
    styleUrls: ['./app.component.scss'],
})
export class AppComponent {
    constructor(private router: Router) { }

    navigateToHome() {
        this.router.navigate(['/home']);
    }

    navigateToAbout() {
        this.router.navigate(['/about']);
    }
}
//app-routing.module.ts

import { NgModule } from '@angular/core';
import { RouterModule, Routes } from '@angular/router';
import { HomeComponent } from './home/home.component';
import { AboutComponent } from './about/about.component';

const routes: Routes = [
    { path: 'home', component: HomeComponent },
    { path: 'about', component: AboutComponent },
    { path: '', redirectTo: '/home', pathMatch: 'full' },
];

@NgModule({
    imports: [RouterModule.forRoot(routes)],
    exports: [RouterModule],
})
export class AppRoutingModule { }
To start the application run the following command.
ng serve
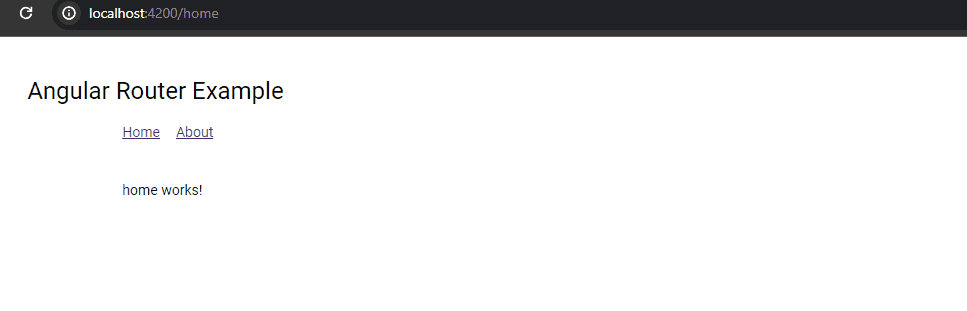
Output:
Share your thoughts in the comments
Please Login to comment...