The Jupyter Notebook is an open-source web application that allows you to create and share documents that contain live code, equations, visualizations, and narrative text. Jupyter has support for over 40 different programming languages and Python is one of them. Python is a requirement (Python 3.3 or greater, or Python 2.7) for installing the Jupyter Notebook itself. Jupyter Notebook can be installed by using either of the two ways described below:
Install Jupyter Notebook with Anaconda
Install Python and Jupyter using the Anaconda Distribution, which includes Python, the Jupyter Notebook, and other commonly used packages for scientific computing and data science. To install Anaconda, go through How to install Anaconda on Windows. and follow the instructions provided.
Install Jupyter Notebook using PIP
Install Jupyter using the PIP package manager used to install and manage software packages/libraries written in Python. To install pip, go through How to install PIP on Windows. and follow the instructions provided.
Getting Started With Jupyter Notebook for Python
Command to Launch Jupyter Notebook
jupyter notebook
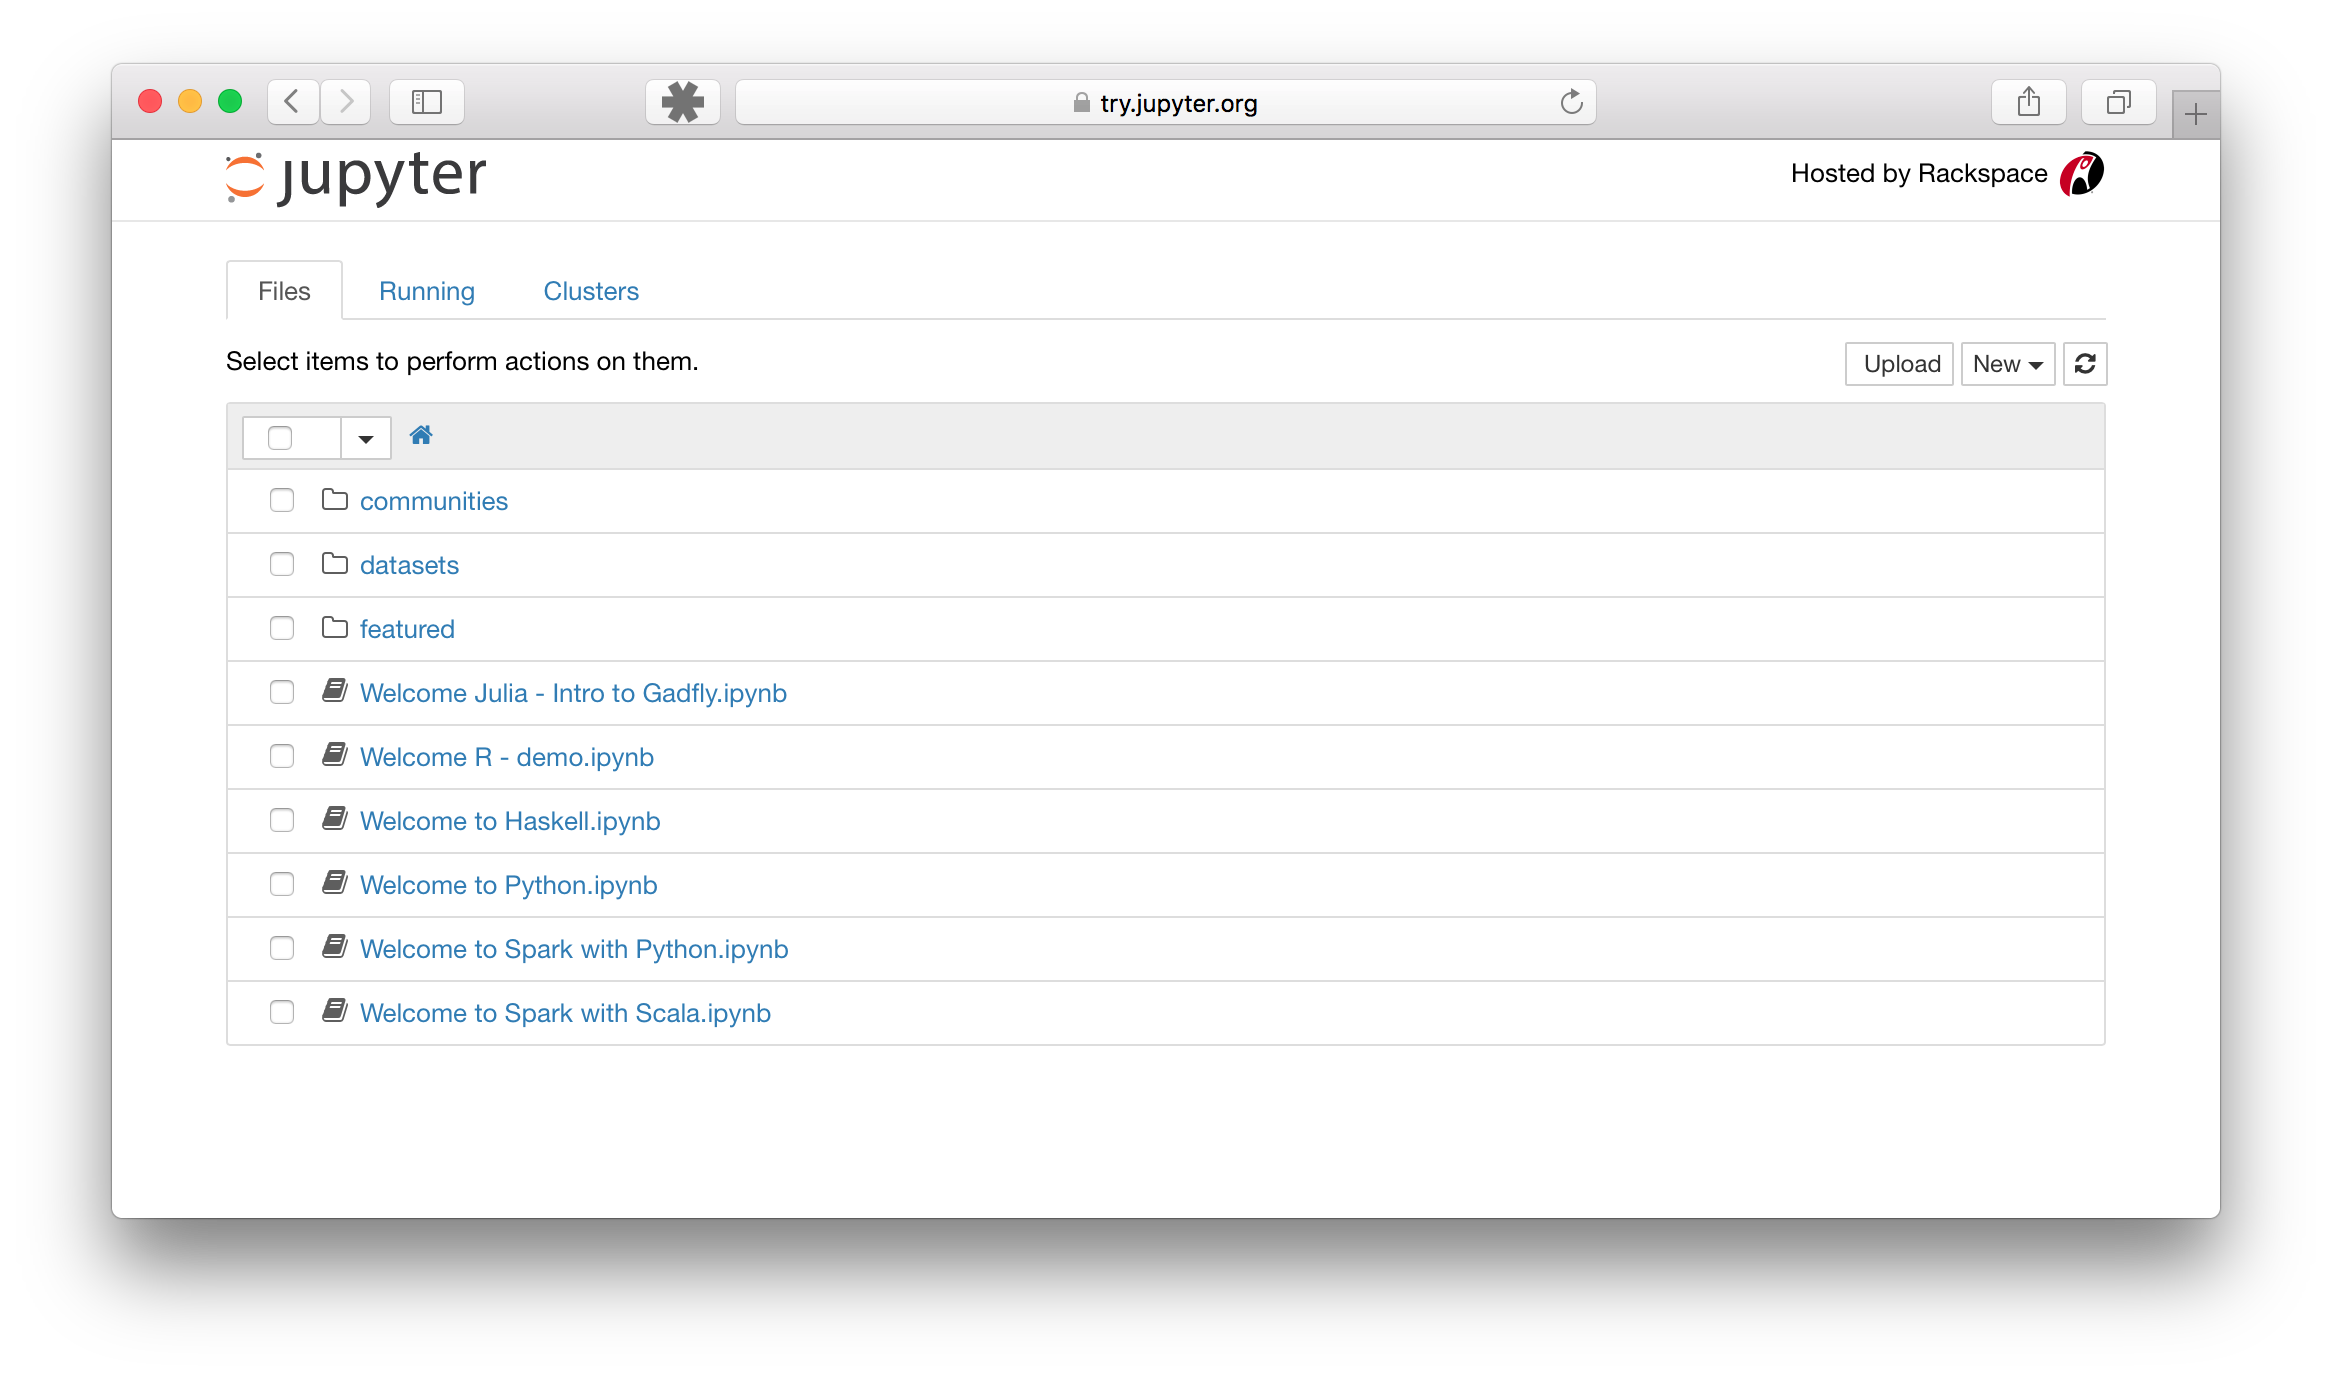
This will start up Jupyter and your default browser should start (or open a new tab) to the following URL: http://localhost:8888/tree
.png)
When the notebook opens in your browser, you will see the Notebook Dashboard, which will show a list of the notebooks, files, and subdirectories in the directory where the notebook server was started. Most of the time, you will wish to start a notebook server in the highest level directory containing notebooks. Often this will be your home directory.
Creating a Jupyter Notebook
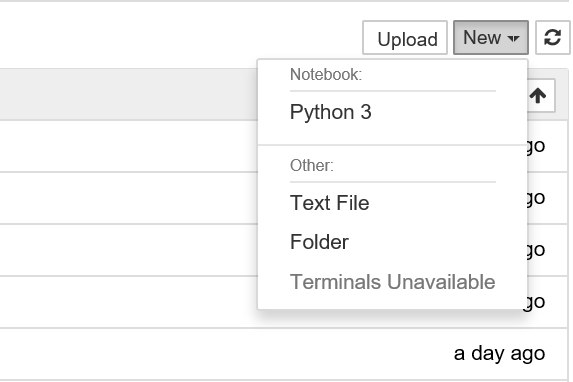
Now on the dashboard, you can see a new button at the top right corner. Click it to open a drop-down list and then if you’ll click on Python3, it will open a new notebook.

Renaming Jupyter Notebooks
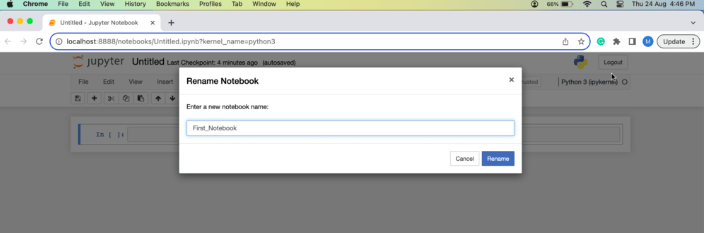
We can notice that at the top of the page is the word Untitled. This is the title for the page and the name of your Notebook. We can change the name by simply clicking on it.
Run and Debug Jupyter Notebook Code Cell
Let’s try adding the following code to that cell:
Running a cell means that we want to execute the cell’s contents. To execute a cell, you can just select the cell and click the Run button that is in the row of buttons along the top. It’s towards the middle.

Jupyter Notebook Menu Items
Jupyter Notebook contains a list of menus which can be used to perform various functions.
- File: The “File” menu in Jupyter Notebook allows you to perform actions like creating and opening notebooks, saving your work, exporting notebooks in different formats, managing checkpoints, and closing notebooks.
- Edit: The “Edit” menu in Jupyter Notebook provides various editing options for the cells within your notebook. You can cut, copy, paste, delete, merge, split, and manipulate cells using these edit functions.
- View:The “View” menu in Jupyter Notebook provides options to control the appearance and layout of your notebook interface, allowing you to customize its display to your preferences and needs.
- Insert: The “Insert” menu in Jupyter Notebook contains options for adding new cells and other elements to your notebook, allowing you to insert code, text, or various types of content into your document.
- Cell: The “Cell” menu in Jupyter Notebook provides options for manipulating individual cells within your notebook. You can use it to run, delete, and modify cells, as well as change their cell type (e.g., code or markdown). This menu is essential for cell-level operations in your notebook.
- Kernel: The “Cell” menu in Jupyter Notebook provides options for manipulating individual cells within your notebook. You can use it to run, delete, and modify cells, as well as change their cell type (e.g., code or markdown). This menu is essential for cell-level operations in your notebook.
- Widgets: The “Widgets” menu in Jupyter Notebook is used for working with interactive widgets, which are graphical elements that enhance the interactivity and user experience of your notebook. You can use this menu to create, display, and interact with widgets like buttons, sliders, text boxes, and more.
- Help: The “Help” menu in Jupyter Notebook offers documentation and resources to assist users in understanding and using Jupyter Notebook effectively.
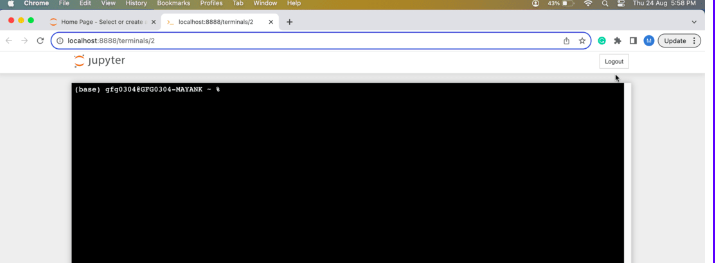
Open a Terminal in Jupyter
To open terminal go to the homepage and click on new and then select terminal from the drop down list.
Viewing What’s Running
The home page of your Jupyter server (http://localhost:8888/tree) has two other tabs: Running and Clusters. The Running tab will tell us which Notebooks and Terminals we are currently running. This is useful for when you want to shut down your server but you need to make sure that you have saved all your data.

Adding Rich Content in Jupyter Notebook
In Jupyter Notebook, we can add rich content to your notebooks to enhance their interactivity and visual appeal. Rich content includes text, images, LaTeX equations, HTML, and multimedia elements like audio and video. This capability makes Jupyter Notebook a versatile tool for data analysis, research, and education.
Types of Cells in Jupyter Notebook
Jupyter Notebook provides several cell types, each with its own purpose and functionality. These cell types enable you to create, edit, and organize your content within a notebook. Here are the main cell types in Jupyter.
- Code Cells: Code cells are used to write and execute code. You can enter programming code in various languages, such as Python, Julia, or R, and execute it within the notebook. The output of the code is displayed below the cell. To run a code cell, press Shift + Enter or click the “Run” button in the toolbar.
- Markdown Cells: Markdown cells contain formatted text using Markdown syntax. You can create headings, lists, tables, and links, making it suitable for documentation and explanations. To render the Markdown content, press Shift + Enter.
- Raw Cells: Raw cells are used to include unprocessed, raw content. The content is not evaluated, formatted, or executed. Raw cells are typically used for including content like LaTeX equations.
- Heading Cells: Heading cells are a type of markdown cell that is used to structure your notebook. They create section headings and subheadings, which are helpful for organizing your content.
- Raw NBConvert Cells: These are similar to raw cells but are intended for content that will be converted into other formats when the notebook is exported.
Exporting the Jupyter Notebook
In Jupyter Notebook, we can export our notebooks in various formats to share with other people. Here’s how we can export notebooks. The formats available are:
- HTML
- LaTeX
- PDF
- RevealJS
- Markdown
- ReStructured Text
- Executable script
Converting Notebooks to other Formats
The nbconvert is a utility that comes with the Jupyter ecosystem, and it’s used for converting Jupyter Notebook files (.ipynb) to other formats like HTML, PDF, LaTeX, Markdown, and more. It allows you to share your Jupyter Notebook content in various document formats, making it more accessible and easier to distribute to others.
Jupyter Notebooks as PDF
We can use nbconvert to create PDFs from your notebooks, which is useful for creating reports or presentations from your Jupyter Notebook content.
samplefile

To convert it into pdf we use the command
jupyter nbconvert untitled1.ipynb --to pdf
After running the command a pdf file is saved in the folder after getting converting from the Notebook.

Coverting notebook to pdf
Useful Commands in Jupyter Notebook
Command to open a notebook in the currently running notebook server.
jupyter notebook notebook_name.ipynb
By default, the notebook server starts on port 8888. If port 8888 is unavailable or in use, the notebook server searches the next available port. You may also specify a port manually. In this example, we set the server’s port to 9999:
jupyter notebook --port 9999
Command to start the notebook server without opening a web browser:
jupyter notebook --no-browser
The notebook server provides help messages for other command line arguments using the –help flag:
jupyter notebook --help
Jupyter Notebook Shortcuts
To change modes(edit, command):
Esc - Change mode to command mode
Enter - Change mode to edit mode
To change content type(code or markdown) [in command mode]
m - Change to markdown
y - Change to code
To execute code or markdown [any mode]
Shift + Enter - Execute and go to next cell
Ctrl + Enter  - Execute and be in the same cell
To insert cell [in command mode]
a - Create cell in above to the cell
b - Create cell in below to the cell
To cut copy paste [in command mode]
x - Cut the cell that can be paste anywhere any number of times
c - Copy the cell that can be paste anywhere and any number of times
v - Paste the cell
Related Article: How to upload a dataset in Jupyter Notebook?
Share your thoughts in the comments
Please Login to comment...