Forking Workflow in Open Source Ecosystem
Last Updated :
19 Sep, 2021
In the Open Source ecosystem, Git and Github are widely used for efficiently managing large projects and collaborating with other developers worldwide. Hence a general Forking Workflow is followed by every developer who is contributing to these Open Source Projects. So let’s deep dive to look at how exactly this Working by Forking works in an Open Source Ecosystem.
Forking a repository and Cloning it in the local environment
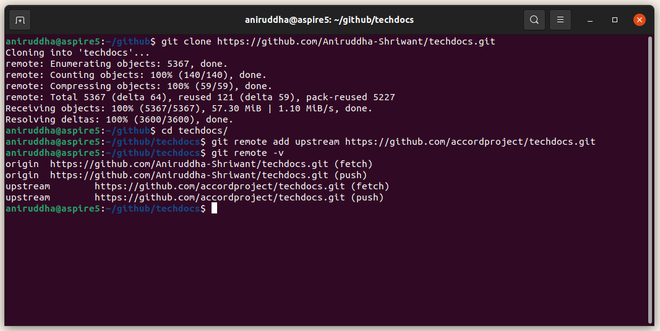
Just visit the Open Source Project’s Github page you want to contribute, then after choosing the particular repository just click on the `Fork` button situated at the top right corner. Now that you have created your own copy of that repository by forking it, let’s clone your forked repository in the local machine by running the following command:
command: git clone https://github.com/your_username/forked_project.git

example: git clone https://github.com/Aniruddha-Shriwant/techdocs.git
Adding ‘upstream’ repository to the list of remotes
Upstream is a repository from where you have forked your local copy of the project. Now to keep your fork up to date and to sync it with the original ‘upstream’ repository let’s add a new remote named upstream:
git remote add upstream https://github.com/accordproject/techdocs.git
You can verify the remote by running the
git remove -v
Fetching from upstream remote
To update your fork with the latest upstream changes, you will need to fetch the upstream repo’s branches and its latest commits using the git fetch command
git fetch upstream
Now check out to your own master branch and merge upstream repo’s master branch:
git checkout master
git merge upstream/master
Now your local master branch is up to date with everything updated upstream.
Creating a new branch
Whenever you begin working on a new feature/bug fix, it’s important to create a separate new branch not only because it’s a proper git etiquette but you can keep your changes separate from the master branch and can easily manage multiple pull requests submitted. To create a new branch, checkout to master branch first as we want our new branch to come from the master branch and then create your new branch and edit your changes accordingly
git checkout master

git checkout -b yourNewBranch  //This command will create a new branch and then checkout in it
Rebasing your branch before making Pull Request
While working on your development branch if any new commits are made in the upstream’s master branch then you will need to rebase your branch so that maintainers can merge your PullRequest easily and any conflicts would be avoided in advance.
Fetch upstream master and then merge it with your local repository’s master branch:
git fetch upstream
git checkout master
git merge upstream/master
Rebase your development branch with the master branch:
git checkout yourNewBranch    // yourNewBranch = your development branch that you have created earlier
git rebase master
After rebasing your branch you are ready to push those changes and create a Pull Request on Github.
Conclusion
To conclude, Mastering this workflow etiquette will help you in your Open Source journey and you won’t face any issues which beginner faces while making their contributions to Open Source Projects.
Share your thoughts in the comments
Please Login to comment...