Flutter – Install POD in Windows and macOS
Last Updated :
09 Jan, 2024
Flutter is an open-source UI software development kit created by Google. It is used to develop cross-platform applications from a single codebase for any web browser,[4] Fuchsia, Android, iOS, Linux, macOS, and Windows. Flutter apps are written in the Dart language and make use of many of the language’s more advanced features. If you want to learn more about it you can visit this page.
In Flutter it’s not common to install CocoaPods. Flutter has its package manager. You interact with it using the `pub` command. However, in cases where you’re dealing with native iOS code or plugins that rely on CocoaPods you may need to interact with it.
Prerequisites needed
- Ensure you have Flutter installed on your macOS.
- Make sure you have CocoaPods installed on your macOS.
Steps to Install POD in macOS
1. Navigate to the iOS Directory
Navigate to the `ios` directory of your Flutter project in the terminal by using the below command
cd your_flutter_project/ios
2. Check for Podfile
Check if you already have a `Podfile` in the `ios` directory. If you don’t have it, just run the following command in the terminal. This command will initialize a Podfile for your project.
pod init
3. Edit Podfile
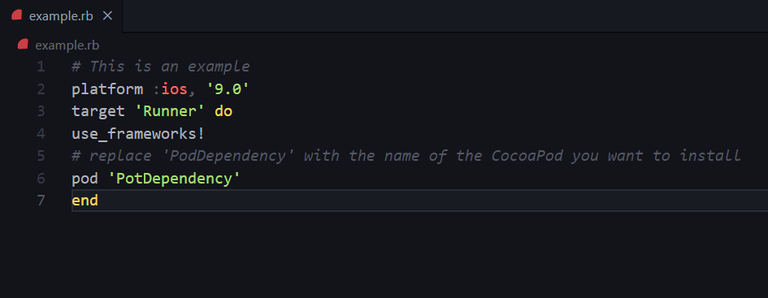
Open the generated `Podfile` in a text editor of your choice and add your dependencies inside the target block.
# This is an example
platform :ios, '9.0'
target 'Runner' do
use_frameworks!
# replace 'PodDependency' with the name of the CocoaPod you want to install
pod 'PotDependency'
end
example screenshot
4. Install Pods
Save the `Podfile` and run the following command. This command will install the specified CocoaPods and sets up the necessary Xcode workspace.
pod install
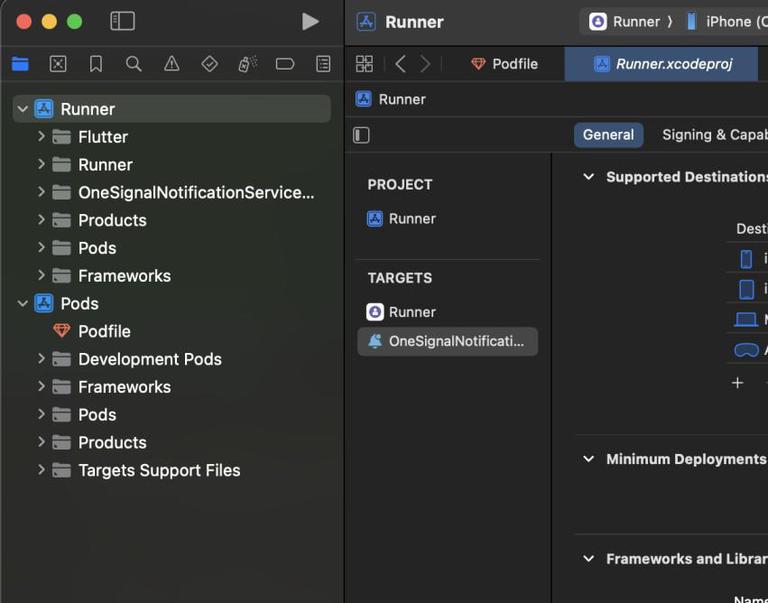
5. Open Xcode Workspace
Open the `.xcworkspace` file in the `ios` dir.
open Runner.xcworkspace
Note: From now on, always open the `.xcworkspace` instead of `.xcproj` when working on any Flutter project.
Steps to Install POD in Windows
Note: In order to run “pod install”, you need an actual Xcode project. Since Xcode does not run on Windows, use a macOS machine with Xcode to generate an Xcode project.
1. Install Ruby in your system
Link to download Ruby : https://rubyinstaller.org/
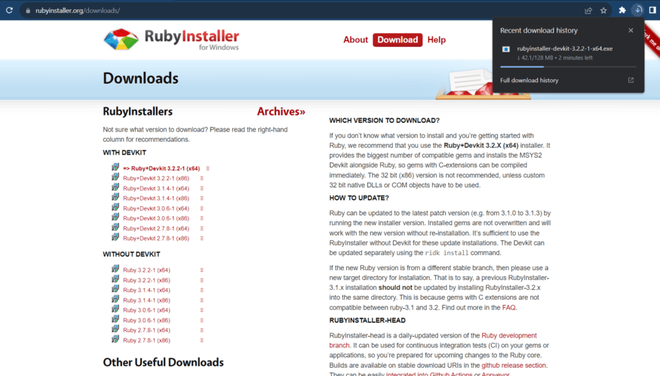
Run the installer
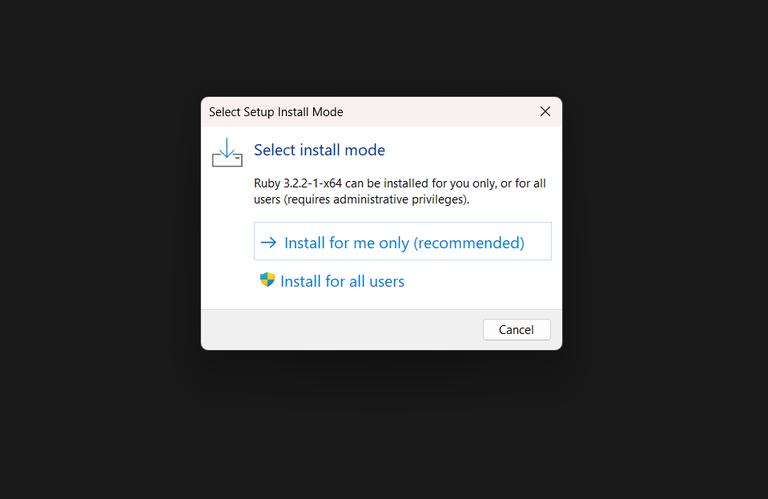
run the installer
Check the box that says “Add Ruby executables to your PATH” during installation process.
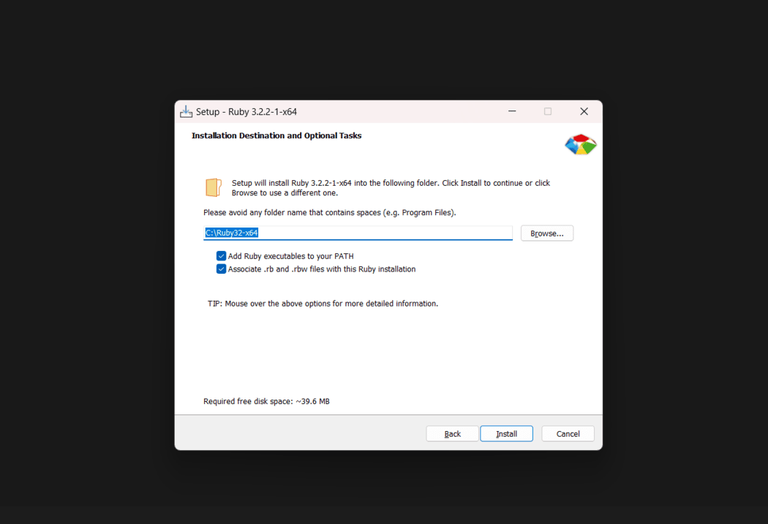
tick the checkbox
2. Install CocoaPods
Run to install CocoaPods as administrator
gem install cocoapods
3. Set up Flutter Project
Create a new Flutter project .
4. Navigate to the iOS folder
Open cmd and navigate to the “ios” folder.
Note: Replace <path to your flutter project> with your path.
cd <path to your flutter project>/ios
5. Initialize CocoaPods
Run the command to initialize CocoaPods in the iOS folder:
pod init
6. Edit Podfile usinf text editor
Open the Podfile and the necessary pods for your project.
platform :ios, '9.0'

target 'Runner' do
  use_frameworks!
  #replace these with your pods with name and version
  pod 'Firebase/Core'
  pod 'AwesomeLibrary', '~> 1.0'
end
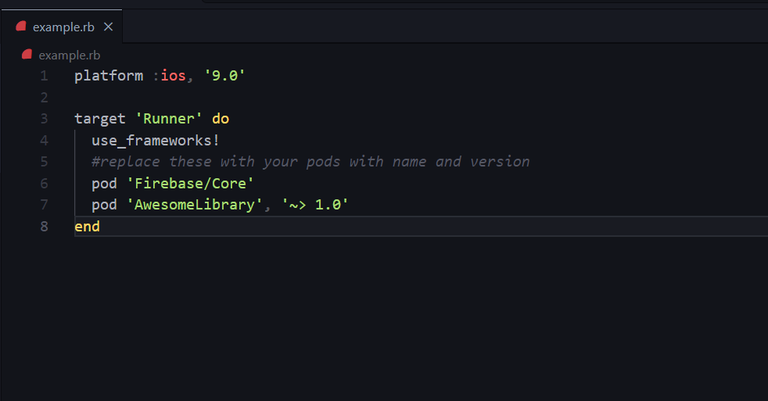
padfile example
7. Install Pods
Save the “Podfile” which you just updated and run the command mentioned below
pod install
8. Open the Project
After the installation is complete, open the project using Xcode:
open Runner.xcworkspace
Note: Keep in mind that while you can set up CocoaPods on Windows, but the actual running of the iOS part might require a macOS or a virtual machine.
Share your thoughts in the comments
Please Login to comment...