Docker Compose is an orchestration tool that comes with Docker and enables users to run and manage multi-container applications using a YAML format file. Docker Compose comes pre-installed with Docker and does not require any additional installation or activation. In this article, we will explore what Docker Compose is. and how we can execute multiple commands using Docker Compose.
Docker Compose
Docker Compose is an orchestration tool that comes with Docker and enables users to run and manage multi-container applications using a YAML format file. Many times, we have applications that require multiple containers of different technologies and packages to run simultaneously. Docker Compose enables us to, rather than building, running, and connecting separate containers, use Docker Compose and have a single YAML file that specifies how the containers should be built and managed. It becomes important for larger applications that comprise multiple containers, so rather than running all those containers manually, we can use Docker Compose to run them using a single file.
Why Docker Compose?
Applications are composed of many different parts, such as APIs, databases, frontends, and services your application depends on. Even within the application, we have a concept of a microservice application, where an application is broken down into multiple microapplications or microservices, and when we are creating containerized applications, all of these different application components must be deployed and run together because they have dependencies on each other.
This is where we need Docker Compose when we have a set of containers that are running different services and applications within them that need to run together and talk to each other. Docker Compose is a tool that allows us to define and run multiple services and applications that belong together in one environment. To put it simply, if you want to deploy multiple Docker containers where each container may have different configuration options, you can use Docker Compose to manage these containers in an easy and scalable manner.
Prerequisites
- Basic understanding of Docker and having Docker installed on your local machine
In order to see the contrast between deploying applications using Docker Compose and without it. We have divided this tutorial into two parts. Part one is Deploying the application without Docker Compose, and part two is how Docker Compose makes it easier to deploy applications by executing multiple commands:
Part 1 – Before Docker Compose
Step 1: Creating a Docker Network
In order to deploy the application, we first need to create a Docker Network which will allow containers to communicate with each other and with the external world. Enter the following command to create a Docker Network called “mongo-tutorial-network”:
docker network create mongo-tutorial-network
This will give you a similar result and the Network will be created.

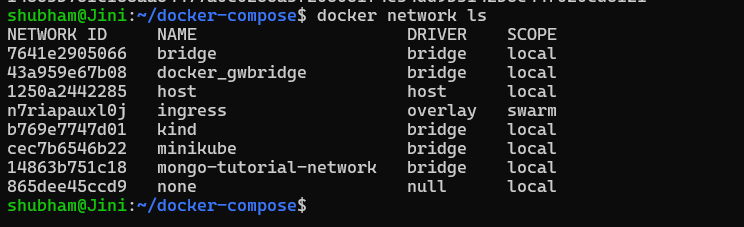
We can now check the list of Docker Networks by entering the following command:
docker network ls
And we will find our mongo-tutorial-network in the list (list may vary for you since I have additional Docker Networks created):
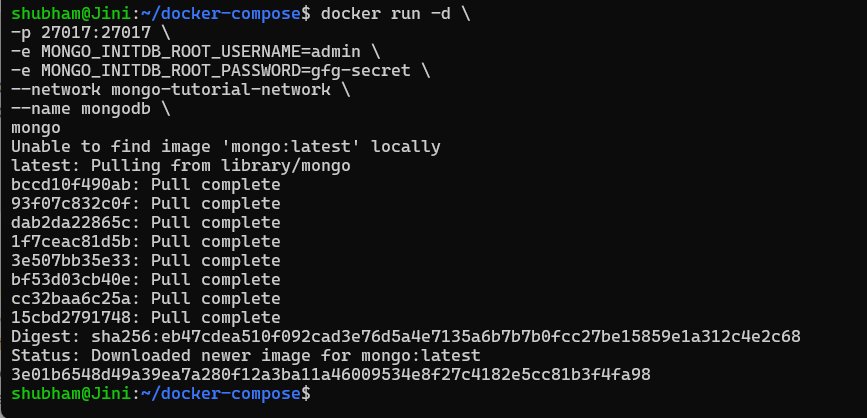
Step 2: Running first container in Docker Network
Now that the Network is setup, we need to add the mongo image to the Network. mongo image requires to setup two environment variables:
“MONGO_INITDB_ROOT_USERNAME” which I am setting to “admin”
“MONGO_INITDB_ROOT_PASSWORD” which I am setting to “gfg-secret”.
With the following command we are going to define the port to 27017 which is MongoDB’s default Port. We are going to bind it to the same port on the host. We are specifying the Network it will run in and give it a name:
docker run -d \
-p 27017:27017 \
-e MONGO_INITDB_ROOT_USERNAME=admin \
-e MONGO_INITDB_ROOT_PASSWORD=gfg-secret \
--network mongo-tutorial-network \
--name mongodb \
mongo
It will pull the image and run it and you will get a similar output:
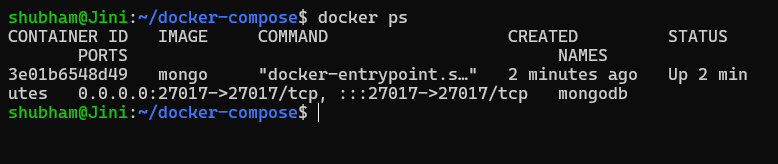
And now if we check the list of running containers:
docker ps
we will see our mongodb container:
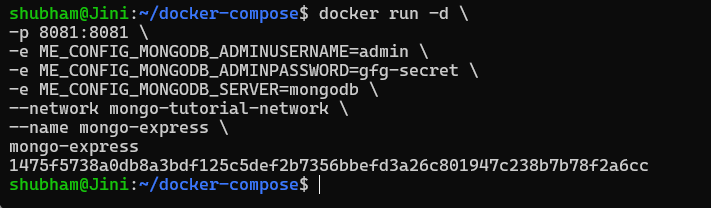
Step 3: Running second container in Docker Network
Similar to the previous container, this command will pull and run the mongo-express container in our mongo-tutorial-network Network:
docker run -d \
-p 8081:8081 \
-e ME_CONFIG_MONGODB_ADMINUSERNAME=admin \
-e ME_CONFIG_MONGODB_ADMINPASSWORD=gfg-secret \
-e ME_CONFIG_MONGODB_SERVER=mongodb \
--network mongo-tutorial-network \
--name mongo-express \
mongo-express
And you will get a similar result:
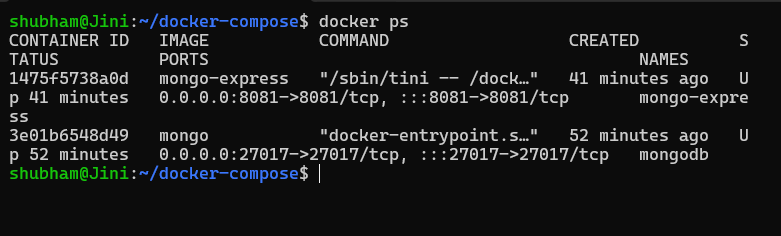
And now if we check the list of running containers:
docker ps
we will see our both our containers running:
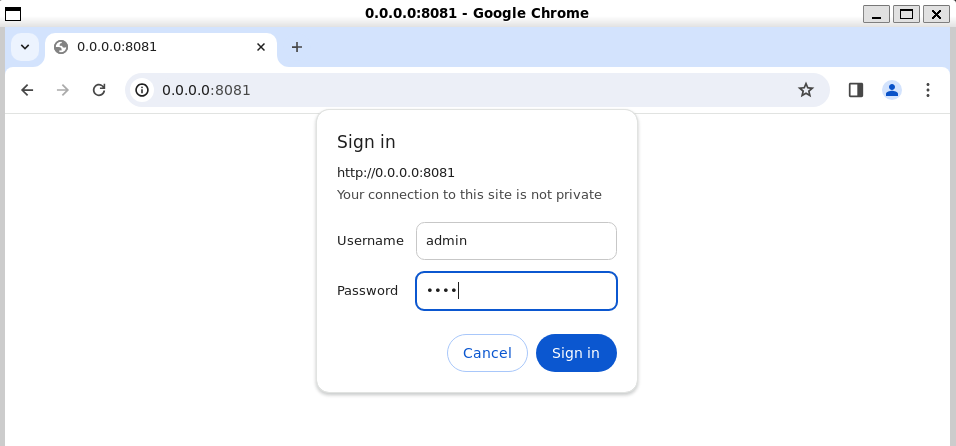
Step 4: Running the application on browser
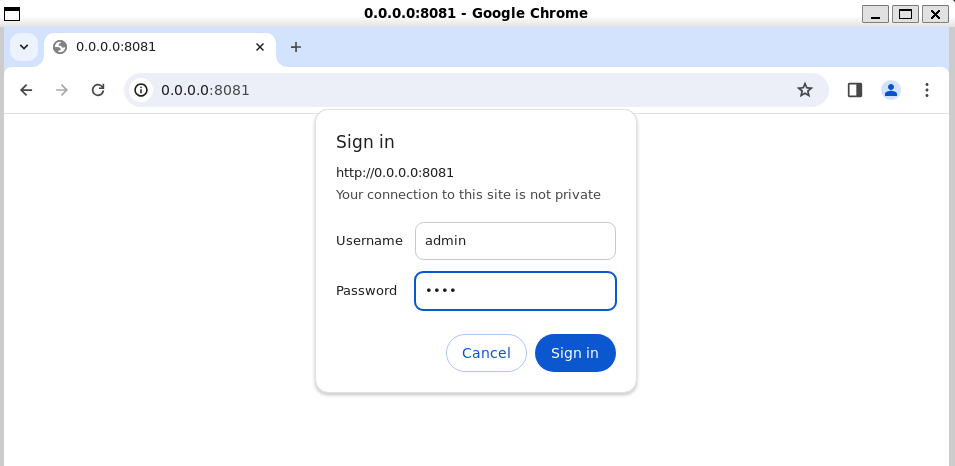
Now that both of the containers are up and running, let us test the application. Go to “http://0.0.0.0:8081” and you will get a sign in window. since our basicAuth credentials are “admin:pass”. You can check that using:
docker logs [MONGO_EXPRESS_CONTAINER_ID]
You will see this sign in window:
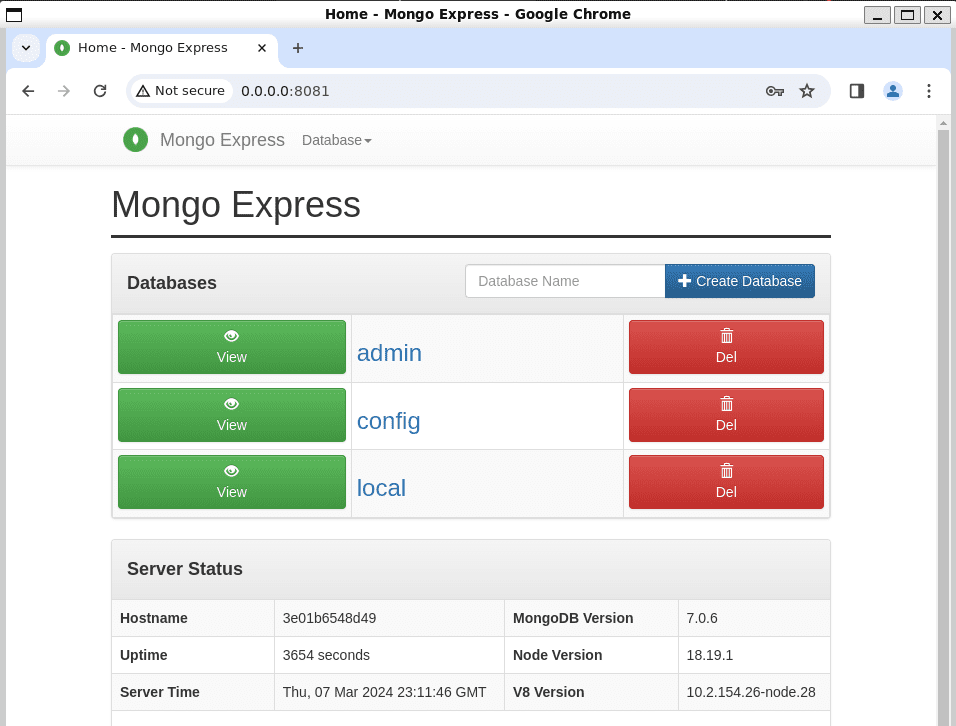
Enter the Username as “admin” and password as “pass”. and we will get our MongoDB application running in the browser:
Part 2 – Before Docker Compose
We can see that when we did not use Docker Compose, it was a more lengthy process where all the images needed to be pulled manually and containers needed to run manually, we will now see how to use Docker Compose to simplify this process:
Step 1. Stop and Delete the previous containers
Let us first stop the previous containers that were running. For that you need to enter the following command:
docker stop [CONTAINER_ID] [CONTAINER_ID]
And to remove the containers, enter the following command:
docker rm [CONTAINER_ID] [CONTAINER_ID]

Step 2: Creating the Docker Compose file
Now let’s create a Docker Compose file. This file pulls two images – mongo and mongo-express, the file includes all the environment variables required and all the images you need so that we don’t have to manually run all the containers. Create a file named docker-compose.yaml and enter the following code:
version: '3'
services:
  mongodb:
    image: mongo
    ports:
     - 27017:27017
    environment:
     - MONGO_INITDB_ROOT_USERNAME=admin
     - MONGO_INITDB_ROOT_PASSWORD=gfg-secret

  mongo-express:
    image: mongo-express
    restart: always
    ports:
     - 8081:8081
    environment:
     - ME_CONFIG_MONGODB_ADMINUSERNAME=admin
     - ME_CONFIG_MONGODB_ADMINPASSWORD=gfg-secret
     - ME_CONFIG_MONGODB_SERVER=mongodb
    depends_on:
     - "mongodb"
Step 3: Running the Docker Compose file
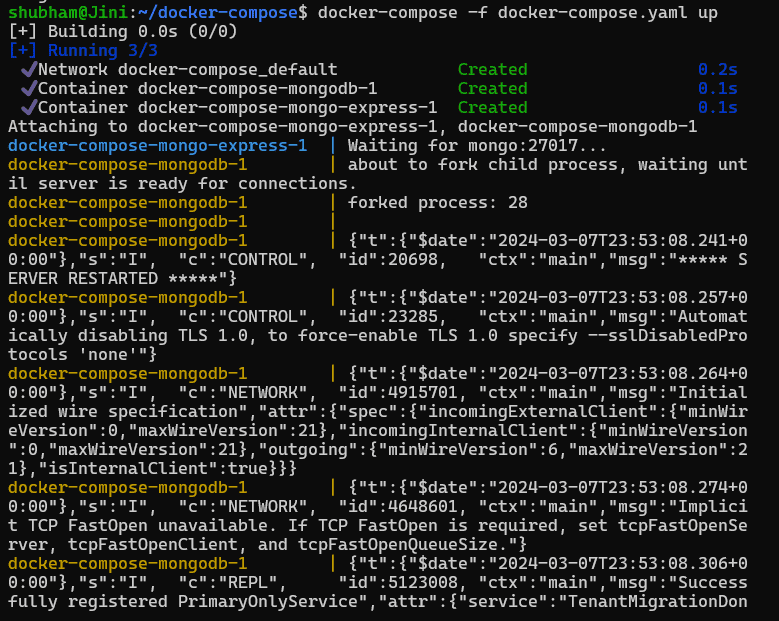
We can simply run our docker-compose.yaml by entering the following command:
docker-compose -f docker-compose.yaml up
This command alone builds, creates and starts the defined containers. You will get a similar result:
Step 4: Running the application on browser
And now if we open our browser and go to “http://0.0.0.0:8081” will we get the same sign in window:
And upon signing in, we will have our MongDB application running:
You will clearly notice that with Docker Compose, we can bring all the manual commands under a single file. This is how Docker compose makes it easier for us to build and run containers. Pat yourself on the back, you have completed the tutorial on how to execute multiple commands using Docker Compose.
Docker Compose Commands
Command to start existing containers for a service:
docker-compose start
Command to stop running containers without removing them:
docker-compose stop
Command to pause running containers of a service:
docker-compose pause
Command to unpause paused containers of a service:
docker-compose unpause
Command to list containers:
docker-compose ps
Command to build, (re)create, start, and attach to containers for a service:
docker-compose up
Command to stop containers and remove containers, networks, volumes, and images created by up:
docker-compose down
Conclusion
Docker Compose is an orchestration tool that comes with Docker and enables the users to run and manage multi container applications using a YAML format file. The YAML file consists of all configurations needed to deploy containers, Docker Compose which is integrated with Docker Swarm, and provides directions for building and deploying containers. We hope that this article taught you about Docker Compose and how to execute multiple commands using Docker Compose. Make sure to follow other articles on GeeksforGeeks to know about more tools in DevOps.
Docker Compose – FAQ’s
What is the use of Docker Compose?
Docker Compose is used to define and run multiple services and applications that belong together in one environment.
Does Docker Compose file also support JSON format?
Yes, Docker Compose file can be written in YAML or JSON format. Enter the following command to use a JSON file with Compose:
docker compose -f docker-compose.json up
What happens when we have two Compose files?
If you have two Compose files on the same directory, Docker Compose combines them into a single configuration file.
How to install Docker Compose?
You don’t have to install Docker Compose separately, Docker Compose comes pre installed when you install Docker in your Desktop.
Is Docker Compose free?
Yes and no, Docker Desktop is free for personal or educative purposes, small businesses and non-commercial open source projects. For larger businesses it requires a paid subscription for professional use.
Share your thoughts in the comments
Please Login to comment...