Imagine you have a website with good content like images, videos, and documents. Various users visit the website. However, users who live far away from the server will face latency in accessing the website content. High latency can hamper user experience. To solve this problem CDN comes into the picture.
CDN stands for content delivery network. It is a network of interconnected servers which speeds up the webpage loading. Website content is stored on the CDN servers which is geographically closer to the user and respond to user requests more quickly. Cloudfront is AWS’s own CDN service. CloudFront integrates with other AWS services and delivers content, images, and videos with low latency and high transfer speed.
CloudFront And Its Features
Cloudfront is an AWS CDN service that delivers content, images, and videos with low latency and high transfer speed.
Features Of Cloudfront
- Stores static content at edge locations closer to users which reduces the latency and improves the overall performance.
- Restricts content access based on geographical location.
- Allows to add custom headers to requests and responses.
- Custom error pages based on different status code.
- Integrates with AWS WAF to provide additional security.
Working Of CloudFront
Let’s say you have a website deployed on an EC2 instance. When a user requests the website the request goes to Cloudfront first. Here’s how the process flows :
- Step 1: First Cloudfront checks if it already has the website content in its cache. If it does, then it sends website content directly to the user. If not it proceeds to Step 2.
- Step 2: CloudFront fetches the website content and stores a copy in its cache for future requests. Then sends the website content to the user.
Next time if someone requests the same website then Cloudfront will deliver the content from the cache making it more efficient and fast.
Prerequisites
Before moving to next section , it is essential to complete the following tasks for a seamless AWS setup:
Refer to this geeksforgeeks article for a step by step guide on creating an EC2 instance. The article covers essential aspects of EC2 instance setup
- Create an Amazon S3 Bucket:
Follow this geeksforgeeks article for a detailed walkthrough on setting up an Amazon S3 Bucket.
How to Customize responses in AWS Cloudfront
1) Invalidation
You have a website deployed on EC2 instance and it is accessed through Cloudfront . At first when you request the website , it will be not present in the cache . But after the first request any further request made to access website, will be delivered from the cache . Suppose now you have updated the content of the website . You will see the changes made on website when accessed it through public IP of EC2 instance but you will find no changes made on website when accessed through Cloudfront URL . This happens because website is stored in the cache and any request made to access website through Cloudfront distribution domain name will be delivered from cache .
To solve this issue you need to delete cache from the CDN edge servers . This can be done through invalidation .
Steps To Apply Invalidation
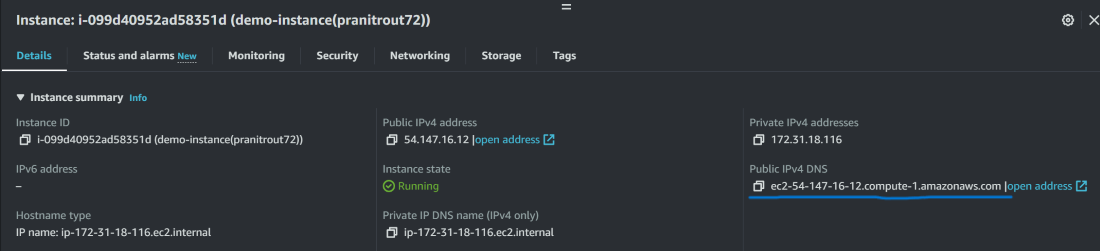
Step 1: Create an EC2 instance .

Step 2: Copy DNS of the EC2 instance .
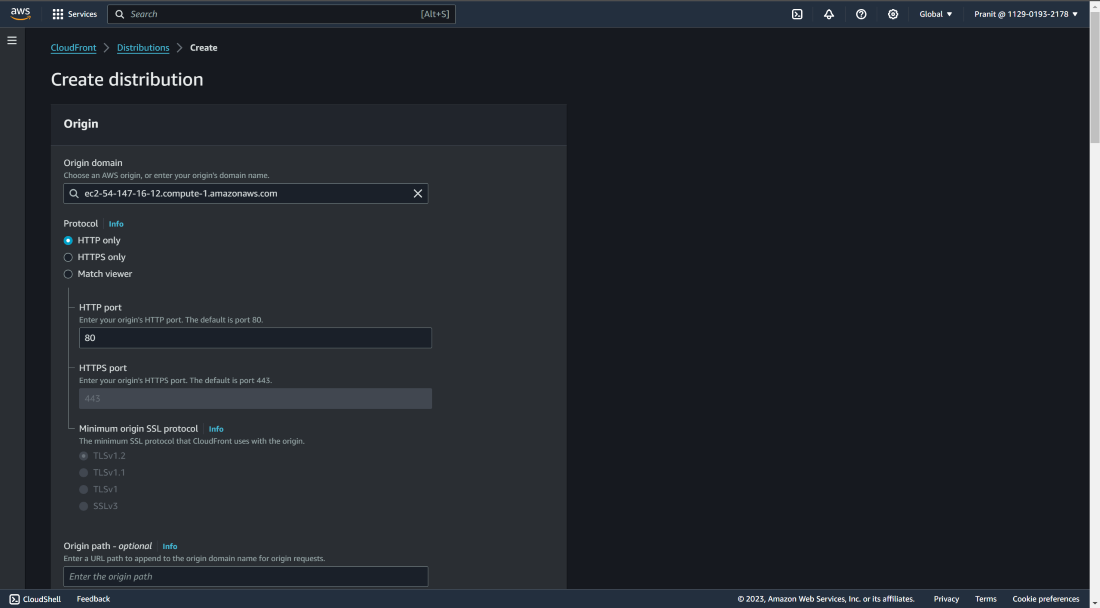
Step 3: Search for Cloudfront service and create the Cloudfront distribution using EC2 DNS as origin .
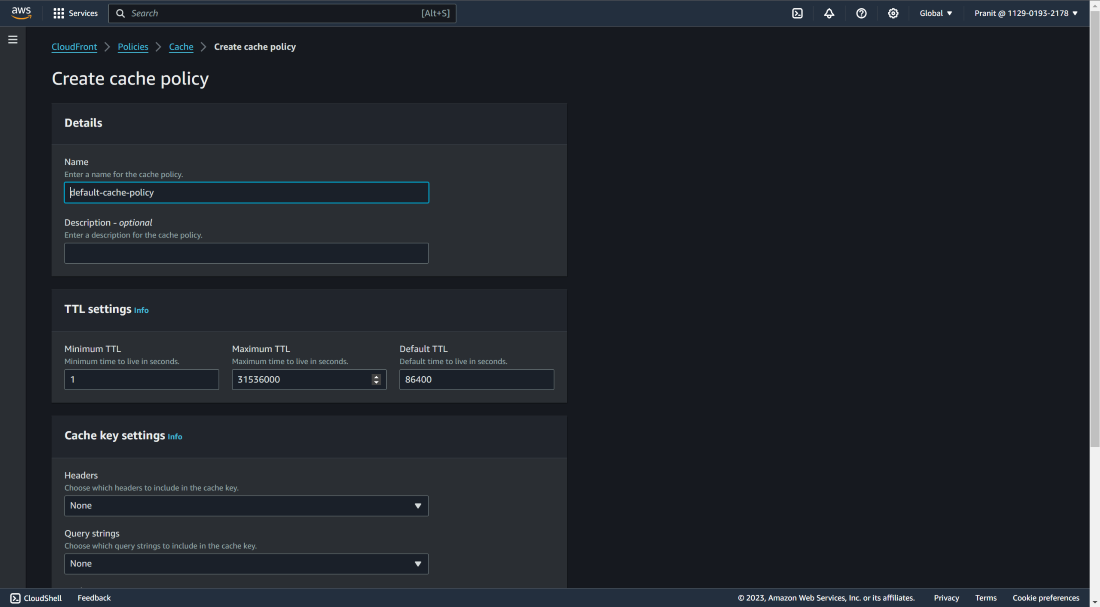
Step 4: Create cache policy .
Step 5: Attach cache policy to Cloudfront distribution .
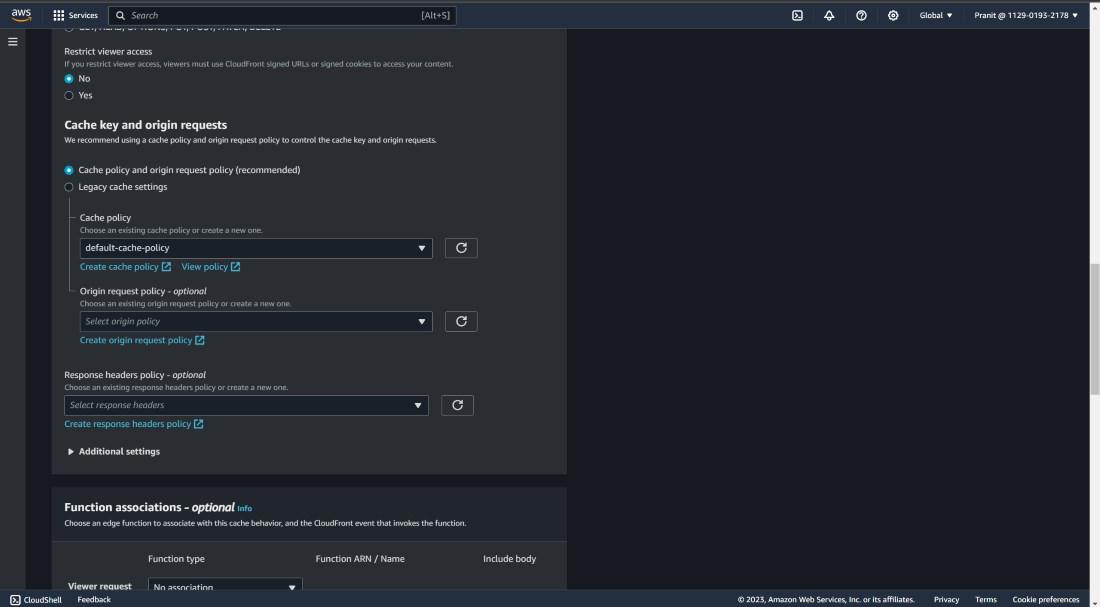
Step 6: Select “do not enable security protections” .
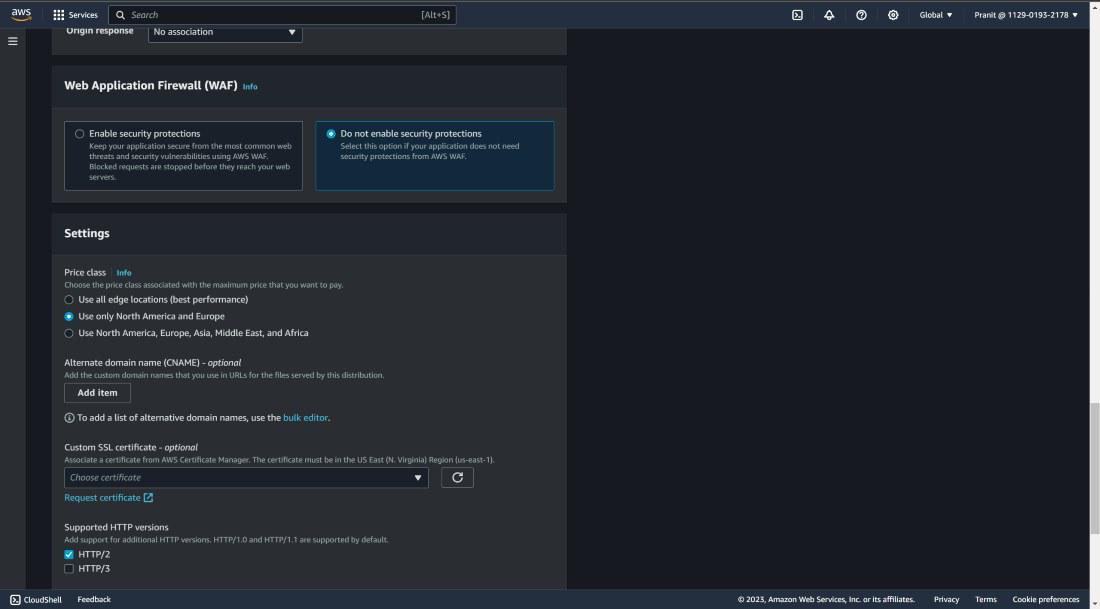
Step 7: Write index.html as default root object (Here in this example i have used index.html as root object ).
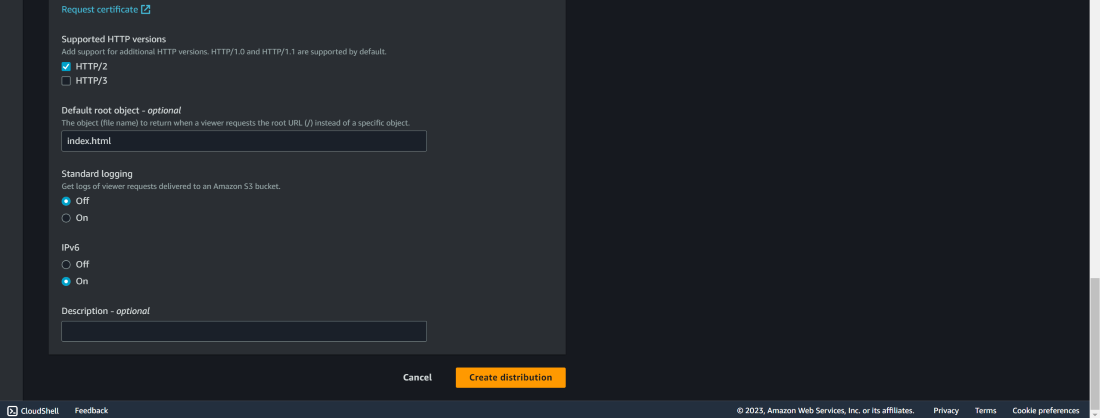
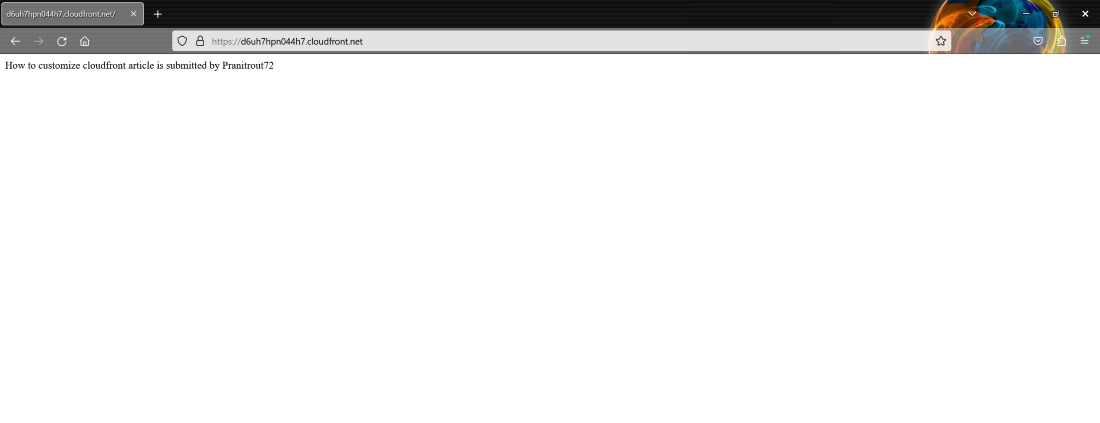
Step 8: Wait for sometime for the Cloudfront distribution to be deployed . Then access the website through Cloudfront distribution domain name .
Step 9: Connect the EC2 instance . Switch to root user with the command .Then change directory . Here you can update the index.html .(copy the commands one by one)
sudo su
cd /var/www/html/
vi index.html
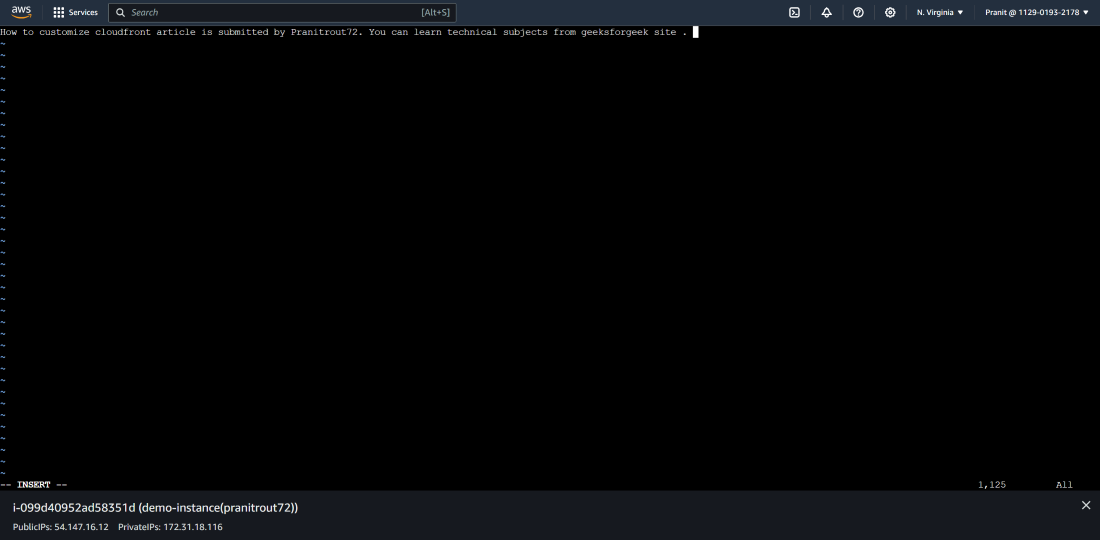
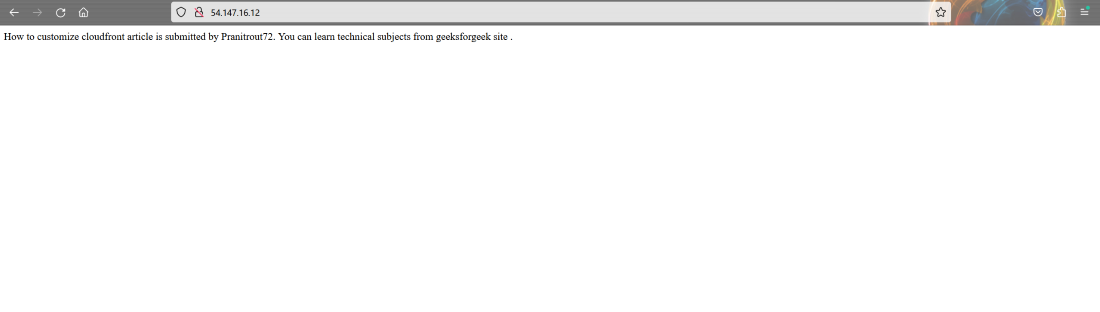
Step 10: After the update access the website through public IP of EC2 instance .You will see the updated website .
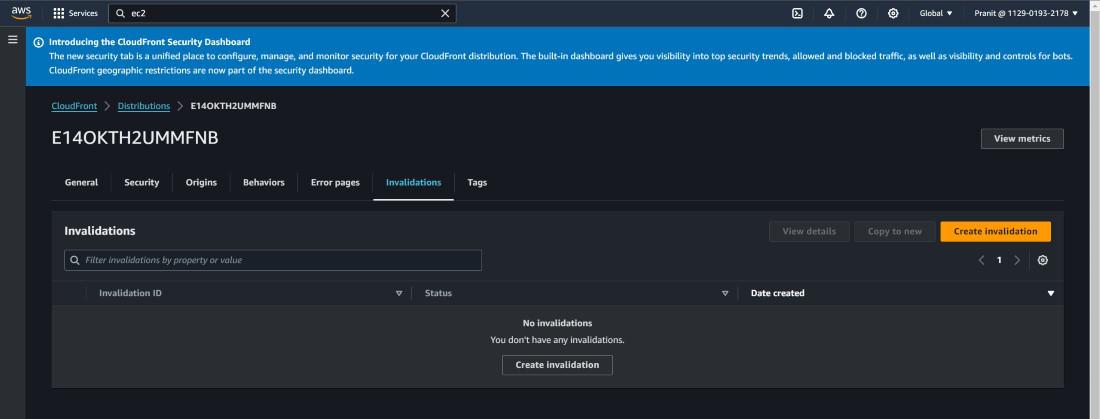
Step 11: Now try connecting the website through Cloudfront distribution domain name , but you will observe the website content is not updated . Now go to the Cloudfront distribution . Select invalidations.
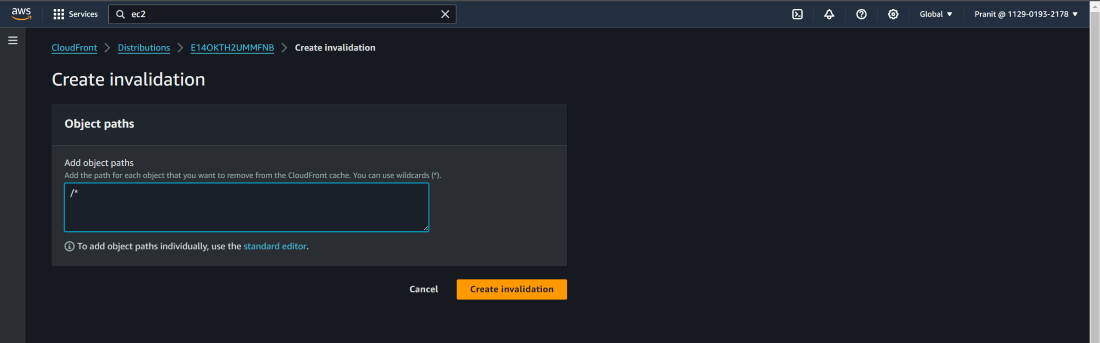
Step 12 : Then select create new invalidation . Add /* to object paths . This will delete all the contents on the cache .
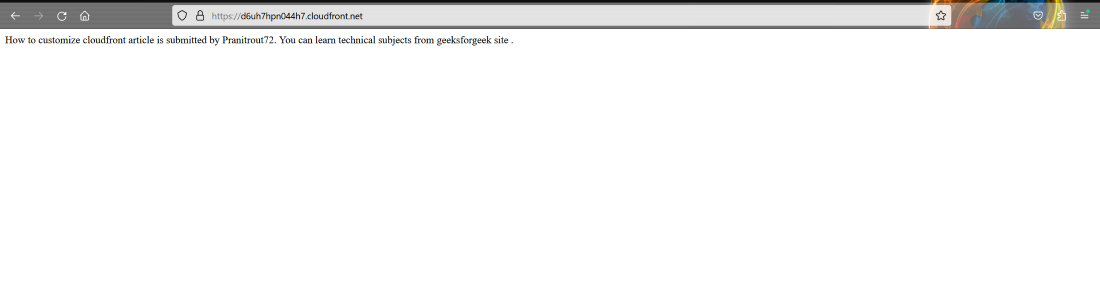
Step 13: Wait for sometime for Cloudfront distribution to be deployed . After successful deploy connect the Cloudfront distribution domain name . Now you can see the updated website . If there is any further update on website content in future then you have to invalidate manually to see the changes .
2) Origin And Behavior
For example you have a Cloudfront URL https://<this-can-change-user-to-user>/cloudform.net . Suppose you want to access the images present on s3 through https://<this-can-change-user-to-user>/cloudfront.net/images/ and access the website through https://<this-can-change-user-to-user>/cloudfront.net/api/ . Basically you want to access different content through different paths . To do this you have to customize origin and behaviors on Cloudfront.
Steps To Customize Origin and Behaviors
Step 1: Create another EC2 instance , but this time use /var/www/html/api/ path to store the index.html.

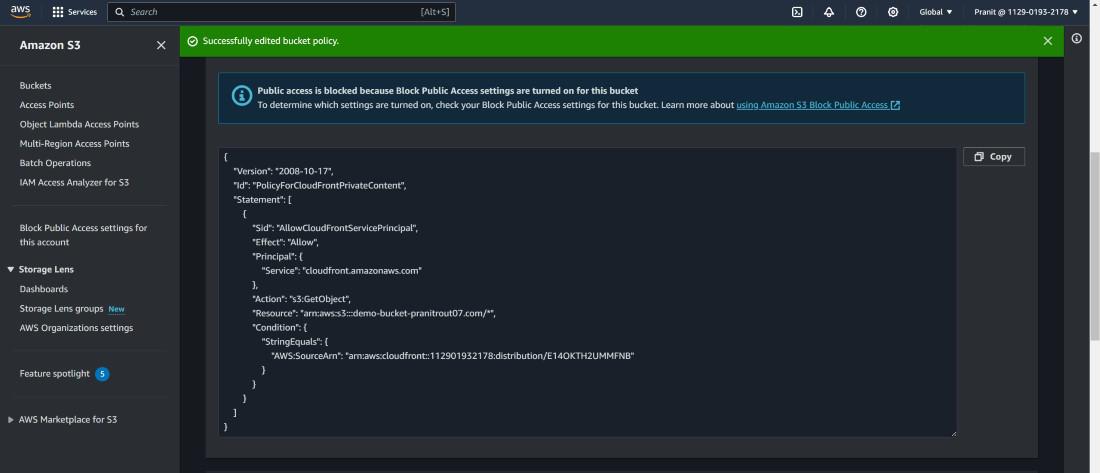
Step 2: Create a private S3 bucket and upload image to the s3 bucket .

Step 3: Select origins on Cloudfront dashboard . Create another origin for S3 bucket . Select origin access control setting.

Step 4: Update the bucket policy.
Step 5: Create another origin for EC2 instance.

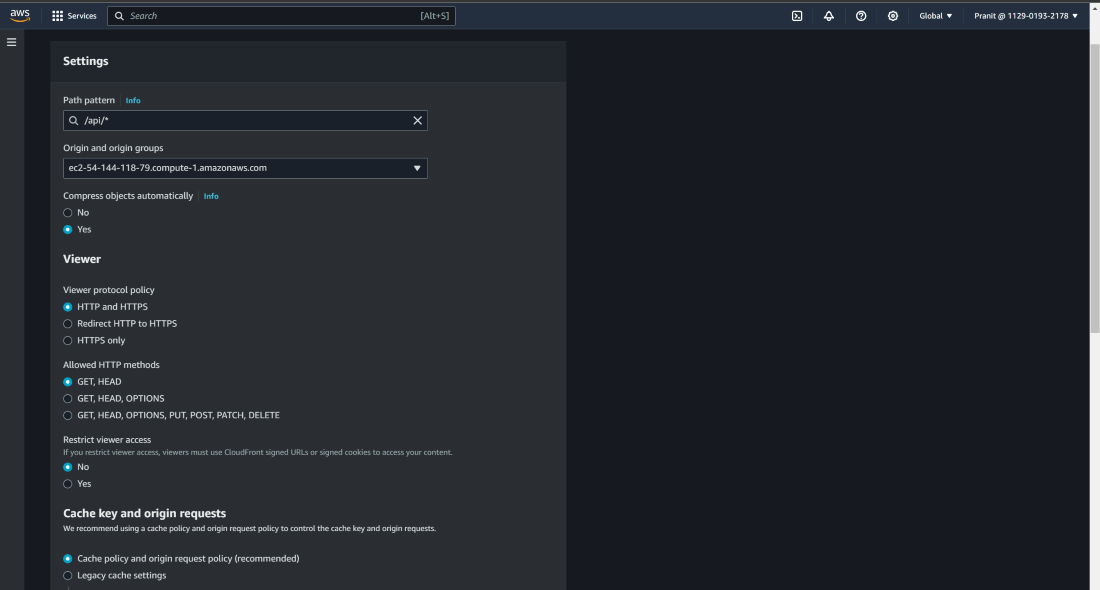
Step 6: Select behaviors on Cloudfront dashboard . Create behavior . Select /api/* as path pattern for the EC2 instance.
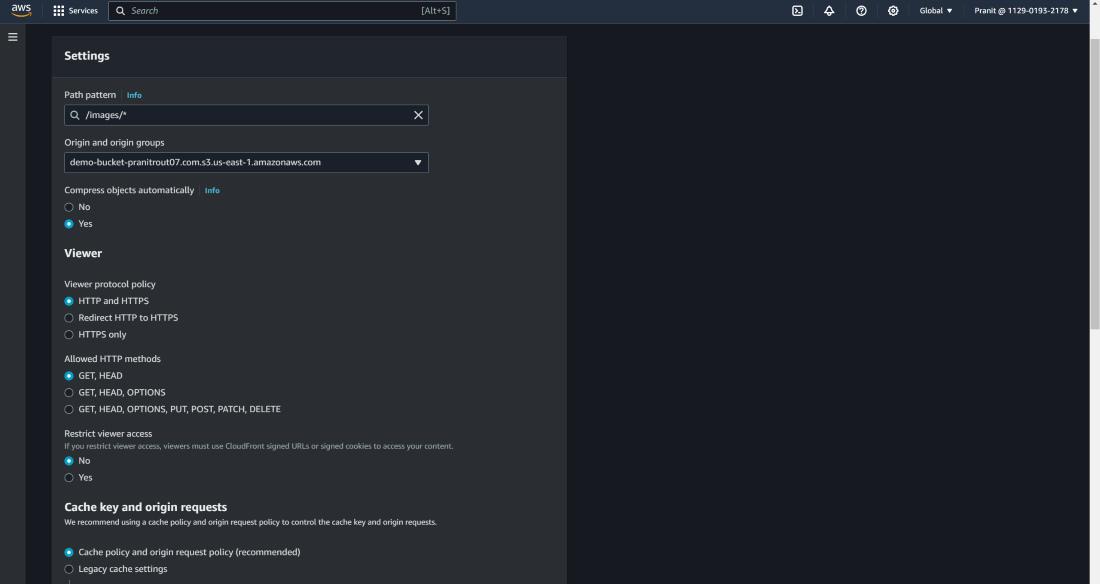
Step 7: Similarly like the above step create behavior for S3 bucket .
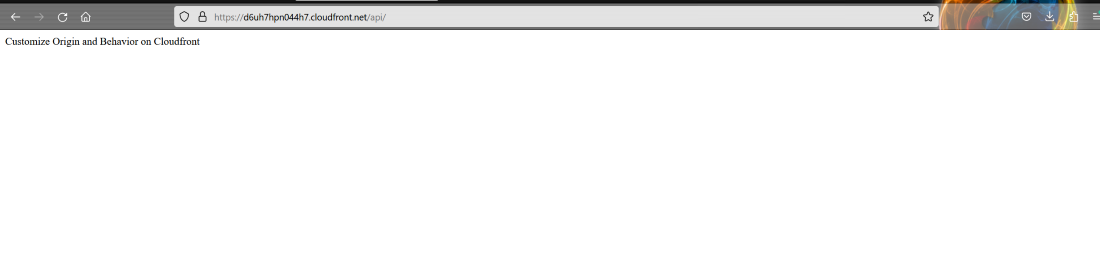
Step 8: Wait for Cloudfront distribution to be deployed . Access the website through <Cloudfront distribution domain name>/api/
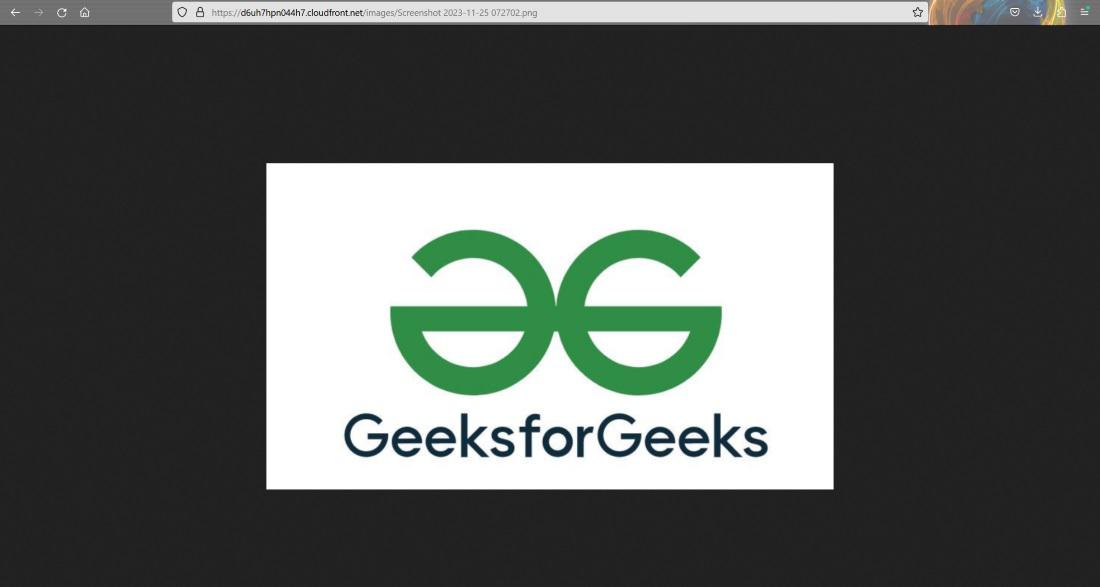
Step 9: Access the image on S3 bucket through <Cloudfront distribution domain name>/images/<image name>
3) Error Pages
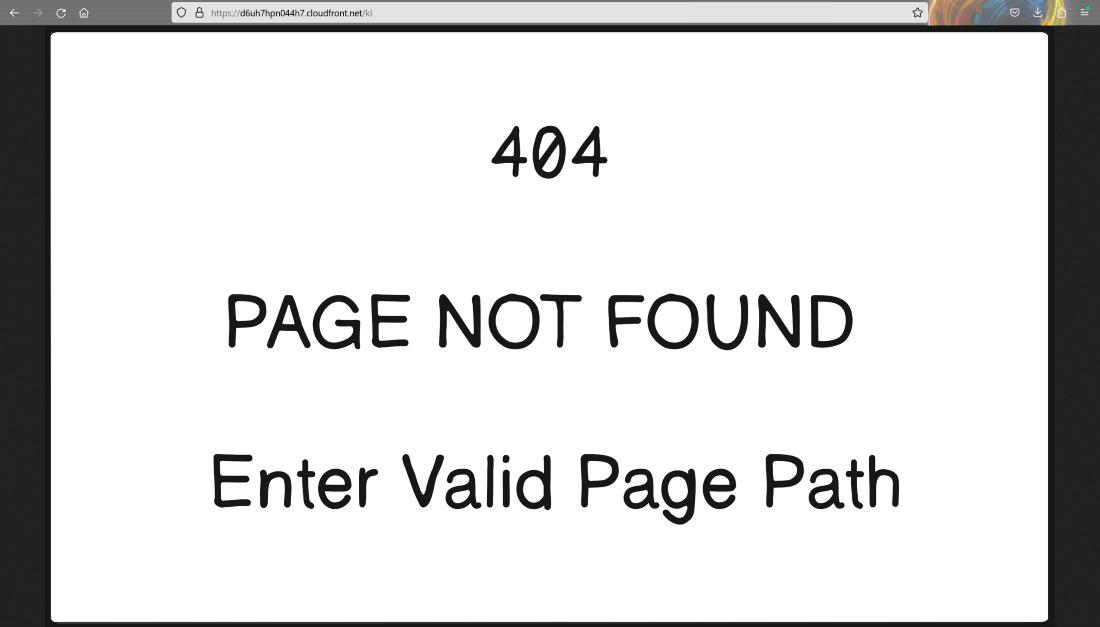
You can add custom error pages for each type of response . For example a user tries to access the path which is not available . It will show status code 404 . You can customize the error page for status code 404 . You can also add other custom error pages for other responses also . This can be done through Error pages on Cloundfront .
Steps To Customize Error Pages
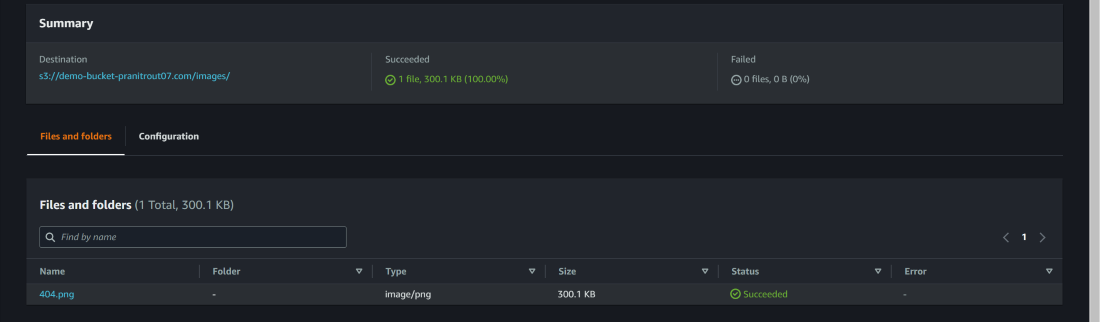
Step 1: Previously you have a s3 bucket . Upload a custom image to your S3 bucket for status code 404 .
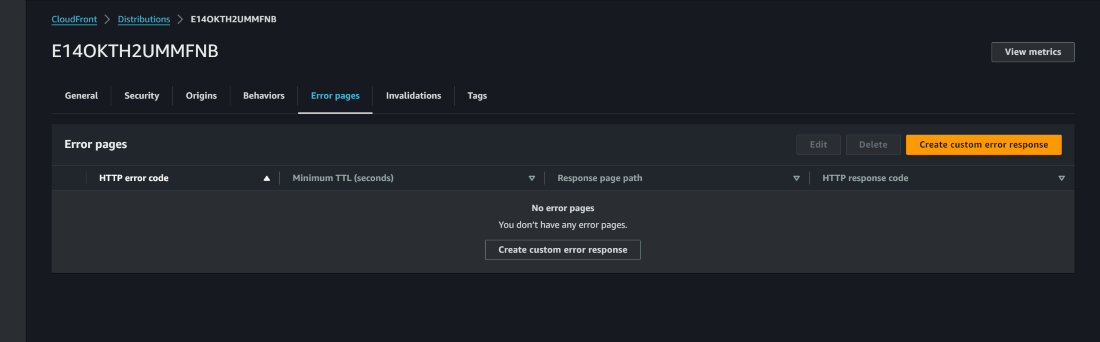
Step 2 : Now select error pages on Cloudfront dashboard . Then select create custom error response .
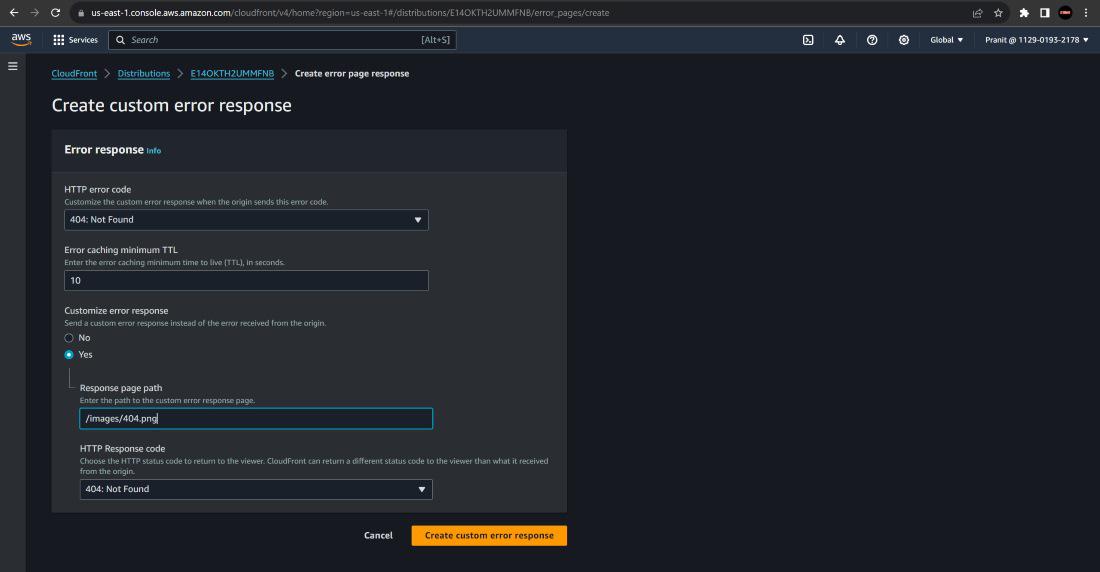
Step 3: Select 404:Not Found from the HTTP error code . Select yes from custom error response . In the response give the path of 404 custom error page path in S3 bucket . Then select create custom error response .
Step 4: Now access the Cloudfront distribution domain name and add some random path . You will now observe the new custom 404 error page .
Same steps you can follow for the other response status codes .
4) Geographical Restrictions
Some websites are limited to certain number of countries . This can happen for violating any government policies or culture of the country or any other case . You can restrict such website content as per geographic locations . To do this task on Cloudfront you can configure Geographical Restriction .
Steps To Configure Geographical Restriction
Step 1: Go to your Cloudfront distribution dashboard and select security , and then select Geographical restriction .Then Click edit countries .
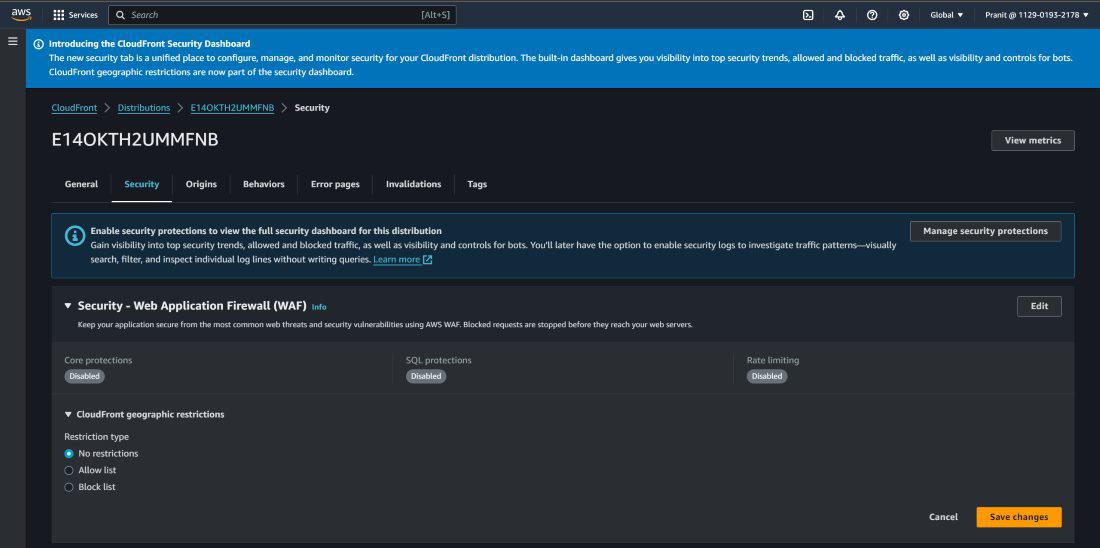
Step 2: After clicking edit you will see there are three options available No restrictions , Allow list , Block list . Select Allow list and select United states.
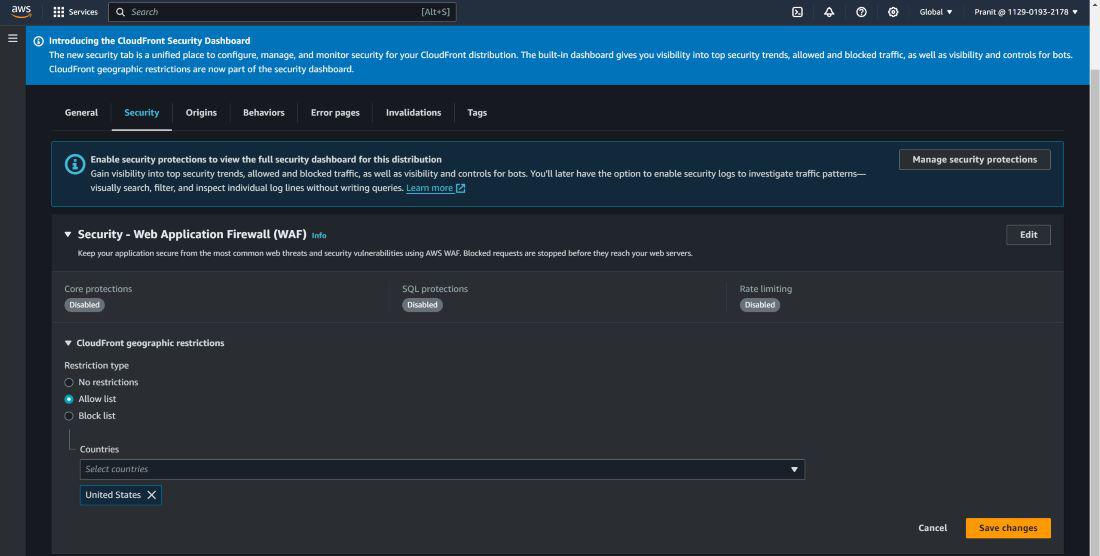
Step 3: Now try to access the website using Cloudfront distribution domain name . You will observe that you can not access the website from India region.

After this you can remove the restriction also .
Conclusion
So you have now successfully learned how to customize Cloudfront service . We have started with , how to apply invalidation when there is a update in the website content, then we learned how to add multiple paths to access images and website from different paths . We also learned how to use custom error pages for different type of response status code and at last we finally learned how to restrict the website content for any particular geographical area .
FAQs On AWS Cloudfront
1) What is edge location ?
An edge location is a data center that is equipped with a cache which stores copies of website content , images and videos . These locations are strategically located across the world to provide low latency to access your content.
2) What is the use of custom error pages ?
Custom error pages ensures that your website maintains a consistent look with rest of the site . It maintains a consistent branding and user experience , even when user faces error also.
3) Why to use Cloudfront service?
Cloudfront provides low latency to access content . Through Cloudfront your content can be globally accessed through the edge location with low latency . As Cloudfront provides low latency it improves user experience.
4) How to control caching duration for my content in Cloudfront ?
Through cache policies you can control the caching duration . These policies allow you to specify cache time for different types of content.
5) What are different types of content AWS Cloudfront supports?
AWS Cloudfront is a versatile CDN which supports different types of content . This includes static web content such as HTML , Javascript , images ,etc and also dynamic web content powered by node js , php ,etc . It is also used for delivering media files such as audio and video formats . Additionally Cloudfront is also used for streaming content , making it a comprehensive solution for optimizing the delivery of diverse digital assets across the globe.
Share your thoughts in the comments
Please Login to comment...