Create Animation in R
Last Updated :
08 Jun, 2023
Data visualization is a powerful tool for communicating complex data insights to a broader audience. Animation adds an extra dimension of interactivity and engagement to data visualization. With the R programming language, we can create stunning animations that visualize complex data sets and communicate ideas with ease. In this tutorial, we will walk through the steps required to create simple animations in R Programming Language.
R provides several packages for creating animations. Here are some examples of creating simple animations using different packages in R.
Creating Animations using “gganimate” Package in R
Before creating animations, we need to ensure we have the necessary packages installed and loaded. To install the packages, use the following commands:
R
install.packages("ggplot2")
install.packages("gganimate")
|
To load the packages, use the following command:
R
library(ggplot2)
library(gganimate)
|
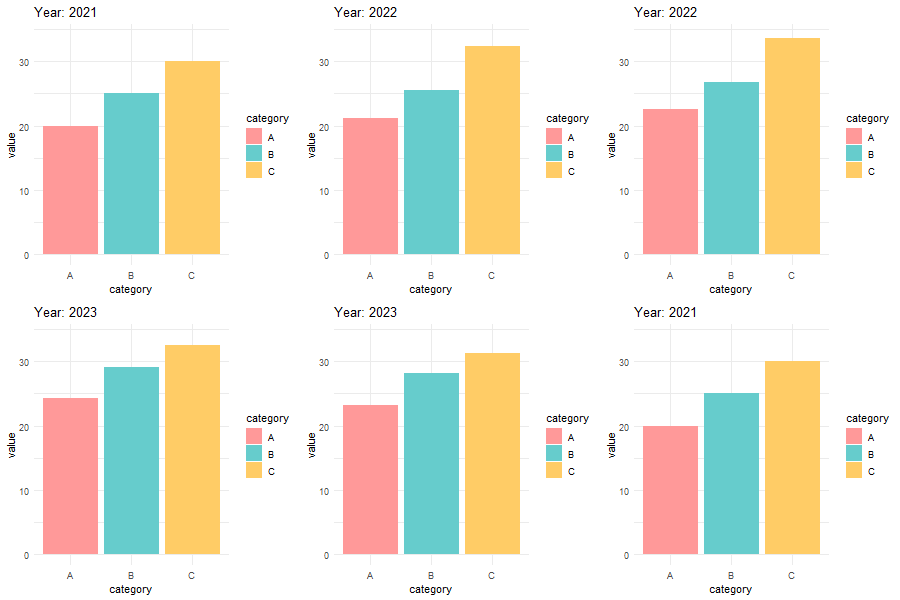
Create a data frame with your data. A data frame named df is created with three columns: year, category, and value. This data frame has 9 rows, representing three categories (A, B, and C) for three years (2020, 2021, and 2022). The value column represents some measure for each category in each year.
R
library(ggplot2)
library(gganimate)
df <- data.frame(year = rep(2021:2023, each = 3),
category = rep(c("A", "B", "C"),
times = 3),
value = c(20, 25, 30, 22, 26,
34, 25, 30, 32))
p <- ggplot(df, aes(category, value, fill = category)) +
geom_bar(stat = "identity") +
scale_fill_manual(values = c("#FF9999",
"#66CCCC",
"#FFCC66")) +
theme_minimal() +
labs(title = "Year: {closest_state}")
p_animated <- p + transition_states(year,
transition_length = 1,
state_length = 1) +
enter_fade() +
exit_fade() +
ease_aes("linear")
p_animated
|
Output:

Animations using BarGraph in R
Now let’s create some different types of animations using this gganimate package only.
R
library(ggplot2)
library(gganimate)
df <- data.frame(x = c("A", "B", "C"),
y = c(1, 2, 3))
p <- ggplot(df, aes(x, y)) +
geom_bar(stat = "identity") +
ylim(0, 4) +
transition_states(x, transition_length = 1,
state_length = 1) +
enter_fade() +
exit_fade()
p
|
Output:

Animations using BarGraph in R
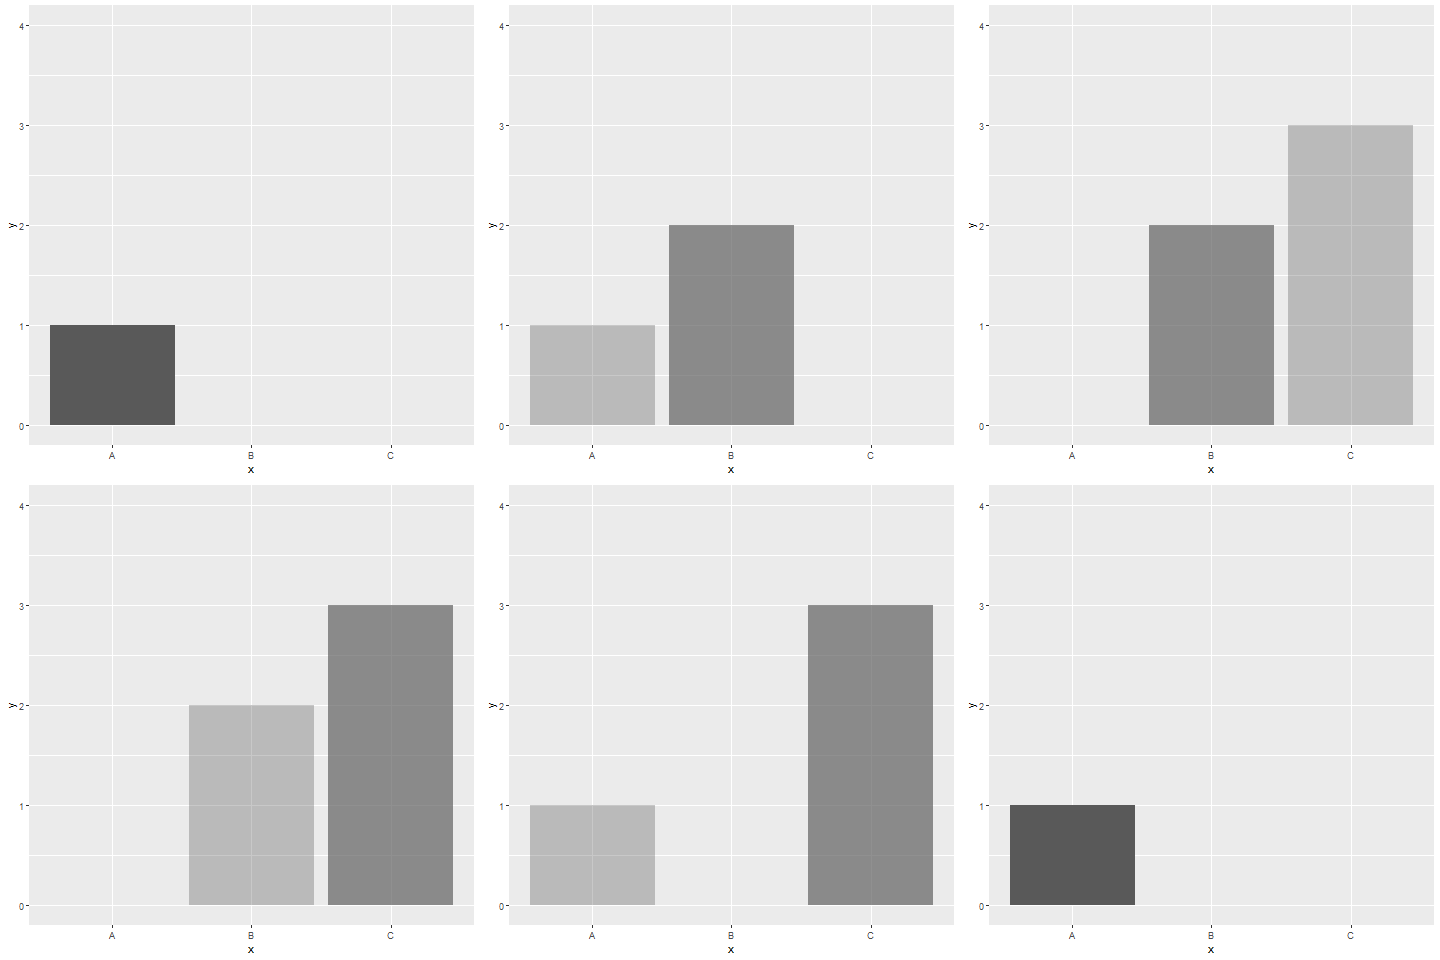
This code creates a simple bar chart with three bars, and the transition_states function animates the bars by transitioning from one state to another based on the x variable. The enter_fade and exit_fade functions create a fading effect when the bars enter or exit the plot.
Creating Animations using “animation” Package in R
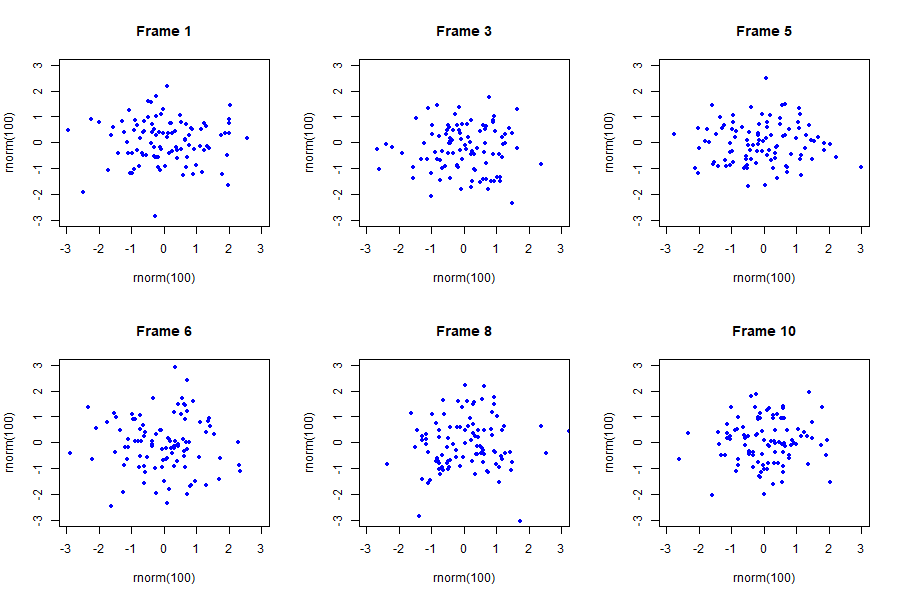
Here’s an example using the animation package in R to generate an animation of randomly generated points that move around over time. It does this by defining a function plot_frame that generates a scatter plot of randomly generated points, and then looping through a series of frame numbers to generate a series of plots.
This code generates an animation of randomly generated points that move around over time. It does this by defining a function plot_frame that generates a scatter plot of randomly generated points, and then looping through a series of frame numbers to generate a series of plots that are combined into an animated GIF using the saveGIF function.
R
library(animation)
plot_frame <- function(frame_number) {
plot(rnorm(100), rnorm(100),
xlim = c(-3, 3), ylim = c(-3, 3),
pch = 20, col = "blue",
main = paste0("Frame ", frame_number))
}
saveGIF({
for (i in 1:10) {
plot_frame(i)
ani.pause(0.5)
}
}, movie.name = "random_points.gif",
ani.width = 480,
ani.height = 320)
|
Output:

Animations using ScatterPlot in R
Share your thoughts in the comments
Please Login to comment...