Create an Import File Button with Tkinter
Last Updated :
31 Jan, 2024
Graphical User Interfaces (GUIs) play a crucial role in enhancing the user experience of applications. Tkinter, a built-in Python library, provides a simple way to create GUI applications. In this article, we will focus on creating an “Import File” button using Tkinter.
Create An Import File Button With Tkinter
In this section, we will create an import file button with Tkinter in Python. Let’s create a basic Tkinter window with a button that allows users to import a file. Below is the step-by-step procedure by which we can create an import file button with Tkinter:
Step 1: Create a Virtual Environment
First, create the virtual environment using the below commands
python -m venv env
.\env\Scripts\activate.ps1
Step 1: Import Necessary Modules
In this step, we import the Tkinter library as `tk` and the `filedialog` module for file-related dialogs.
Python3
import tkinter as tk
from tkinter import filedialog
|
Step 2: Write Import File Logic
In this step, we define a function `import_file()` that uses `filedialog.askopenfilename` to prompt the user to select a file. If a file is selected, its path is printed to the console, providing a placeholder for custom file processing logic.
Python3
def import_file():
file_path = filedialog.askopenfilename(title="Select a file", filetypes=[("Text files", "*.txt"), ("All files", "*.*")])
if file_path:
print("Selected file:", file_path)
|
Step 3: Create Main Tkinter Window
In this step, we create the main Tkinter window using `tk.Tk()` and set its title to “Import File Example” with `root.title()`.
Python3
root = tk.Tk()
root.title("Import File Example")
|
Step 4: Create an “Import File” button
In this step, we create a Tkinter Button labeled “Import File” using `tk.Button()`. The button is associated with the `import_file` function using the `command` parameter. Finally, the `pack()` method is used to place the button in the window with vertical padding of 100 units.
Python3
import_button = tk.Button(root, text="Import File", command=import_file)
import_button.pack(pady=100)
|
Step 5: Run the Code
In this final step, we start the Tkinter event loop with `root.mainloop()`, allowing the GUI to respond to user interactions and ensuring the window remains open until the user closes it.
Complete Code
In this code, Tkinter is utilized to create a window with an “Import File” button that triggers a file selection dialog. The selected file path is printed to the console, offering a foundation for custom file processing logic.
Python3
import tkinter as tk
from tkinter import filedialog
def import_file():
file_path = filedialog.askopenfilename(title="Select a file", filetypes=[("Text files", "*.txt"), ("All files", "*.*")])
if file_path:
print("Selected file:", file_path)
root = tk.Tk()
root.title("Import File Example")
import_button = tk.Button(root, text="Import File", command=import_file)
import_button.pack(pady=100)
root.mainloop()
|
Output:
Output print the file path also in terminal
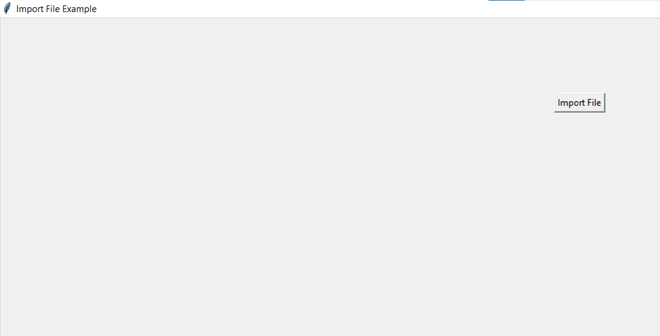
Import Button
Share your thoughts in the comments
Please Login to comment...