What is Azure Virtual Network Peering ?
Last Updated :
30 Apr, 2024
Imagine we have a virtual network named vnet1 which has address space assigned dynamically and subnets under that. so, the resources can be connected to subnets and they will be assigned with static Ip address. The resources which are connected to subnets can communicate with each other unless we restrict them. This is a default behavior. Similarly, we have another virtual network named vnet2. If we want the virtual networks to communicate with each other, it cannot happen dynamically. So we need Virtual network peering. In this article, let us understand Azure Virtual Network Peering.
What is Azure Virtual Network Peering?
- Azure Virtual network peering is a service in Azure which helps us to connect different virtual networks regardless if they are in same or different regions. we don’t need to go over expensive solutions such as VPN gateways to connect Virtual networks.
- Azure V-net is transitive in nature: For example, we have three v-nets i.e. Prod v-net, Dev v-net and QC v-net. If we peer Prod to Dev and Dev to QC. It doesn’t mean that Prod and QC are peered.
- We can also use different topologies to connect two or more virtual networks including Mesh Network, Hub and Spoke(NVA).
VNet Peering Supported Configuration
- VNet Peering connects Virtual networks in the same region.
- Global VNet peering connect virtual network across azure regions.
- Works across Azure Subscriptions, Azure AD Tenants and regions.
- Peering traffic is private.
Benefits of Virtual Network Peering
- Improved Performance: Virtual network peering enables low-latency and high-bandwidth connectivity between virtual networks.
- Secure and Private connectivity: Azure Peering provides secure and private connectivity between virtual networks, making it an ideal solution for multi-tier applications.
- Simplified network architecture and cost efficient: Eliminating the need of complex VPN gateways or virtual appliances to establish.
Virtual Network Peering: A Step-By-Step Guide
Step 1: Creating Virtual Networks and Subnets
- Login in to the Azure portal with your active subscription.
- Navigate to the Marketplace and search for Virtual Network service.
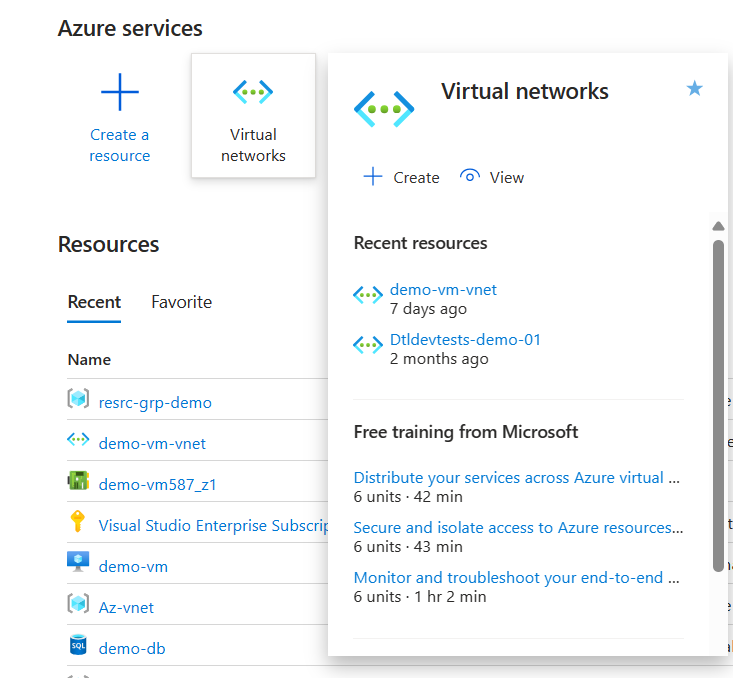
- Click on “create” to create a Virtual network.

- Enter the details like project details i.e. subscription type, Resource Group (either you can use existing resource group or create a new one) and Instance details i.e. Virtual network name and region(allocated by default).
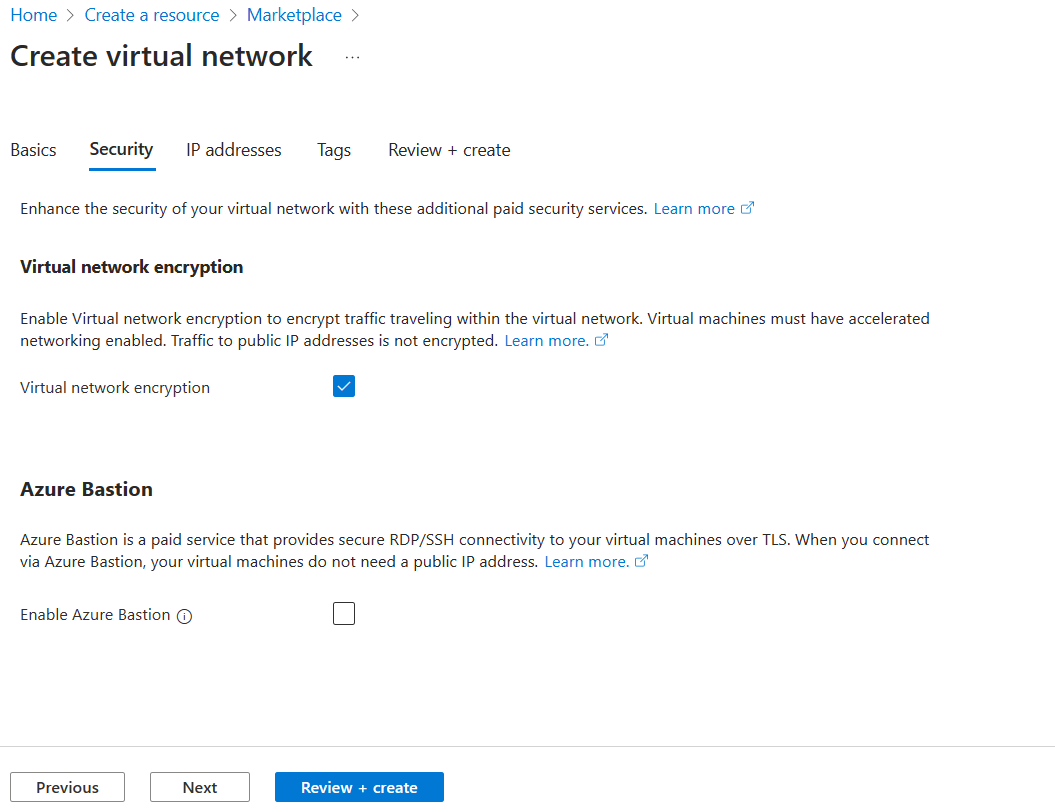
- You may also enable Virtual network encryption to add an extra layer of security.
- click on “Review + create” to create and deploy your Virtual network.
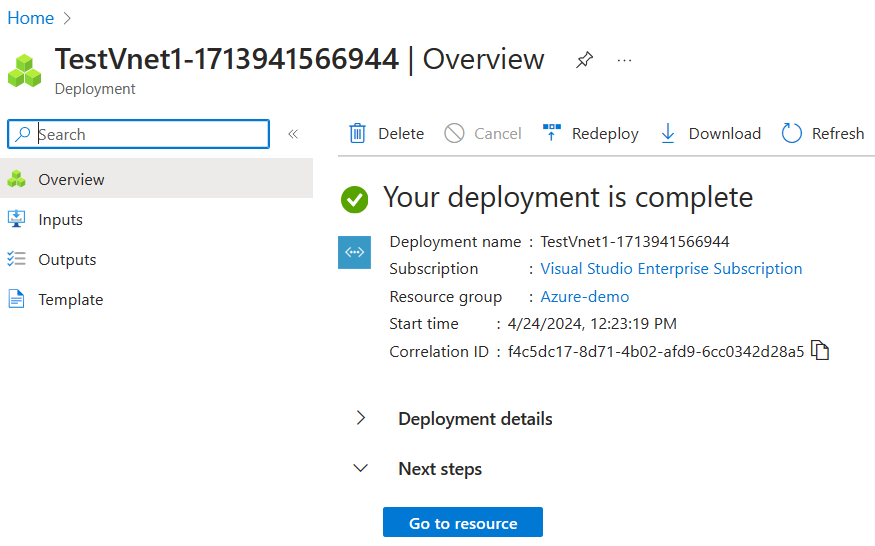
- Similarly, create any number of Virtual networks as per your requirement.
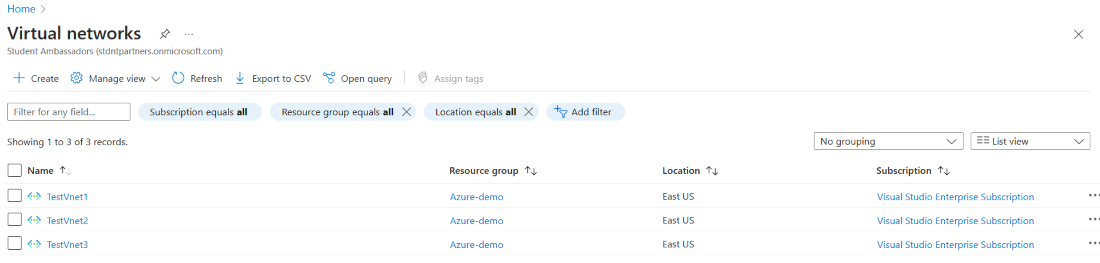
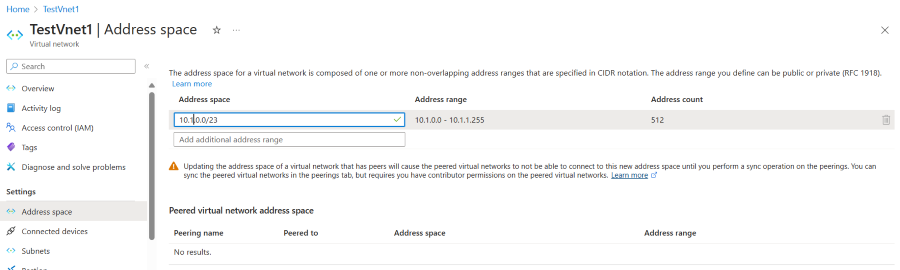
- Now, your Virtual networks are ready, by default Virtual networks provide “default” subnet. You can use the default subnet to connect with resources or create new subnets as per your requirement.
- Make sure you have modified the default IP address for your VNet and subnets. Because, Virtual network peering cannot be done with two virtual networks with same IP addresses.
Step 2: Peer the Virtual Networks
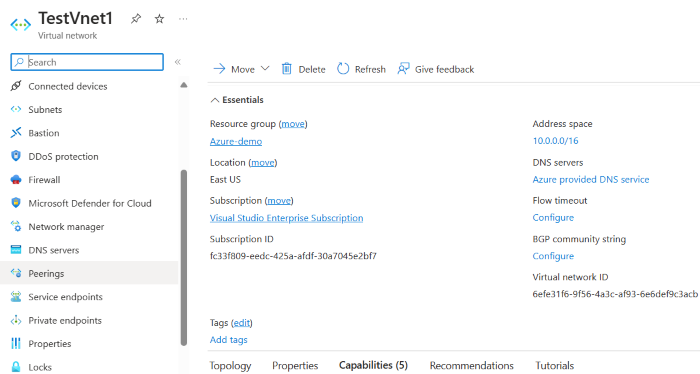
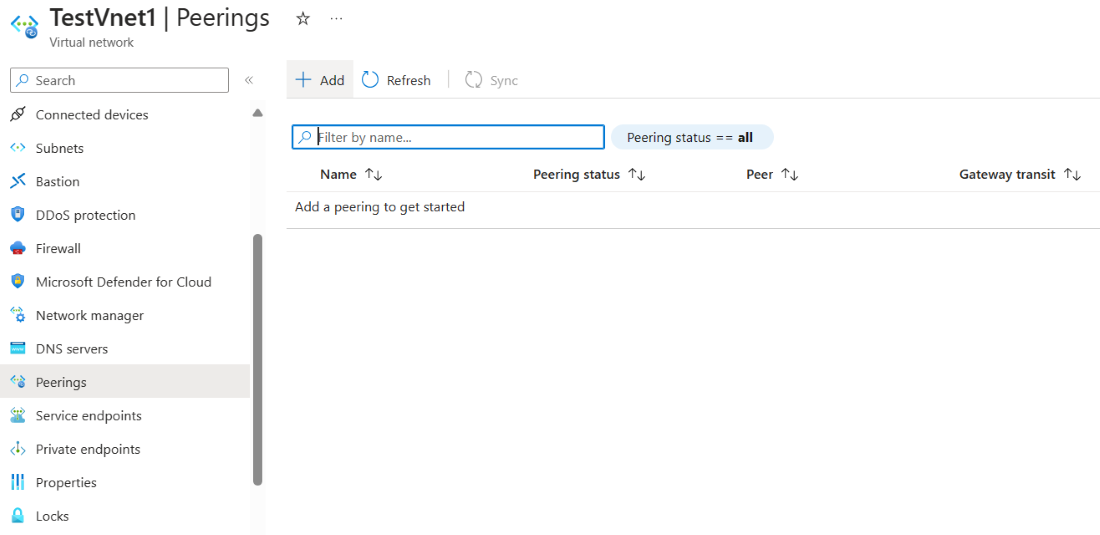
- Navigate to your first Virtual network i.e. TestVnet1 and in the left menu, you can see the “Peerings”. Navigate to that section.
- Click on “Add ” to add a virtual network for peering.
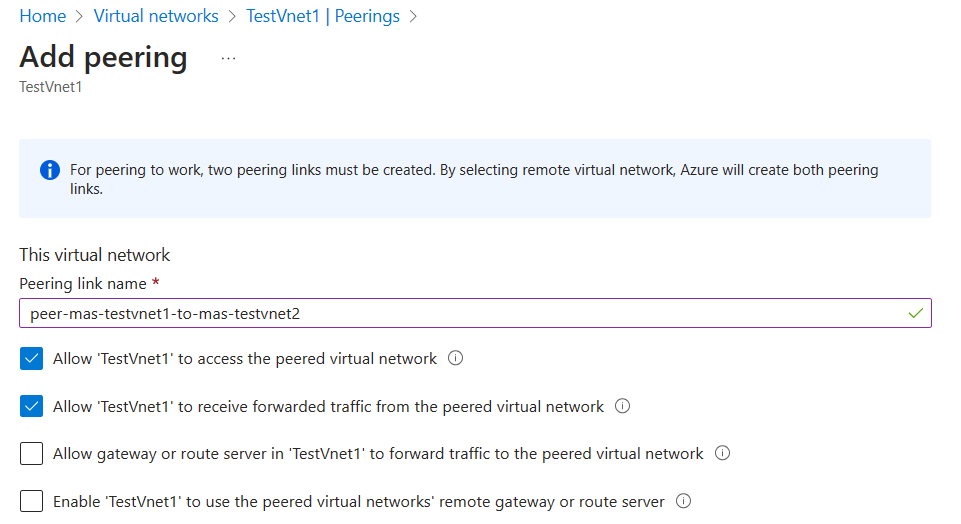
- Enter current Virtual Network details:
- Enter the peering link name. Name it in a conventional manner(suggested).
- click on the given additional add-ons according to your requirement.
- Enter Remote Virtual Network details:
- Enter the peering link name. Name it in a conventional manner(suggested).
- Select a deployment model for your virtual network.
- Enter your resource ID(optional).
- Enter your subscription type. You may also connect the Virtual networks which are created in different subscriptions. Here you can choose your subscription in which the Remote virtual network is created.
- Also, You can choose the additional add-ons for managing the traffic.
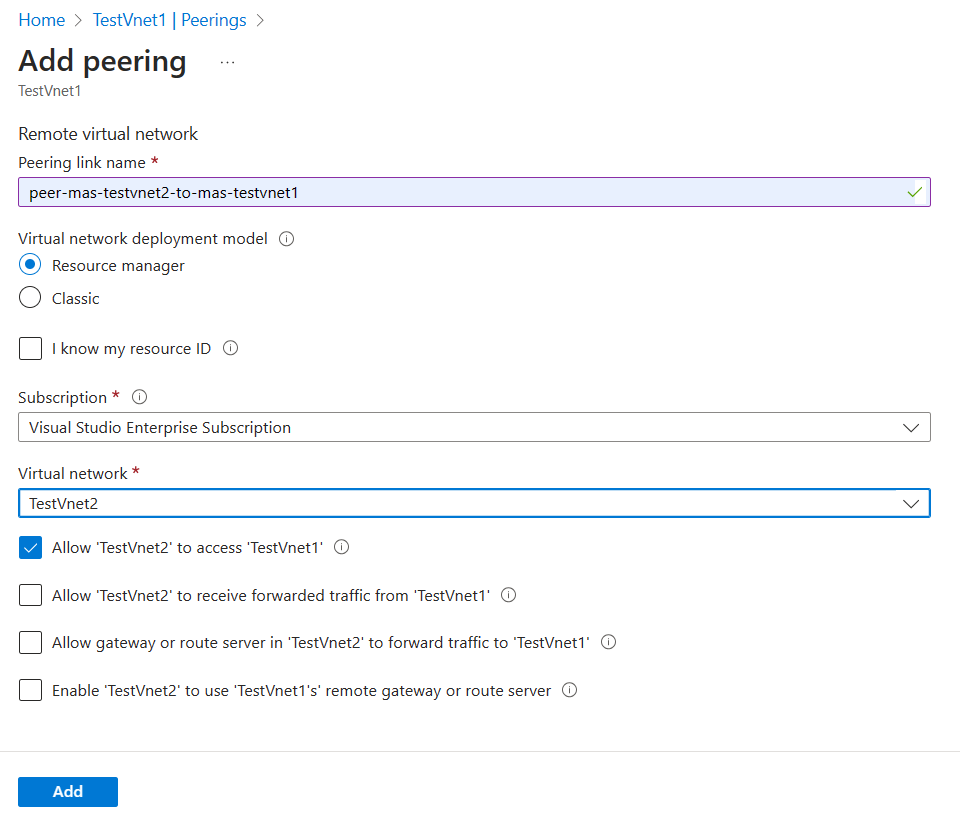
- Click on “Add” to add the virtual network peering between the current virtual network and Remote virtual network.
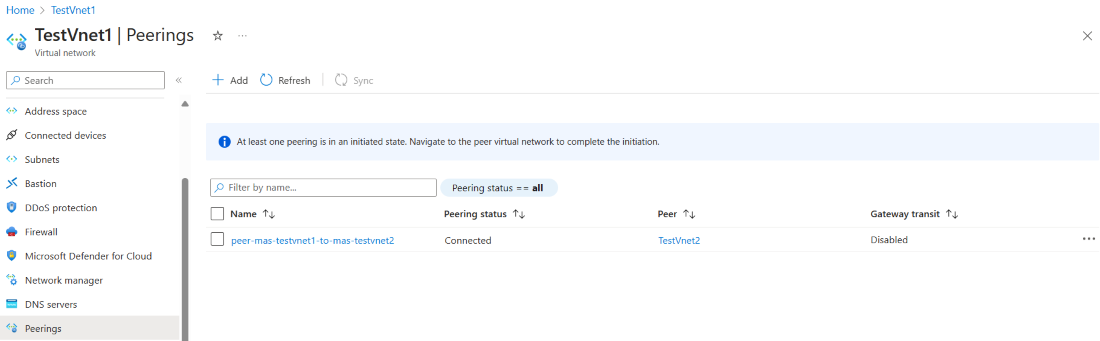
- You can see the Peering status as “connected”.
- Similarly, navigate to the remote virtual network which you used in peering to check the peering status as well.
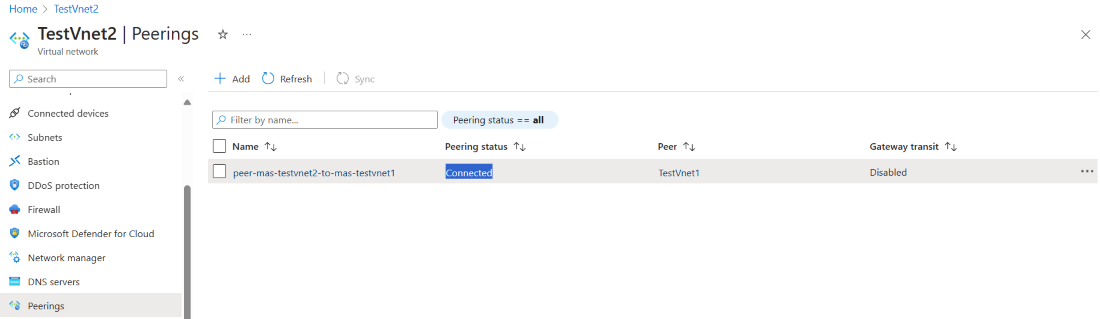
- So, now the resources can be inter communicated between these two virtual networks and this virtual network peering acts like a bridge between them.
Azure Virtual Network Peering – FAQs
Can I peer virtual networks belonging to different Azure Subscriptions?
Yes, You can peer virtual networks belonging to different Azure subscription. In the section of adding remote virtual network details, we can also have an option to provide the subscription type in which the virtual network belongs to.
What are the benefits of Azure Virtual Network Peering?
Azure Virtual network peering has wide range of benefits including:
- Improved performance
- Secure and Private connectivity
- cost efficient and simplified network architecture
Can I Peer Virtual Networks in different Azure Regions?
A. Yes, we can peer virtual networks belongs to different Azure regions, but we cannot peer virtual networks which belongs to two different Azure AD tenants.
Is there any limitation on the number of peering connections I can create for a Virtual Network?
Azure imposes certain limitations on the number of peering connections per virtual network, which may vary based on factors such as the Azure region and the factors of the virtual network.
Share your thoughts in the comments
Please Login to comment...