VI (Vim) for Windows Users
Last Updated :
13 Mar, 2024
The vi editor, or the original Vi, is a text editor that was developed primarily for Unix-like operating systems. The orginal Vi editor is not available for Windows operating system out of the box so as an alternative, the most commonly used Vi implementation for Windows is called as “Vim”, short for “Vi IMproved”. Vim is a powerful and highly configurable text editor which is known for its extensive feature set. It is available for free download and use across various platforms, including MacOS, Linux, and Windows. This article will walk you through the steps to install and configure the Vim text editor on a Windows operating system.
The Installation Process
Step 1: Download the setup file for Vim editor from the official website
- You can download and install Vim for Windows from the official website: https://www.vim.org/download.php. Then click on the PC:MS-DOS and MS-Windows link. This will redirect you to a new page to download the installer.
-768.png)
Click on the gvim90.exe link to download the setup file for Vim editor for Windows.
.png)
Step 2: Execute the installer file
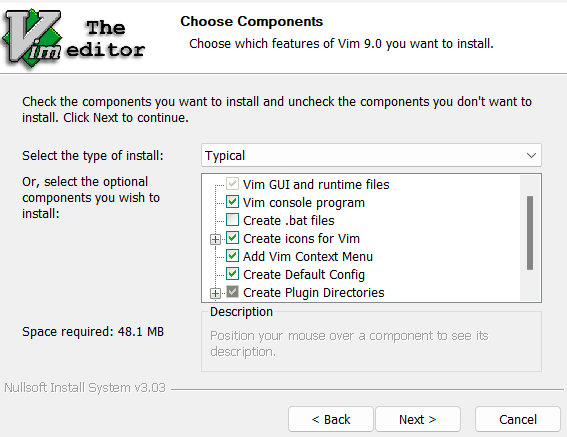
- Once the download has been completed, open the executable file to run the setup and follow the onscreen instructions to install the vim text editor on Windows. You can stick with the default options unless you have any specific tweaks that you need to apply.
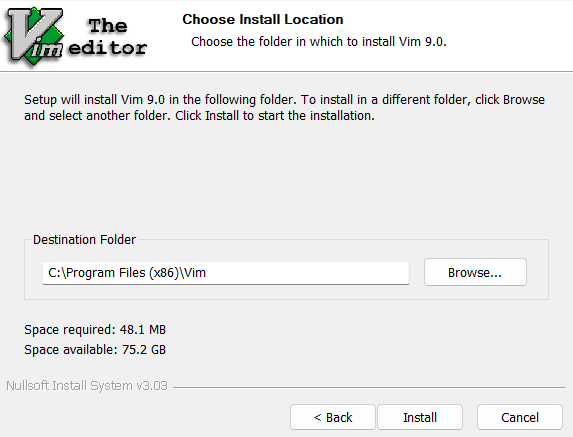
- Choose the installation directory and complete the installation.
Step 3: Launch the Editor
- Once the installation process has been completed, you can access the Vim text editor by either navigating to the directory where it was installed and launching it, or by using the start menu to open the editor.
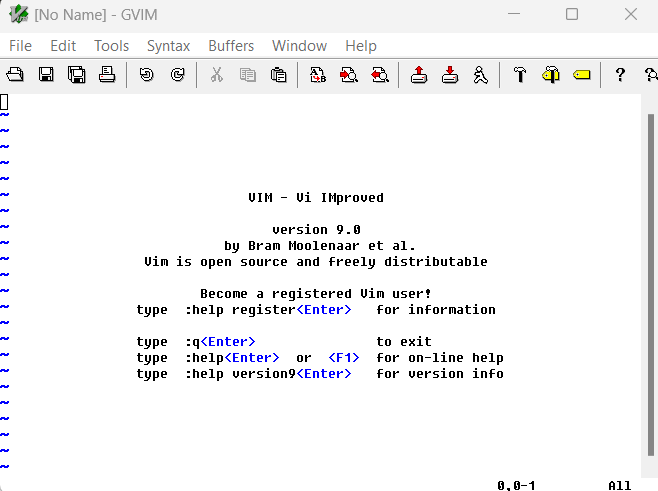
- You will also receive a “GVim” edition of the editor, which represents a graphical variant of the classic command-line version of Vim. Search “GVim” in the start menu.
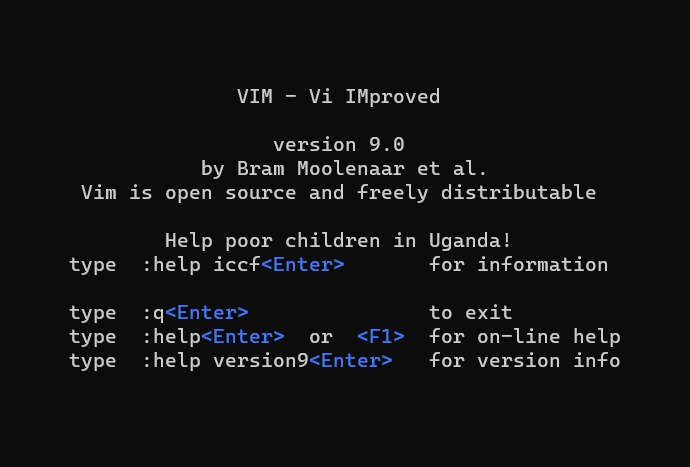
- You can also fire up the terminal and use the below command to open vim text editor in the current working directory.
vim
- There is a fair chance that this command might throw a “vim is not recognized” error. This typically occurs “vim” hasn’t been added to the PATH environment variable.

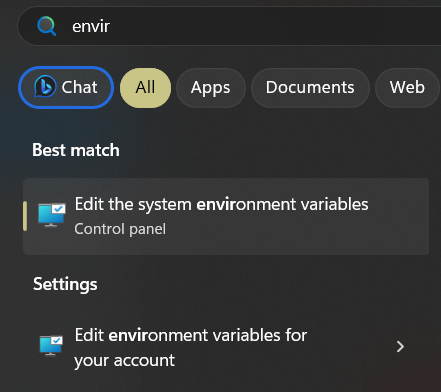
Step 4: Set the Environment Variable
- Go to start menu and type “environment” and click on edit the system environment variables.
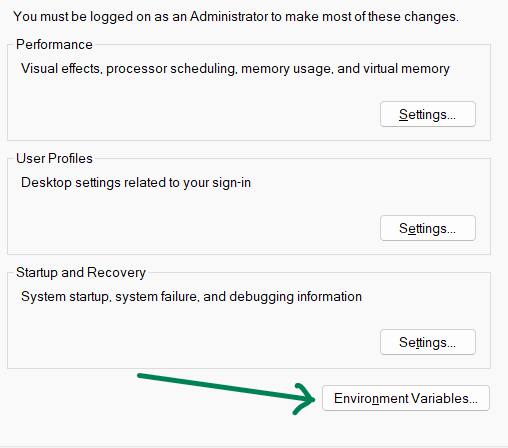
- Click the “Environment Variables” button.
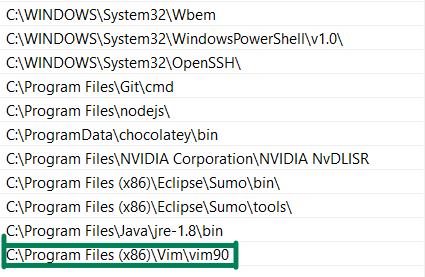
- Within the system variables section double click on “Path”.

- Click “New” and “Browse” navigate to the directory where you previously installed Vim editor. In this case the path is “C:\Program Files (x86)\Vim\vim90”.

- After adding the path, Click OK to apply the changes.
Conclusion
Open Command prompt or Powershell, The “Vim” command shall now work and thus you have successfully installed Vim editor in your Windows PC. In conclusion, we have explored the installation and configuration of the Vim text editor on the Windows operating system. Vim, with its rich feature set and extensibility, has been successfully installed and configured to provide a powerful and versatile text editing experience.
Share your thoughts in the comments
Please Login to comment...