Splitting Vim Screen Horizontally and Vertically in Linux
Last Updated :
25 Sep, 2023
Vim, short for “Vi IMproved,” is an open-source text editor which is considered to be one of the most powerful and popular text editors for Linux. Vim is a powerful and highly configurable text editor which is known for its extensive feature set. It is available for free download and use across various platforms, including MacOS, Linux, and Windows. In this article we will see how to split the vim editor screen horizontally and vertically.
Installing Vim
Utilize the following commands to install Vim on different Linux distributions.
For Debian based distributions
sudo apt install vim
For Arch based distributions
sudo pacman -Sy vim
For RPM based distributions
sudo yum install vim
Now vim will be installed, to check whether the installation was successful use the following command.
vim
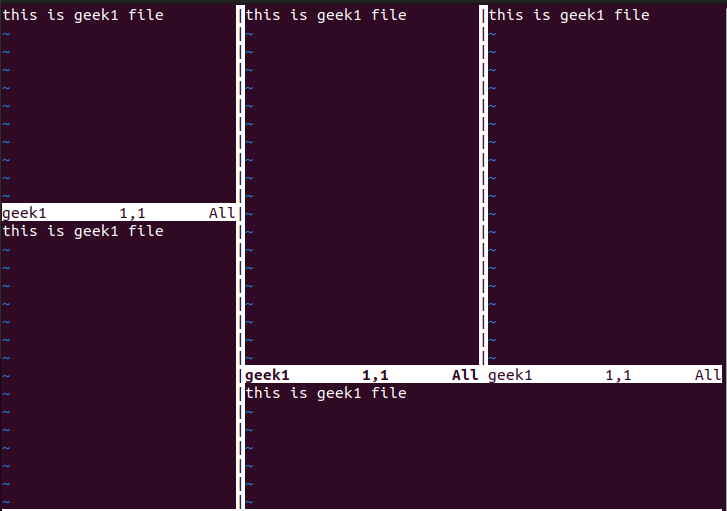
Splitting the editor screen horizontally
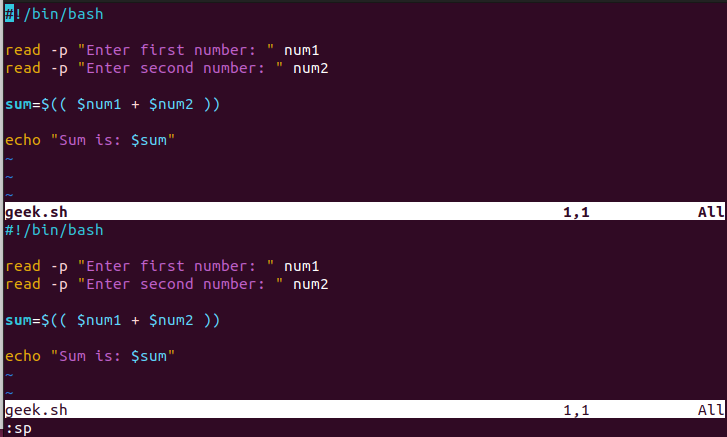
1. After opening a file with Vim and entering normal mode by pressing the “Esc” key, proceed to execute the following command.
:split
or
:sp
2. This will split the editor screen into two sections horizontally. Alternatively you can press the keyboard combination “ctrl + w” and then press “v” to achieve the same result.
3. To Toggle between the workspaces use the following commands. To navigate to the right pane and left pane respectively use the following key bindings.
- CTRL + W and l – Navigate to the right pane.
- CTRL + W and h – Navigate to the left pane.
4. To move the workspace window to the far right or far left of the screen use the below mentioned key bindings.
- CTRL+w and L – Move current window the far right and full height of the screen.
- CTRL+W and H – Move current window the far left and use the full height of the screen.
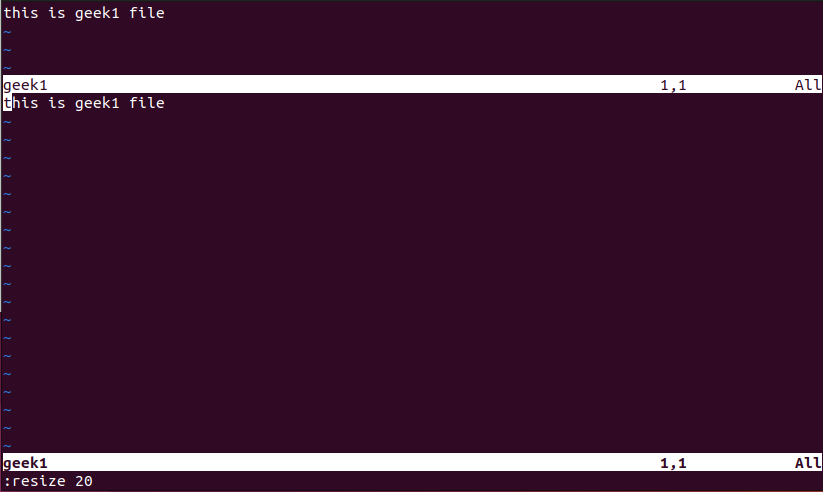
5. Horizontal resizing can be performed after splitting the workspace horizontally by utilizing the following command.
resize <size as number>
Example
resize 20
6. Windows can be swapped [Only works if the workspace is split horizontally] using the following commands.
- CTRL+W and r – Swap bottom/top if split horizontally
- CTRL+W and R – Swap top/bottom if split horizontally
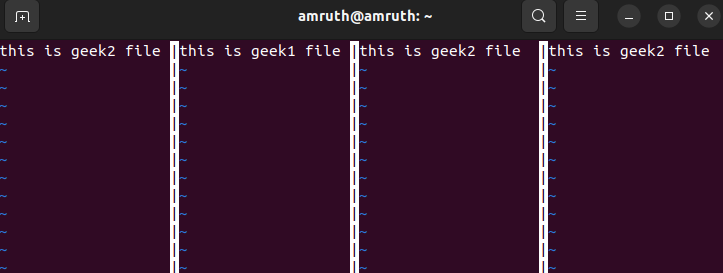
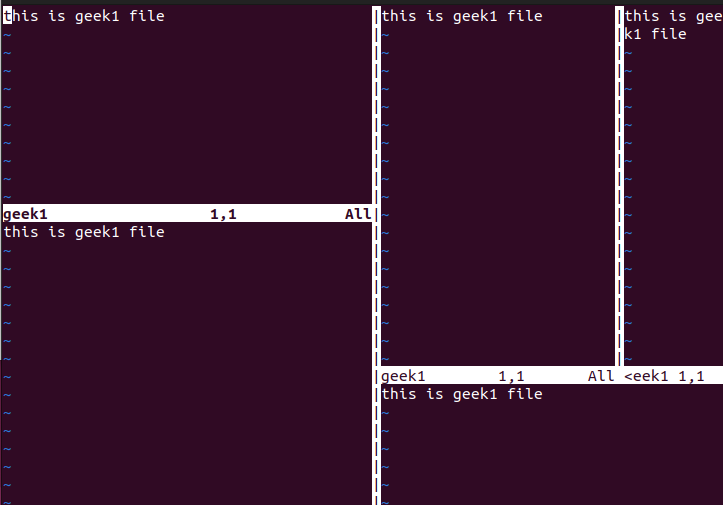
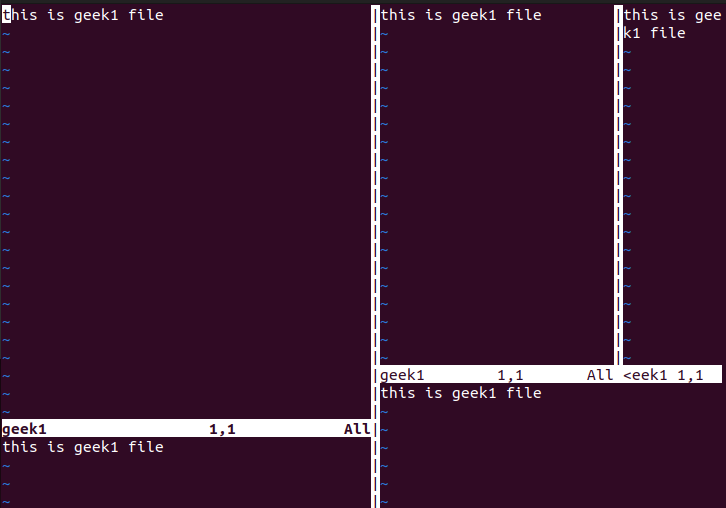
Splitting the editor screen Vertically.
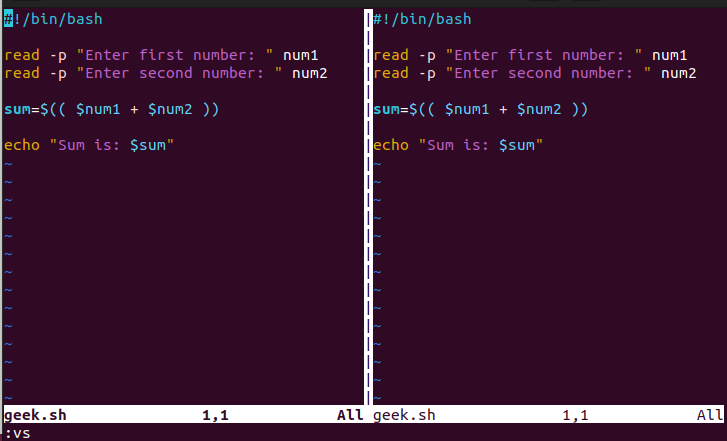
1. After opening a file with Vim and entering normal mode by pressing the “Esc” key, proceed to execute the following command.
:vsplit
or
:vs
2. This will split the editor screen into two sections vertically. A keyboard combination exists for horizontal split as well “ctrl + w” and then press “s”.
3. To Toggle between the workspaces use the following commands. To navigate to the top pane and bottom pane respectively use the following key bindings.
- CTRL + w and j – Navigate to the top pane.
- CTRL + w and k – Navigate to the bottom pane.
4. To move the workspace window to the far right or far left of the screen use the below mentioned key bindings.
- CTRL+w and J – Move current window the far bottom and use the full width of the screen.
- CTRL+W and K – Move current window the far top and full width of the screen.
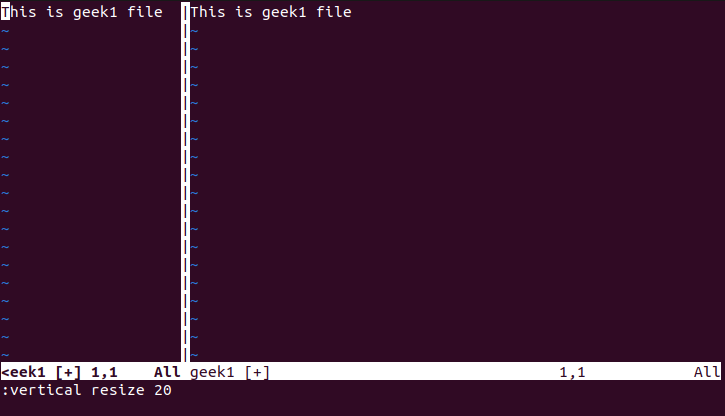
5. Vertical resizing can be performed after splitting the workspace vertically by utilizing the following command.
vertical resize <size as number>
Example
:vertical resize 20
6. Windows can be rotated from left to right or right to left [Only works if the workspace is split vertically] using the following commands.
- CTRL+w and r – Rotates the windows from left to right – only if the windows are split vertically.
- CTRL+w and R – Rotates the windows from right to left – only if the windows are split vertically.
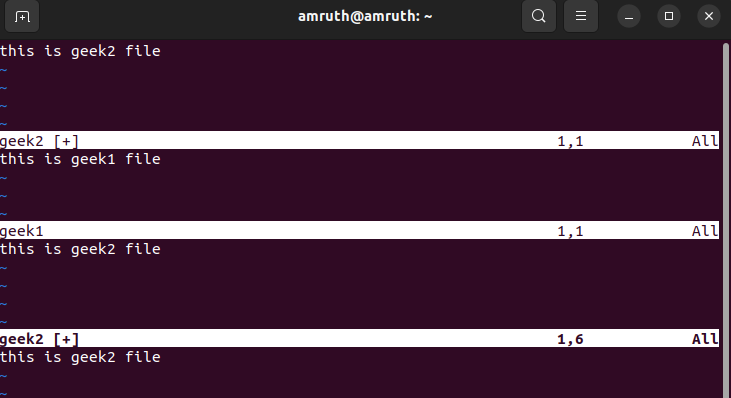
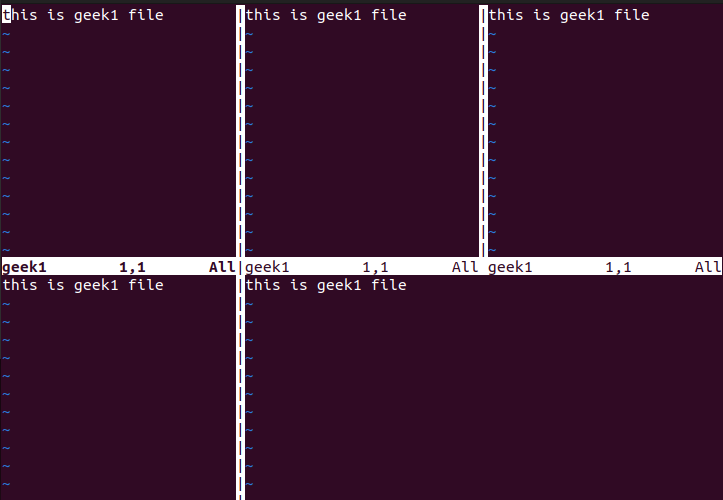
Changing the width and height of the Workspace
The height and width of each individual splits can be increased or decreased as per our requirements. Let is consider the following workspace as an example and try to modify the height and width of the splits.
Increasing and Decreasing Width
1. Let us now increase the width of the pane on the left top corner. This can be achieved by using the key binding mentioned below.
- CTRL + w and > – Incrementally increase the window to the right. Takes a parameter, e.g. CTRL-w 20 >
- CTRL + w and < – Incrementally increase the window to the left. Takes a parameter, e.g. CTRL-w 20 <
Increasing and Decreasing Height
2. Let us now increase the height of the pane on the left top corner. This can be achieved by using the key binding mentioned below.
- CTRL + w and – – Incrementally decrease the window’s height. Takes a parameter, e.g. CTRL-w 10 –
- CTRL + w and + – Incrementally increase the window’s height. Takes a parameter, e.g. CTRL-w 10 +
Reset all the split size
3. This is a very handy command which will normalize the height and width of all the split screens.
- CTRL+w and = – Normalize all split sizes, which is very handy when resizing terminal
4. Maximizing the height and width of the current split using the following commands.
- CTRL + w and _ – Max out the height of the current split
- CTRL + w and | – Max out the width of the current split
Conclusion
In this article, we illustrated how to create horizontal or vertical splits within an active Vim workspace, and also gained insights on resizing split windows, closing active splits, and efficiently navigating between open windows.
Share your thoughts in the comments
Please Login to comment...