Using Enums as Request Parameters in Spring MVC
Last Updated :
17 Dec, 2023
Enums are a special data type in Java used for representing a fixed set of constants. Controller methods can take enums as parameters, Spring MVC will automatically translate the value of the incoming request parameter to the appropriate enum constant.
Example of Enum Data Type:
enum CoffeeSize {
    SMALL, MEDIUM, LARGE
}
Benefits of Using Enums as Request Parameters in Spring MVC Applications
- Using enums as method parameters in controller classes provides type safety.
- Enums allow centralized validation of possible values.
- The enum name is used to match the parameter name by default.
- Enums are used for filtering/searching on predefined criteria expressed as enums.
Use cases of Enums in Spring MVC
- Request Mapping: Map URLs to controller methods based on enum paths/
- Default Values: Return a default enum if the parameter is missing to avoid null checks.
- Internationalization: Externalize enum names/labels to properties files for localization.
- Error Handling: Customize error messages based on enum parameter values.
- Caching: Use enums as cache keys instead of hardcoded strings.
Implementing Enums as Request Parameters
- Define the enum
- Controller method
- Request mapping
- Handle Invalid Values
Steps of Enum Implementation
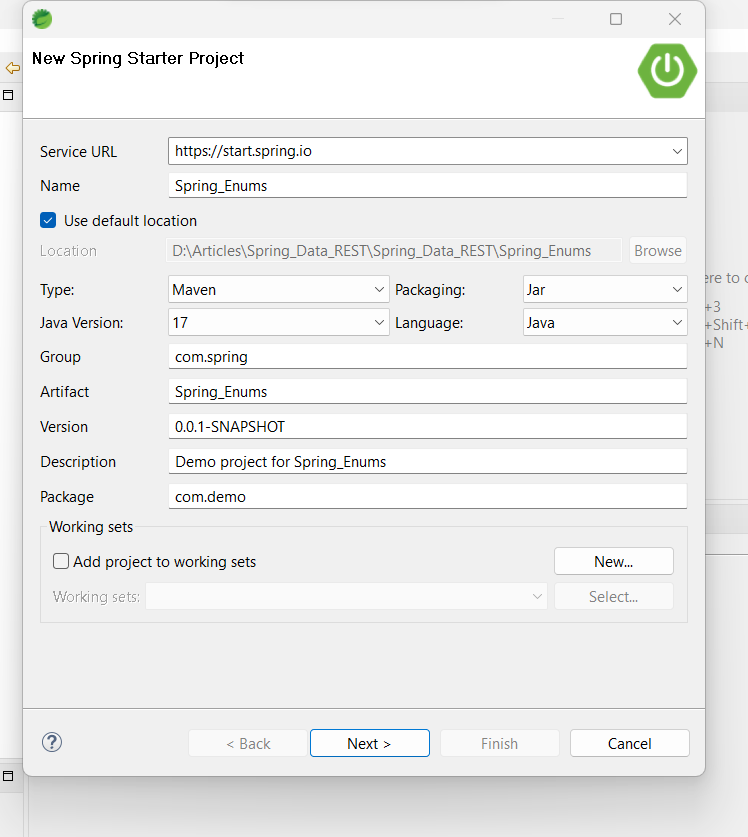
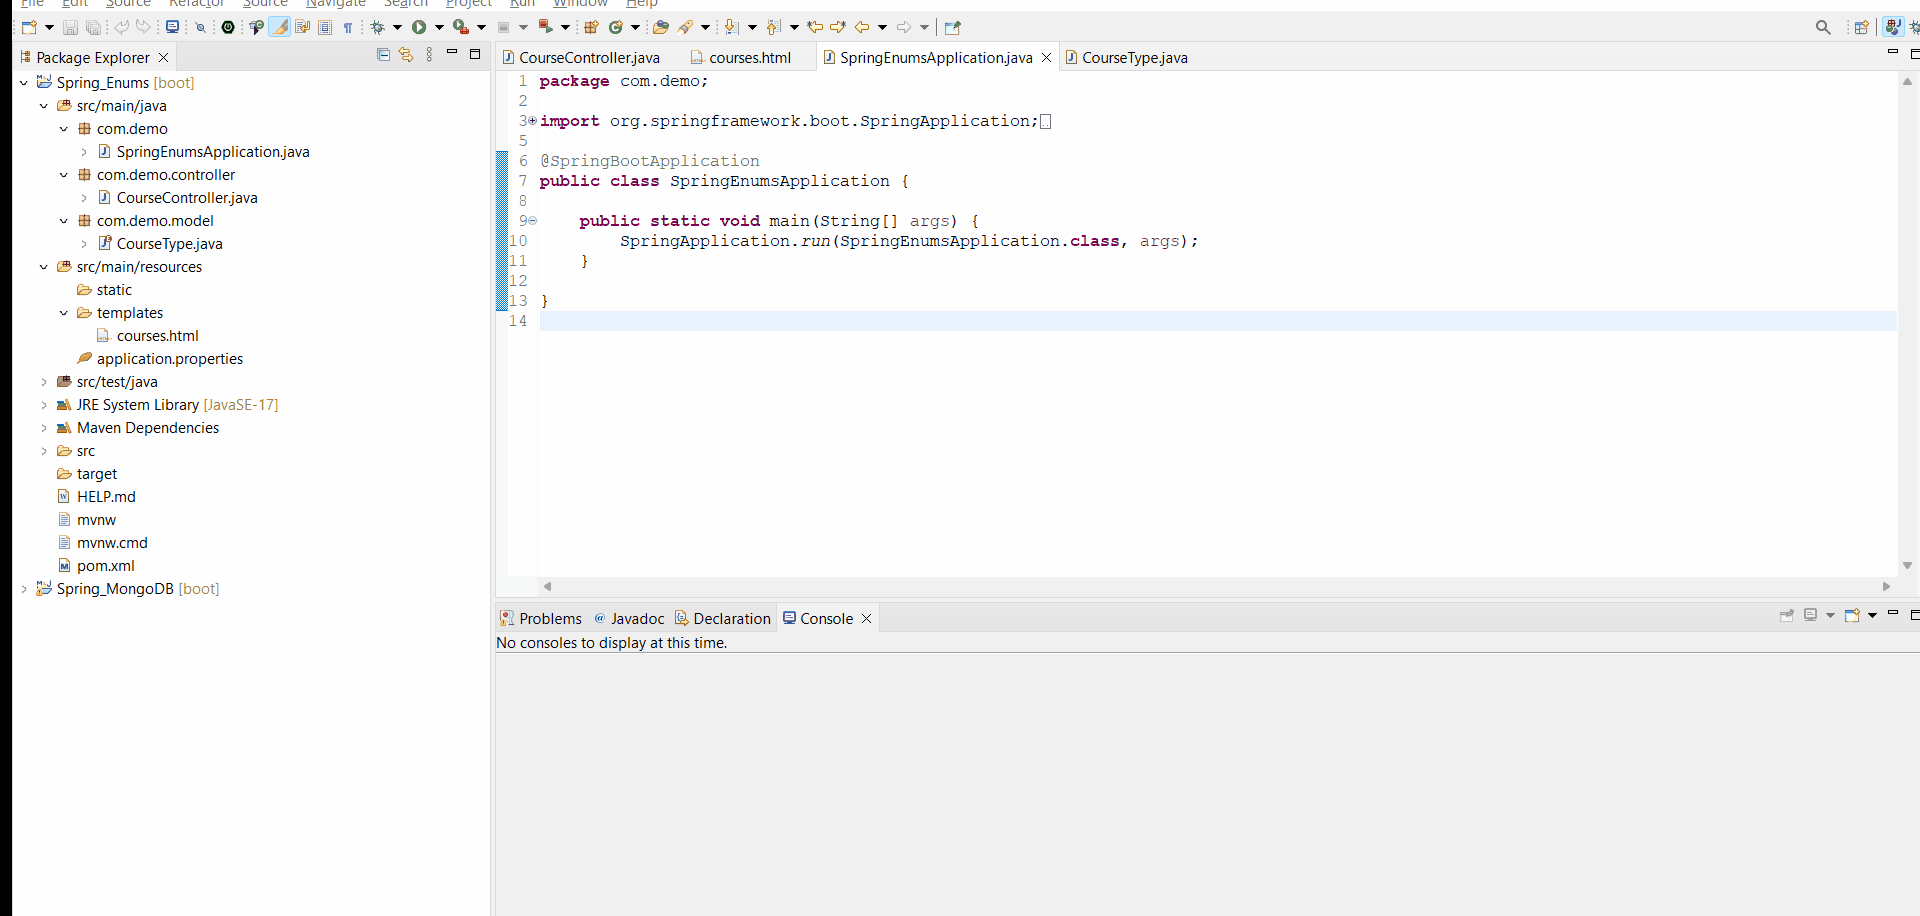
Step 1: Set up a new Spring MVC project
- Create a new Maven project in your preferred IDE (e.g., IntelliJ or Eclipse or Spring Tool Suite) and add the following dependencies.
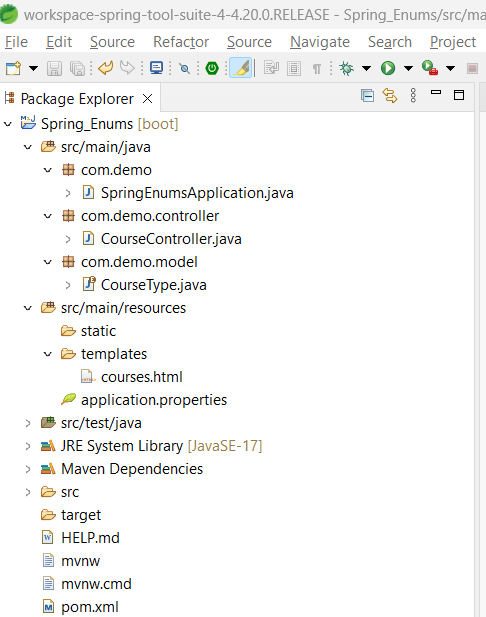
Project Structure:
Step 2: Create an Enum class [CourseType]
package com.demo.model;
public enum CourseType { JAVA, SPRING, DSA, PYTHON }
Step 3: Create a Controller [CourseController]
Java
package com.demo.controller;
import com.demo.model.CourseType;
import org.springframework.stereotype.Controller;
import org.springframework.ui.Model;
import org.springframework.web.bind.annotation.GetMapping;
import org.springframework.web.bind.annotation.RequestParam;
@Controller
public class CourseController {
@GetMapping("/courses")
public String
getCourses(@RequestParam(name = "courseType",
defaultValue = "JAVA")
CourseType courseType,
Model model)
{
model.addAttribute("selectedCourseType",
courseType);
model.addAttribute("allCourseTypes",
CourseType.values());
return "courses";
}
}
|
Step 4: Create View
- This file, located in src/main/resources/templates/courses.html
HTML
<!DOCTYPE html>
<head>
<meta charset="UTF-8">
<meta name="viewport" content="width=device-width, initial-scale=1.0">
<title>Courses</title>
<style>
body {
font-family: 'Arial', sans-serif;
margin: 0;
display: flex;
flex-direction: column;
align-items: center;
justify-content: center;
height: 100vh;
background-color: #f4f4f4;
}
h2 {
color: #333;
}
form {
margin-bottom: 20px;
}
label {
font-weight: bold;
}
select {
padding: 5px;
font-size: 16px;
}
h3 {
color: green;
}
</style>
</head>
<body>
<h2>Our Available Courses </h2>
<form action="/courses" method="get">
<label for="courseType">Select a course :</label>
<select name="courseType" id="courseType" onchange="this.form.submit()">
<option th:each="type : ${allCourseTypes}" th:value="${type}" th:text="${type}"
th:selected="${type == selectedCourseType}"></option>
</select>
</form>
<h3>Selected Course : <span th:text="${selectedCourseType}"></span></h3>
</body>
</html>
|
Step 5: Run the Application
- You can run your Spring Boot application from your IDE or by using the command-line tool provided by Spring Boot.
mvn spring-boot:run
- Visit http://localhost:8080/courses in your browser, and you should see the courses page.
Output of the Project:
Conclusion
In this article, we have learned that, using enums is preferred over strings as request parameters whenever there is a fixed set of possible values. They provide type safety, clarity of intent, avoid errors and make the code more robust overall compared to plain strings.
Share your thoughts in the comments
Please Login to comment...