Spring Boot – Consuming and Producing JSON
Last Updated :
09 Apr, 2024
Spring Boot is one of the famous frameworks for developing web applications and this framework provides a lot of features like auto-configuration, Spring Integration, Dependency management, and other features are available in Spring Boot framework. In this article, we will explain Spring Boot Consuming and Producing JSON. Here we will create two API endpoints for both Consuming and Producing. For Consuming purposes, we created one POST mapping API endpoint, and for producing purposes, we created a GET mapping API endpoint means This API can return the response type of MyData POJO.
In this article, we will discuss how to consume and produce JSON in the Spring Boot framework. For this, we have used Rest APIs and we have created a RestController by using @RestController annotation. After this, we created two API endpoints for handling those Consuming and Producing JSON.
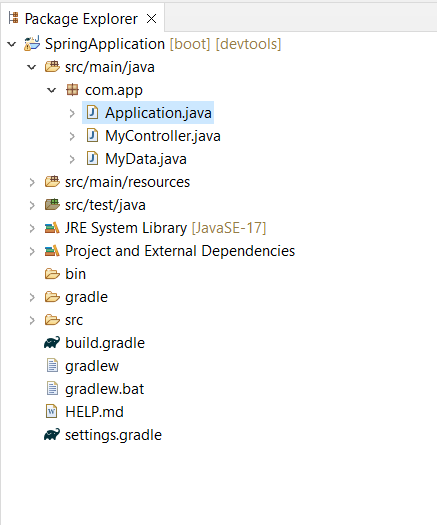
Project Folder Structure:
Below we can see the project structure, after creating the file structure successfully.
Steps to Implement Spring Boot Consuming and Producing JSON
Below are the steps and implementation to demonstrate Spring Boot Consuming and Producing JSON.
Step 1:
First create a basic Spring Boot Stater project by using Spring initializr with required project dependencies.
Dependencies:
Below is the required dependencies:
dependencies {
    implementation 'org.springframework.boot:spring-boot-starter-web'
    compileOnly 'org.projectlombok:lombok'
    developmentOnly 'org.springframework.boot:spring-boot-devtools'
    annotationProcessor 'org.projectlombok:lombok'
    testImplementation 'org.springframework.boot:spring-boot-starter-test'
}
main java class:
Java
package com.app;

import org.springframework.boot.SpringApplication;
import org.springframework.boot.autoconfigure.SpringBootApplication;

@SpringBootApplication
public class Application {

    public static void main(String[] args) {
        SpringApplication.run(Application.class, args);
    }

}
Step 2:
Once Project is successfully created, I created one POJO class that is MyData. In this class I declare name and age with lombok dependency. @AllArgsConstructor, @NoArgsConstructor and @Data these annotation are available in lombok dependency. And The @AllArgsConstructor used for creating a constructor with required arguments, @NoArgsConstructor used for creating default constructor and the final annotation @Data is used for handling Data through this pojo class.
Java
package com.app;

import lombok.AllArgsConstructor;
import lombok.Data;
import lombok.NoArgsConstructor;

@AllArgsConstructor
@NoArgsConstructor
@Data
public class MyData {
    private String name;
    private int age;
}
Step 3:
Now we create one more java class in main package that is MyController which is worked as RestController. For this RestController creation I use @RestController annotation. After that we created a RequestMapping that is @RequestMapping(“/api”). After this we created one method that is postMethod() which takes MyData class as input by using @RequestBody finally we print that result. And this method is worked as Consuming JSON.
After this we created one more method that is MyData method which is GetMapping. For this we used @GetMapping annotation. Then we return the MyData object as response. And this method worked as Producing JSON.
Java
package com.app;

import org.springframework.web.bind.annotation.GetMapping;
import org.springframework.web.bind.annotation.PostMapping;
import org.springframework.web.bind.annotation.RequestBody;
import org.springframework.web.bind.annotation.RequestMapping;
import org.springframework.web.bind.annotation.RestController;

@RestController
@RequestMapping("/api")
public class MyController {

    @PostMapping("/post")
    public String postMethod(@RequestBody MyData data) {
        return "Received: " + data.toString();
    }

    @GetMapping("/get")
    public MyData getMethod() {
        return new MyData("John", 30);
    }
}
Step 4:
Once development is completed, Then we run this project as Spring Boot App. This project running in port number 8080 by help of the Apache Tomcat Server.
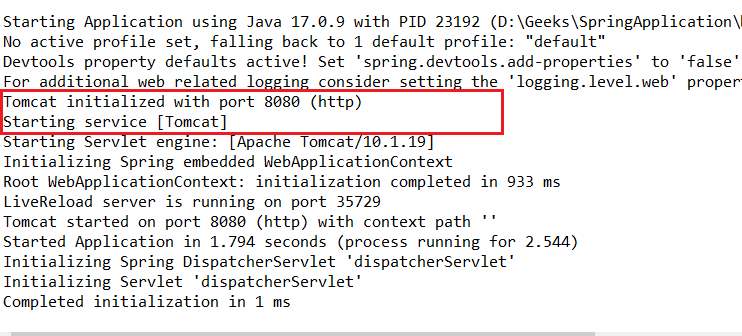
Project running
Step 5:
Now we test each Rest API with Post Man tool. First we test the post API and we provide the input in the body section you can observe in the below image. Once click on the send button The API is return a response in the form of MyData.
http://localhost:8080/api/post
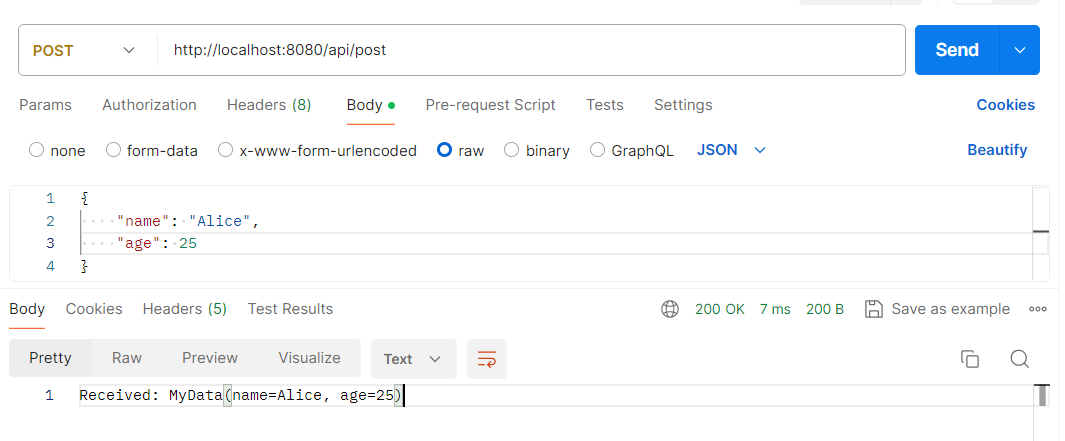
output 1
Step 6:
After this, we tested remaining API that is get API which takes an empty body in the body section. We can observe this in the below image. And Once click on send button, it will return a MyData object as response.
http://localhost:8080/api/get

Share your thoughts in the comments
Please Login to comment...