Spring Boot 3 – Creating a Custom Starter
Last Updated :
28 Aug, 2023
Starters are an integral part of the Spring Boot application. In addition to dependency versioning, they provide the ability to describe the configuration for a particular functionality. They gained their popularity due to the development of microservice architecture. When we have dozens or hundreds of services within one application, some of the functionality is not duplicated. For example, we need to connect the cache, database, logging and etc. In order not to duplicate the same configuration every time, we simply add the starter as a dependency to our microservice, and Spring recognizes all our configurations.
We will try to create our own simple starter on Spring Boot 3. There have been some changes in it compared to the second version. Our starter will have the simplest functionality, namely to output a message to the console when our application starts. We create a project through spring initializer, which we will call according to the custom-spring-boot-starter convention
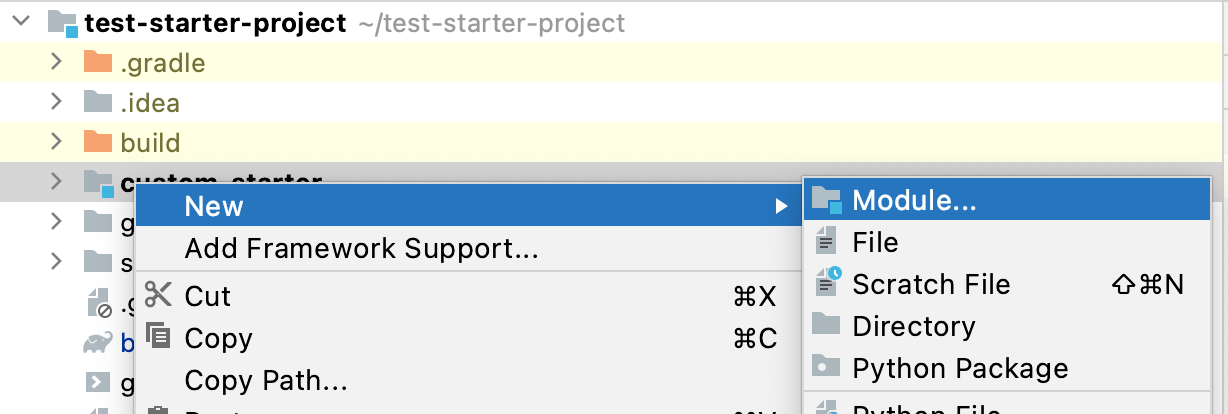
We connect it as a module in our application. In real projects, of course, it will be connected as an external dependency, but it is more convenient for us to do this in one project so that all the code lies in one place.
Plug in the module in the settings.gradle file

In order for our application to send a message to the console, you can create a Listener that, when updating the context, will output the line “Our spring boot starter is working!”. We also need to implement the onApplicationEvent method, where we will send the message.
Java
import org.springframework.context.ApplicationListener;
import org.springframework.context.event.ContextRefreshedEvent;
public class CustomListener implements ApplicationListener<ContextRefreshedEvent> {
@Override
public void onApplicationEvent(ContextRefreshedEvent event) {
System.out.println("Our spring boot starter is working!");
}
}
|
Add Listener to the configuration
Java
import org.springframework.boot.autoconfigure.AutoConfiguration;
import org.springframework.context.annotation.Bean;
@AutoConfiguration
public class CustomConfiguration {
@Bean
public CustomListener customListener() {
return new CustomListener();
}
}
|
In order for this configuration to be pulled into our main application, we need to add the META-INF/org.springframework.boot.autoconfigure file.AutoConfiguration.imports, where the path for the configuration file will be specified. In the Spring 2 version, this file was called spring.factories and was described in a slightly different way. Thus, we get an inversion of control, since we do not need to connect our starters in the code.

We add all our configurations to the file from a new line

We add our starter depending on the build file.gradle

We launch the application and it seems that the message was displayed at startup. Our starter has worked successfully.

How does it work? We have an annotation @SpringBootApplication that includes @EnableAutoConfiguration. When scanning packages, it finds all the imports files and connects the configurations that are described there.
Share your thoughts in the comments
Please Login to comment...