Setting up and configuring a Linux mail server is a crucial task for individuals and organizations seeking to manage their email communication efficiently and securely. This article will guide you through the process of establishing a robust mail server on a Linux system, covering essential steps such as choosing the right mail server software, configuring DNS records, securing communication with SSL/TLS, and managing user accounts. Whether you’re a system administrator or a Linux enthusiast, this comprehensive guide aims to simplify the complexities of creating a reliable mail server, ensuring smooth and reliable email communication.
What is a Linux Mail Server?
A Linux mail server is a software program installed in the Linux Operating System that is primarily configured for mailing purposes such as Sending, receiving, and storing mail. A Linux mail server is essential for managing email communication within an organization. The Linux Mail server provides instant email delivery over the internet, where the system of information storage is organized.
The main components of a Linux Mail Server are:
- Mail Transfer Agent (MTA): The main purpose of MTA is to deliver mail between servers over the Internet. Some popular Linux MTAs are SendMail, Postfix, Exim, etc.
- Mail Delivery Agent (MDA): The purpose of MDA is to deliver the incoming mail to the relevant user’s mailbox. Some popular Linux MDAs are Dovecot, Cyrus, etc.
- Mail Protocols: Linux mail server supports many protocols for accessing and delivering mail over the internet, such as IMAP (Internet Message Access Protocol) and POP3 (Post Office Protocol version 3), Simple Mail Transfer Protocol (SMTP), etc.
- Administration Tools: Linux mail servers provide administration tools for managing user accounts, monitoring server performance, and configuring various settings related to email delivery and security.
- Security Features: Linux Mail Servers provide security features to protect from spam, malware, and unauthorized access. This includes encryption protocols like TLS (Transport Layer Security) and antivirus scanning tools.
In this section, we will explore the detailed process to set up and configure Linux Mail Server. So, follow the below steps with proper command execution.
Step 1: Update the System
The first step is to update and upgrade our Linux system so that it has the latest information on available packages and their versions. To update the Linux system, open the terminal and enter the following command:
sudo apt update
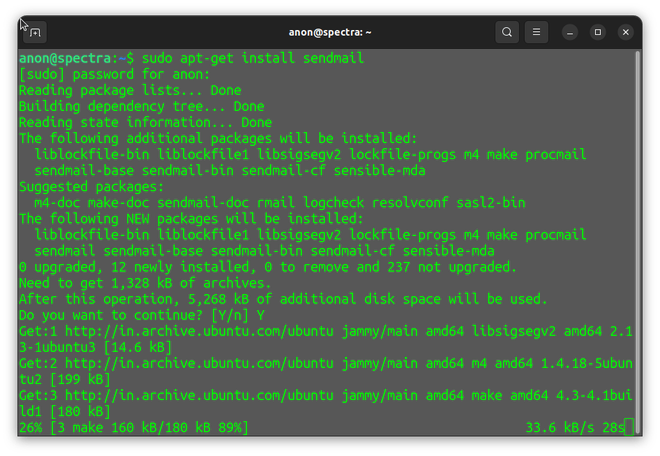
Step 2: Installing SendMail
To install SendMail we need an active internet connection, after setting up your internet connection open the terminal and enter the following command in the terminal to install SendMail.
sudo apt-get install SendMail
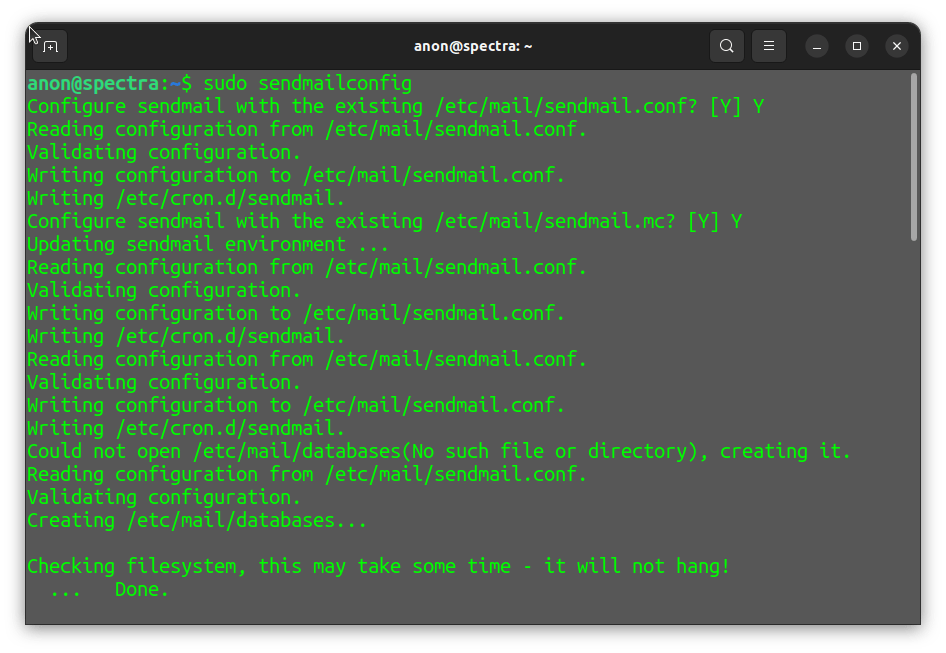
Step 3: Configuring SendMail
After the installation, run the command “sendmailconfig” in the terminal to configure SendMail.
sudo sendmailconfig
Step 4: Adding the localhost name
Now after configuration, we will get the name of the host from file hosts which is in the/etc directory. So change the directory to etc using the “cd /etc” command and then view the hosts file using the following command:
cat hosts
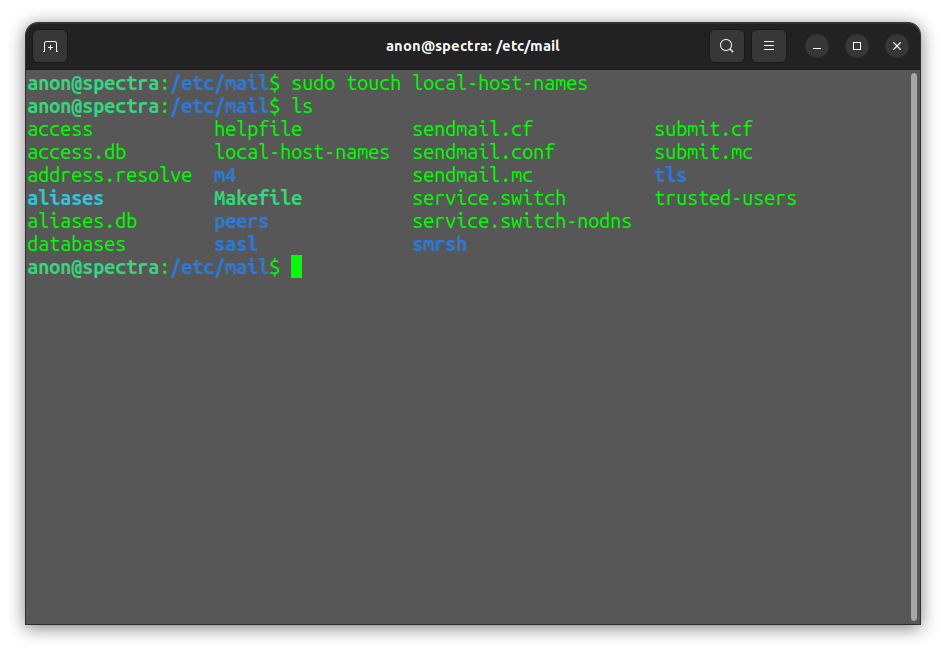
Step 5: Defining localhost name
After opening the file, and getting the names of local hosts create a file “local-host-names” in the “/etc/mail” directory so our mail server will receive requests for email sending from these names. Change the directory to /etc/mail and add the file “local-host-names” to it and define the hostname in the file.
cd /etc/mail
sudo touch local-host-names
ls
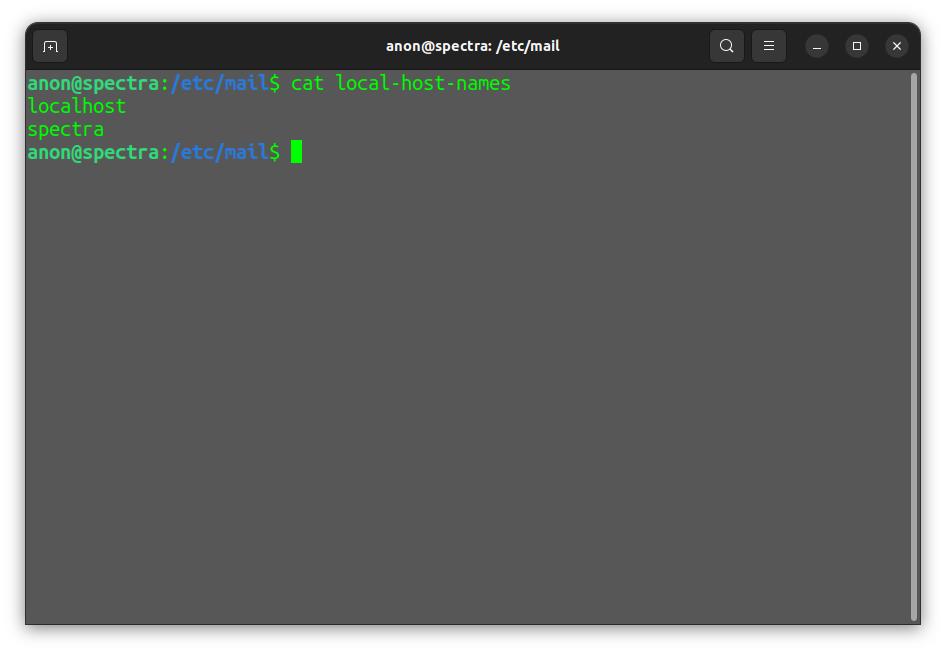
Once the localhost name is defined, we can verify it by using the below command.
cat local-host-names
Step 6: To send mail using Gmail
Open the SendMail.mc file in the etc/mail directory and add the following lines to configure SendMail for Gmail:
define(`SMART_HOST',`smtp.gmail.com')dnl
define(`confAUTH_MECHANISMS', `EXTERNAL GSSAPI DIGEST-MD5 CRAM-MD5     LOGIN PLAIN')dnl
define(`RELAY_MAILER',`esmtp')dnl
define(`RELAY_MAILER_ARGS', `TPC $h 587')dnl
FEATURE(`AuthInfo',`hash file_path')dnl
- The first line define(`SMART_HOST’,`smtp.gmail.com’)dnl, defines to use of the SMTP server as SMART HOST to send the mail.
- The next line define(`confAUTH_MECHANISMS’, `EXTERNAL GSSAPI DIGEST-MD5 CRAM-MD5 LOGIN PLAIN’)dnl define the authentication mechanism used by sendmail.
- define(`RELAY_MAILER’,`esmtp’)dnl, This line defines the mailer to be used for relaying mail.
- The define(`RELAY_MAILER_ARGS’, `TPC $h 587′)dnl defines the arguments for the relay mailer, stating the TCP protocol and the Port “587” to be used while connecting to the relay host.
- The FEATURE(`AuthInfo’,`hash file_path’)dnl line defines the authentication information stored in the file. The AuthInfo feature allows sendmail to use the external authentication credentials followed by the path of the database file with its type i.e. “.db” in this case.

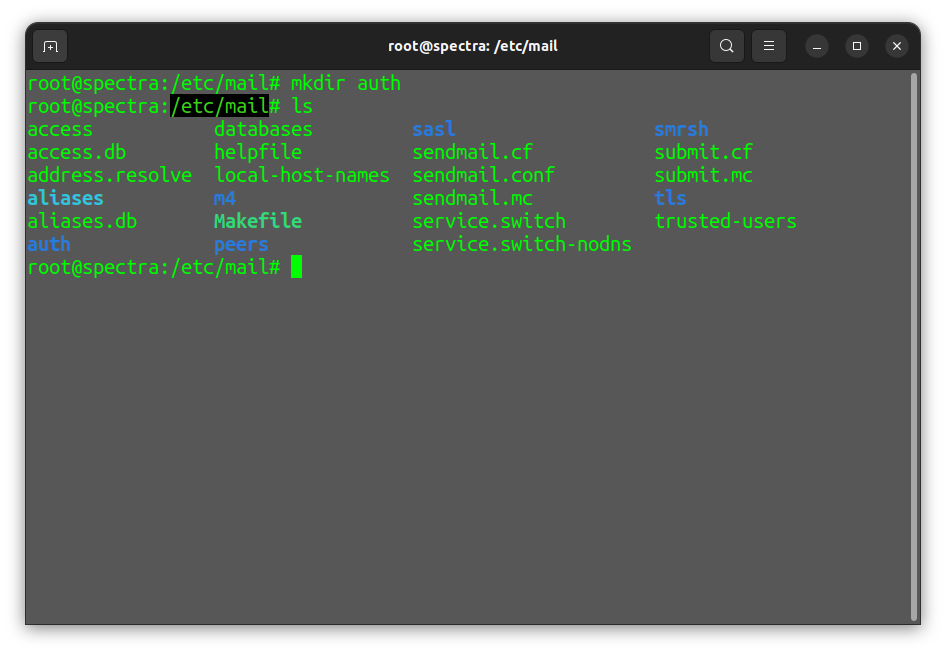
Step 7: Creating Authentication Directory
Create the directory /etc/mail/auth to store the login and password of the e-mail id.
mkdir /etc/mail/auth
ls
cd /etc/mail/auth
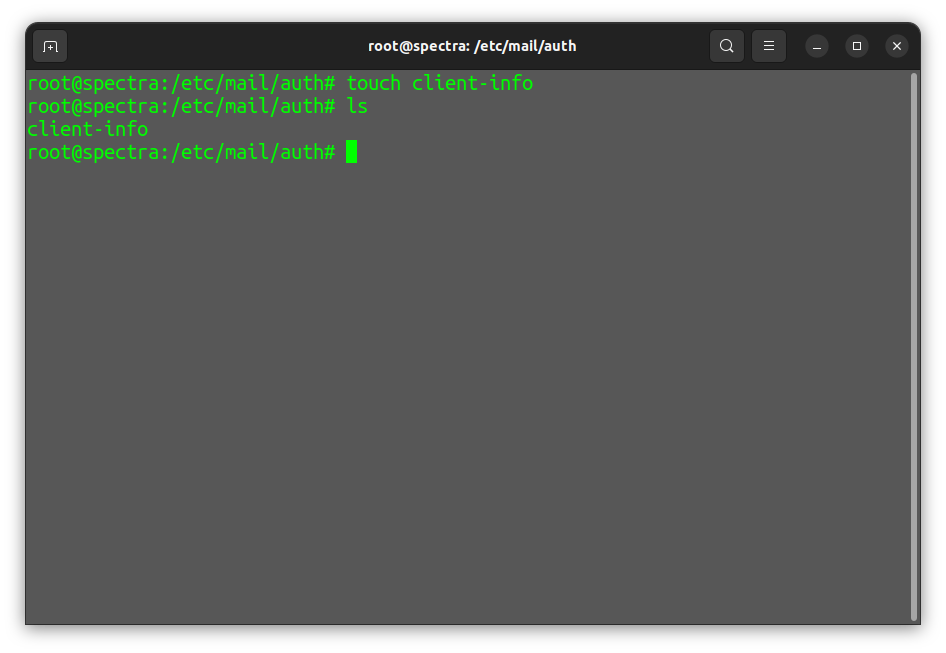
Once the directory is created, create a file using the below command.
touch client-info
ls
Step 8: Adding the user-name and password
After creating the file “client-info” add the following to the client-info file to store the username and password for the domain.
AuthInfo: smtp.gmail.com "U: root" "I :uname@gmail.com" "P: password" "M: PLAIN"
AuthInfo: smtp.gmail.com:587 "U: root" "I:uname@gmail.com" "P: password" "M: PLAIN"
Note: Replace uname@gmail.com with your domain/mail-id and password with actual password.
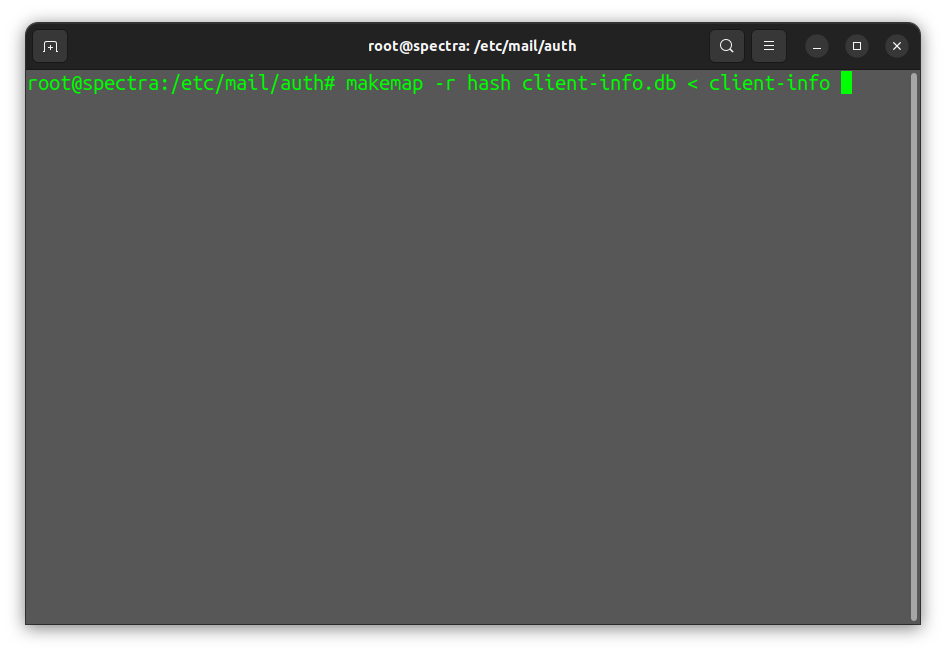
Step 9: Creating the Database
Change the file format into the required format i.e. creating a database, to create a database convert the file “client-info” to “client-info.db” using the following command. create the “.db” file in the same directory i.e. “/etc/mail/auth” otherwise you will get an error while configuring or sending the mail.
makemap -r hash client-info.db < client-info
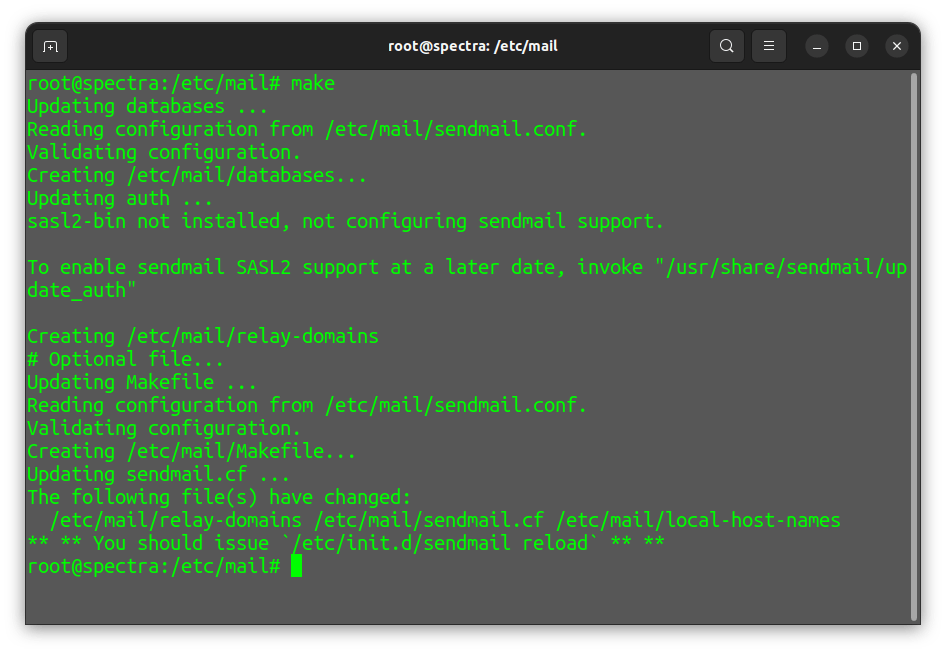
Step 10: Building the Configuration.
Now to save the configuration we made for SendMail, we will use the “make” command, if the make command gives you some error try adding sudo to it or switching the user as root and then try to save the configuration.
make
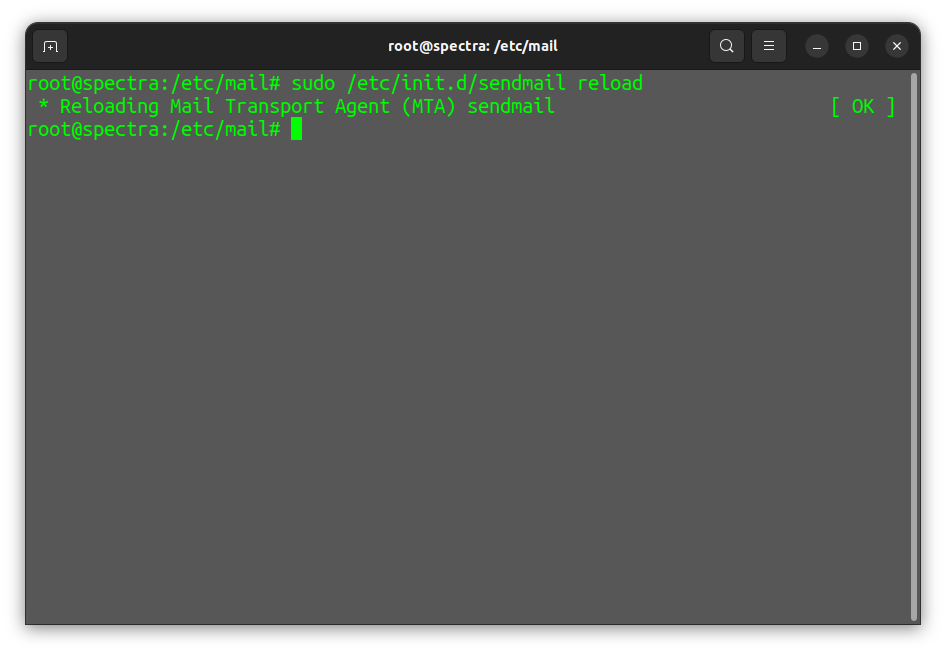
Step 11: Restarting the services
Now restart the MTA(SendMail) to apply the changes. To restart the sendmail and “apache2” use the following command:
sudo /etc/init.d/SendMail reload
sudo /etc/init.d/apache2 restart
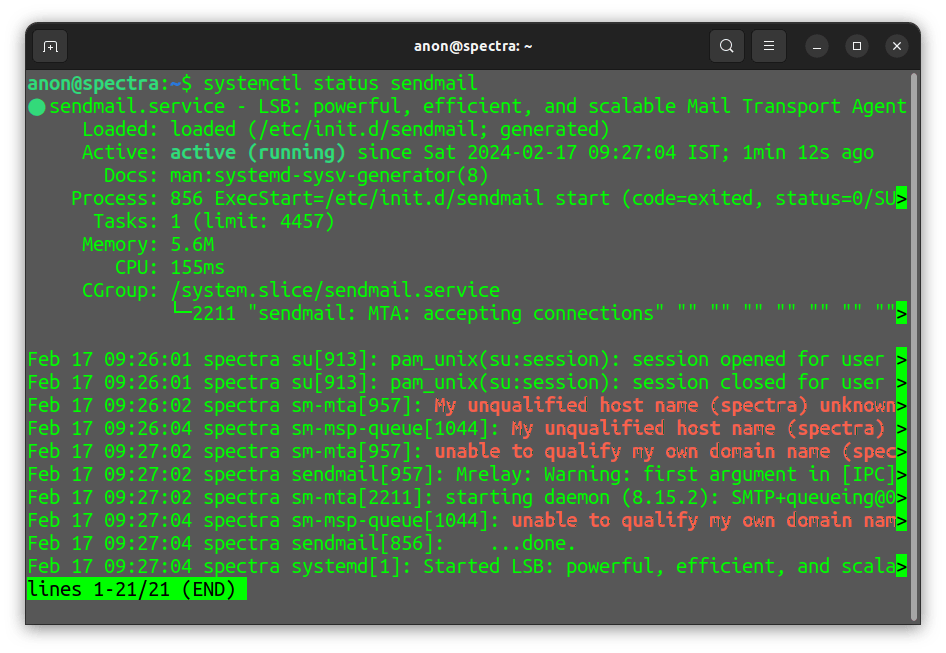
Step 12: Checking the status
Check the status of the SendMail using the following command:
service SendMail status
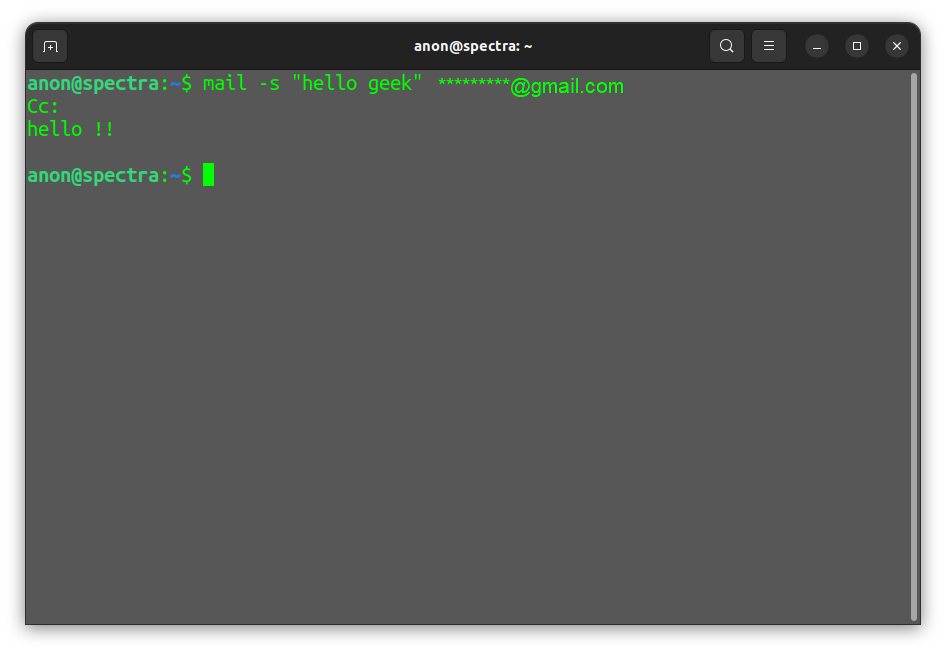
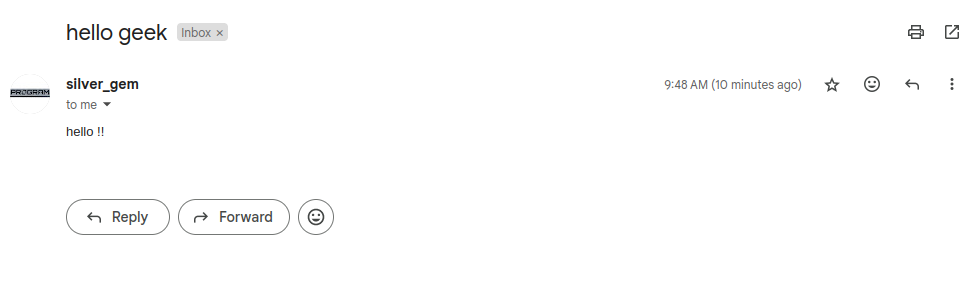
Step 13: Sending the Mail
The “mail” command in Linux is a simple and versatile tool for sending emails from the command line interface. To use it, enter the “mail” command followed by the recipient’s email address.
mail -s "subject" "receiver_mailaddress"
Frequently Asked Questions on Setting Up and Configuring a Linux Mail Server
Do we need a domain name to set up a mail server for the local environment?
No, you don’t need a domain name to setup and test a mail server for local environment, however the domain name is required for sending mail and communicate to external domain over the internet.
Can we send mail without the internet in the local environment?
Yes, you can send mail between devices on the local network without the internet using local email such as “username@hostname.local”
Do we have to define a local host to configure the SendMail?
Yes, usually when configuring SendMail or any other mail server software for a local environment, you would need to define the local host or hostname. The local host or hostname is used to identify the machine on which the mail server is running within the local network.
Is it possible to implement security measures like encryption and authentication in a local mail server environment?
Yes, it is possible to implement security measures like encryption and authentication in a local mail server environment. For example: SMTP authentication can be implemented to ensure that only authorized users can send emails through the server.
How To Check Whether a Mail is Sent or Not?
You can see the mail logs to verify the mail is sent or not.
For SendMail:
Change the directory to /var/log/mail.log to check the mail history.
Conclusion
In conclusion, setting up and configuring a Linux mail server is a complex process that requires attention to detail and a solid understanding of Linux systems and mail server protocols. By following the steps indicated in this article, we have covered the essential steps to establish a functional and secure mail server within a local network. By following the guidelines outlined in this article and actively engaging with the Linux community for support and updates, one can create a reliable and efficient mail server designed to their specific necessity. Whether it’s for personal use, small businesses, or educational purposes, the knowledge gained from setting up a Linux mail server locally provides a solid foundation for understanding email protocols and server administration principles.
Share your thoughts in the comments
Please Login to comment...