How to Set the Logging Level with application.properties?
Last Updated :
23 Apr, 2024
In Spring Boot, logging is crucial for monitoring, debugging, and troubleshooting Java applications. Spring Boot provides a convenient way to configure logging levels using properties files, particularly the application.properties file of the Spring application. This allows developers to control the amount of detail in logging messages without altering the application code.
Spring Boot uses the popular logging framework Logback by default. To set the logging level, we need to edit the application.properties file by specifying the name of the logger and the desired log level of the Spring application.
Key Terminologies:
- Logger: An object that records log messages in the software application. Loggers are typically associated with specific classes or packages and are used to categorize and manage log messages.
- Log Level: Indicates the severity or importance of the log message. Common log levels include:
- DEBUG: Shows detailed information for debugging purposes.
- INFO: Shows informational messages highlighting the progress of the application.
- WARN: Shows warnings indicating potential issues or unexpected behavior.
- ERROR: Indicates error messages for failures or problems requiring attention.
- TRACE: Provides very detailed information, more granular than DEBUG, often used for tracing program execution.
- Logging Framework: Library or tool used to implement logging functionality in software applications. Examples include Logback, SLF4J, Log4j, and java.util.logging.
- Appender: The part of the logging framework that is responsible for sending log messages to various locations such as consoles, files, databases, and remote servers.
- Pattern Layout:The format of the log message, including placeholders for log levels, timestamps, class names, and custom text..
- Log Configuration: Process of specifying logging settings such as log levels, appenders, and pattern layouts to control how log messages are generated and outputted.
- Root Logger: Default logger in the logging framework that captures all log messages not explicitly associated with specific loggers in the application.
- Logger Hierarchy: Structure of loggers organized based on their names, allowing for fine-grained control over logging settings at different levels of the application.
- Log Message: The text generated by the application during runtime, which typically contains information about events, errors, and actions.
- Log Rolling: The process of managing log files by rotating or hiding them based on criteria such as file size, time interval, or number of log entries.
Project Implementation to Set the logging level with application.properties
We can develop a simple Spring web application that allows setting the logging level via the application.properties file of the project.
Step 1: Create a spring project using spring initializer and add the below dependencies to the project.
Dependencies:
- Spring Web
- Spring Dev Tools
- Lombok
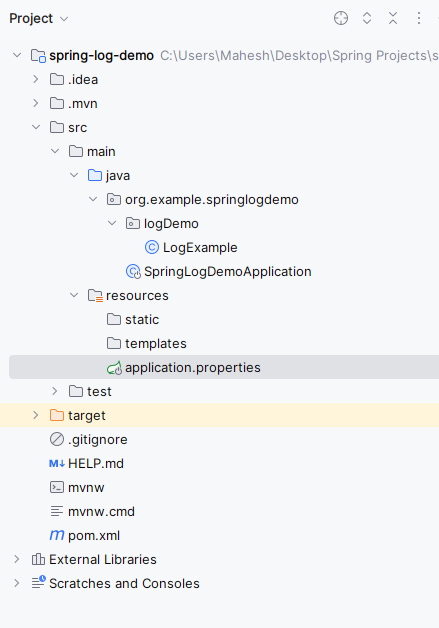
Once we create the spring project, the file structure will look like the image below.
Step 2: Create a new package named logDemo, in that package, create the new Java class and it named as LogExample.
Go to src > org.example.springlogdemo > logDemo > LogExample and put the below code.
Java
package org.example.springlogdemo.logDemo;

import org.slf4j.Logger;
import org.slf4j.LoggerFactory;
import org.springframework.web.bind.annotation.GetMapping;
import org.springframework.web.bind.annotation.RestController;

/**
 * Controller class for logging example.
 */
@RestController
public class LogExample {

    private static final Logger logger = LoggerFactory.getLogger(LogExample.class);

    /**
     * Endpoint to perform an action and log messages at different levels.
     */
    @GetMapping("/performAction")
    public void performAction() {
        logger.debug("Debug message from LogExample");
        logger.info("Info message from LogExample");
        logger.warn("Warning message from LogExample");
        logger.error("Error message from LogExample");
    }
}
Step 3: Now, open the main class and write the below code.
Java
package org.example.springlogdemo;

import org.springframework.boot.SpringApplication;
import org.springframework.boot.autoconfigure.SpringBootApplication;

@SpringBootApplication
public class SpringLogDemoApplication {

    public static void main(String[] args) {
        SpringApplication.run(SpringLogDemoApplication.class, args);
    }

}
Step 4: Open the application.properties file and write the below code in the project for server port and logging configuration.
spring.application.name=spring-log-demo

server.port=8080

# Set logging level for the root logger
logging.level.root=INFO

# Set logging level for a specific package
logging.level.org.example.springlogdemo.LogDemo.LogExample=DEBUG
pom.xml:
XML
<?xml version="1.0" encoding="UTF-8"?>
<project xmlns="http://maven.apache.org/POM/4.0.0" xmlns:xsi="http://www.w3.org/2001/XMLSchema-instance"
         xsi:schemaLocation="http://maven.apache.org/POM/4.0.0 https://maven.apache.org/xsd/maven-4.0.0.xsd">
    <modelVersion>4.0.0</modelVersion>
    <parent>
        <groupId>org.springframework.boot</groupId>
        <artifactId>spring-boot-starter-parent</artifactId>
        <version>3.2.4</version>
        <relativePath/> <!-- lookup parent from repository -->
    </parent>
    <groupId>org.example</groupId>
    <artifactId>spring-log-demo</artifactId>
    <version>0.0.1-SNAPSHOT</version>
    <name>spring-log-demo</name>
    <description>spring-log-demo</description>
    <properties>
        <java.version>17</java.version>
    </properties>
    <dependencies>
        <dependency>
            <groupId>org.springframework.boot</groupId>
            <artifactId>spring-boot-starter-web</artifactId>
        </dependency>

        <dependency>
            <groupId>org.springframework.boot</groupId>
            <artifactId>spring-boot-devtools</artifactId>
            <scope>runtime</scope>
            <optional>true</optional>
        </dependency>
        <dependency>
            <groupId>org.projectlombok</groupId>
            <artifactId>lombok</artifactId>
            <optional>true</optional>
        </dependency>
        <dependency>
            <groupId>org.springframework.boot</groupId>
            <artifactId>spring-boot-starter-test</artifactId>
            <scope>test</scope>
        </dependency>
    </dependencies>

    <build>
        <plugins>
            <plugin>
                <groupId>org.springframework.boot</groupId>
                <artifactId>spring-boot-maven-plugin</artifactId>
                <configuration>
                    <excludes>
                        <exclude>
                            <groupId>org.projectlombok</groupId>
                            <artifactId>lombok</artifactId>
                        </exclude>
                    </excludes>
                </configuration>
            </plugin>
        </plugins>
    </build>
</project>
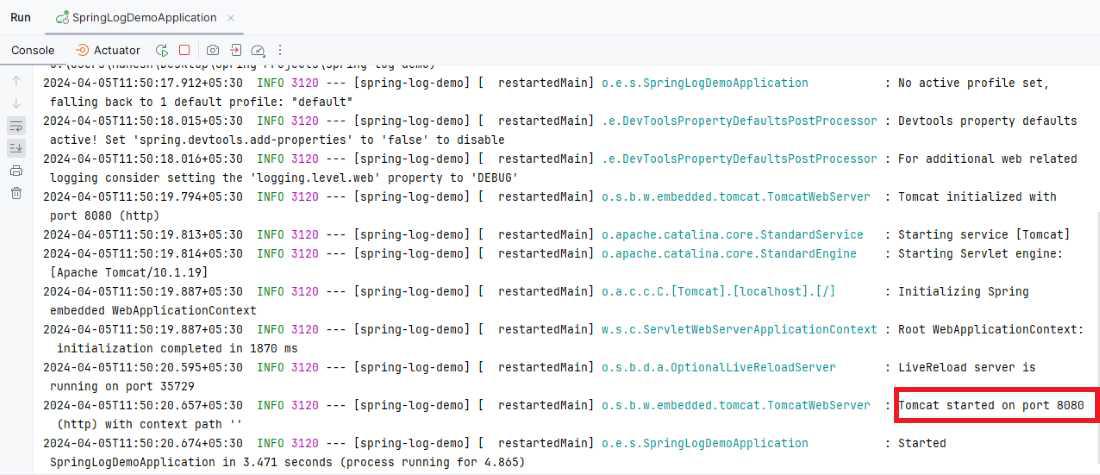
Step 5: After finishing setting up our Spring project, when we run it as a Spring application successfully, it will start running on port 8080.
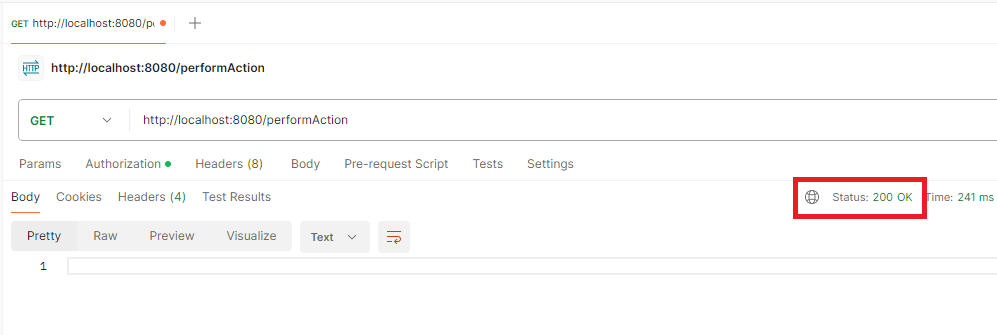
Endpoint:
GET http://localhost:8080/performAction
Output:
We will not see any output related to logging because It’s the console output of our Spring application.
Logger info:
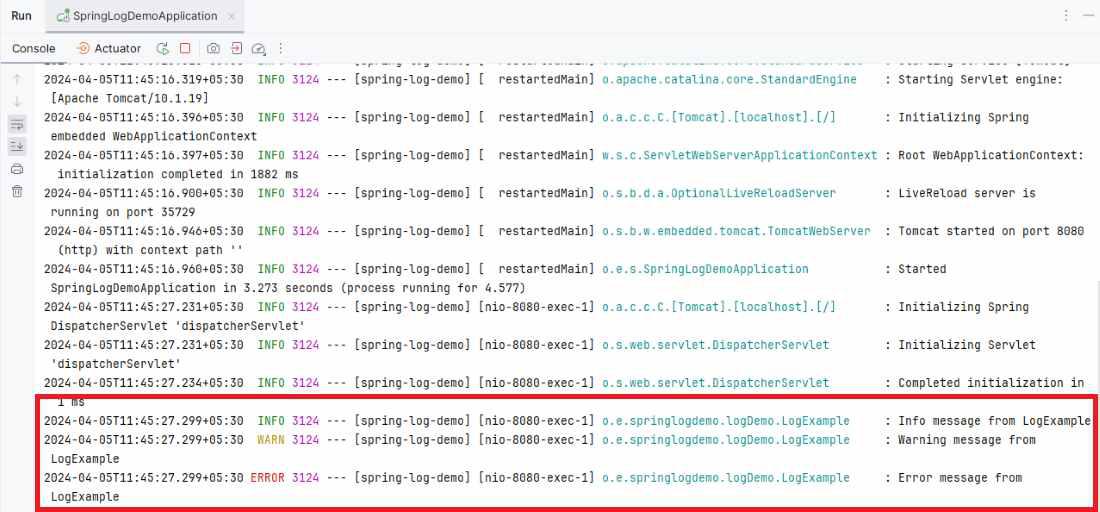
In the above example,
- We have the LogExample class which can handles the HTTP requests and its methods containing the own logging statements.
- In the application.properties file we can set the root logger INFO level and configure the DEBUG level logging for the org.example.springlogdemo package which can encompasses all the classes in our application.
- It can ensure that all the classes in the org.example.springlogdemo will the log messages at the DEBUG level and the root logger and other classes outside the package will log messages at the INFO level of the application.
If we follow the above steps, then we can successfully demonstrate the logging level with application.properties in the Spring applications.
Share your thoughts in the comments
Please Login to comment...