Selenium with C# for Automated Browser Testing
Last Updated :
04 Mar, 2024
Selenium is used to automate the desktop browser testing. It comes up with many components and from them, the major one is the web driver. Web driver is used for writing the code in different programming languages which will target the web elements and then apply the operation on it. We can use C#, Java, Python, and many other languages which can be used to work with it.
Why is C# useful for Automation Testing?
Using C# we easily do automation Testing. It is an open source and due to this different frameworks have support for this language.
- There is a specialized package Manager known as NuGet Package Manager which comes up with so many different kinds of Packages.
- Using these packages the testing work becomes easier. In C# we can also merge the unit testing with automation testing frameworks and this gives us so much power to check the result without running each script separately.
Selenium with C#
Selenium and C# become a solid combination because C# is one of the chosen languages to work with Selenium due to so many functions to manipulate and test the Websites. In C# we have NUnit Testing which is again a widely used testing framework and Selenium can be easily integrated with it. Due to this, we can run the unit tests for both the backend and frontend simultaneously and that also in parallel.
Get the elements using their ID or by their class name or their tag Name
C#
IWebElement element = driver.FindElement(By.TagName("input"));
element.SendKeys("Text to be entered");
|
1. For Dropdown
C#
IWebElement dropdown = driver.FindElement(By.Id("dropdownId"));
SelectElement selectElement = new SelectElement(dropdown);
selectElement.SelectByText("Option to select");
|
2. For Buttons
C#
IWebElement button = driver.findElement(By.cssSelector("button[type='submit']"));
button.click();
|
We will create a Console Application in which we will create a selenium script and we will interact with the website.
Step 1: Download and install C# IDE (Visual Studio)
- We can download Visual Studio 2022 from the official website.
- If you are a student or learner then you can go with the community version. And if you want to use it for Production or work then you can choose Professional Version as well.
Step 2: Create a New Project in Visual Studio
Choose the Create new project from the Menu.
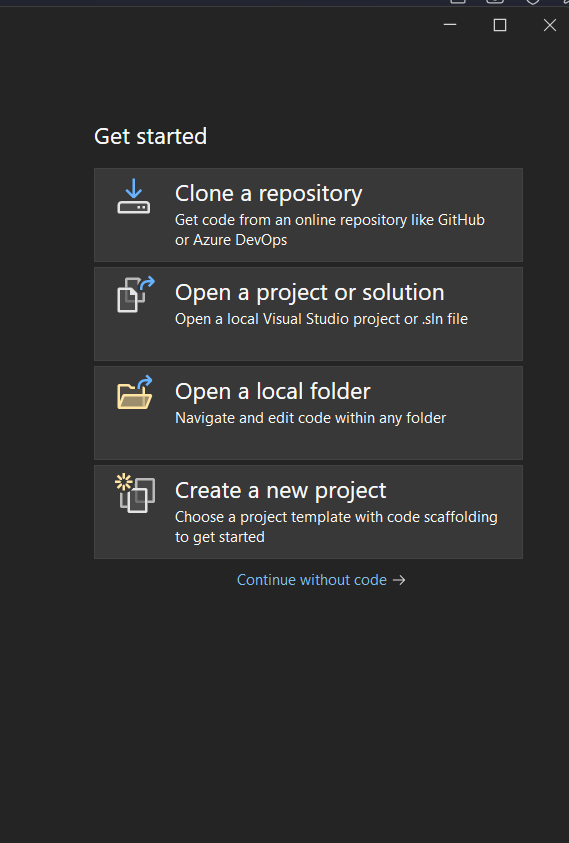
Creating Project
Step 3: Select Console Application
1. Now from the list choose the Console Application with C# as the Programming Language.
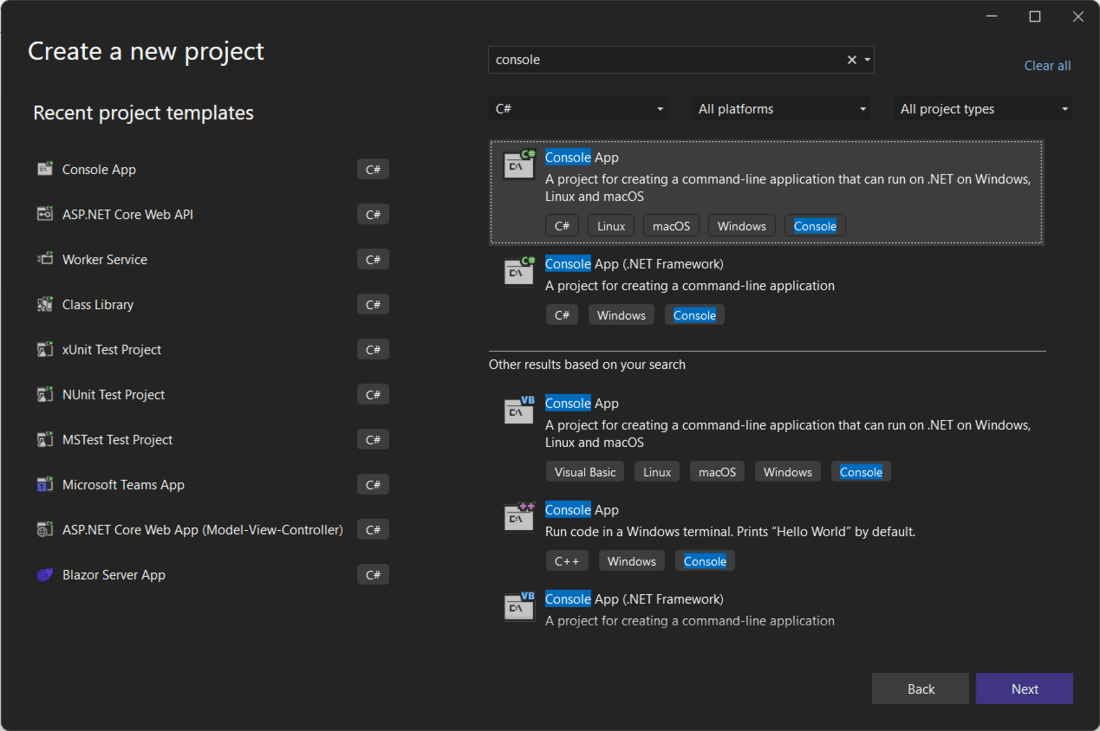
Creating Console Application
2. Our project has been created successfully and now we will install some packages to run the Selenium.
Step 4: Installing NuGet Packages
For creating a selenium application and using selenium methods we have to install 3 packages.
1. Selenium.WebDriver
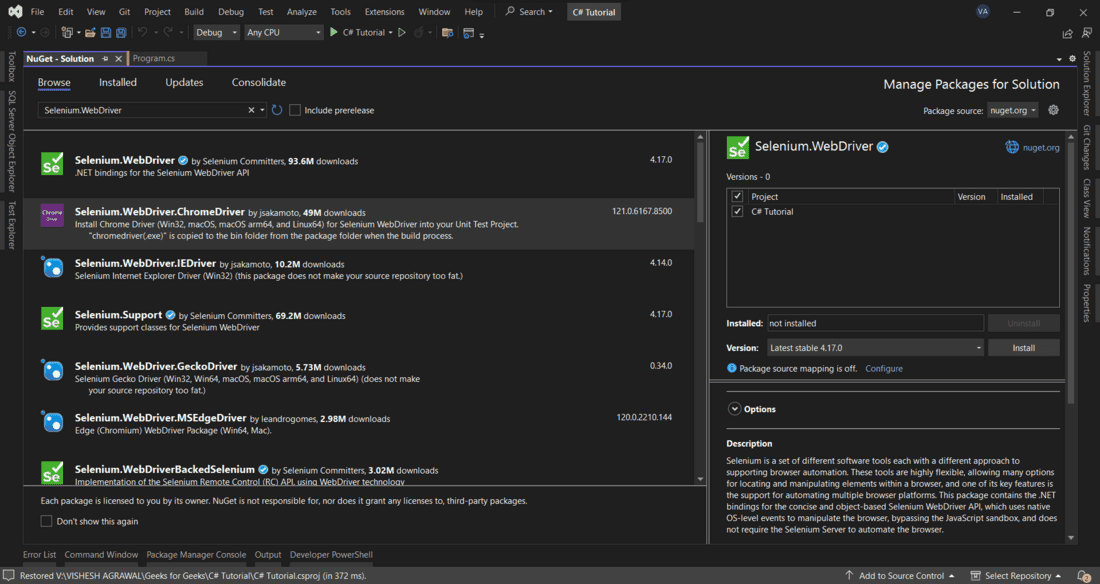
Selenium.Webdriver
2. Selenium.Support
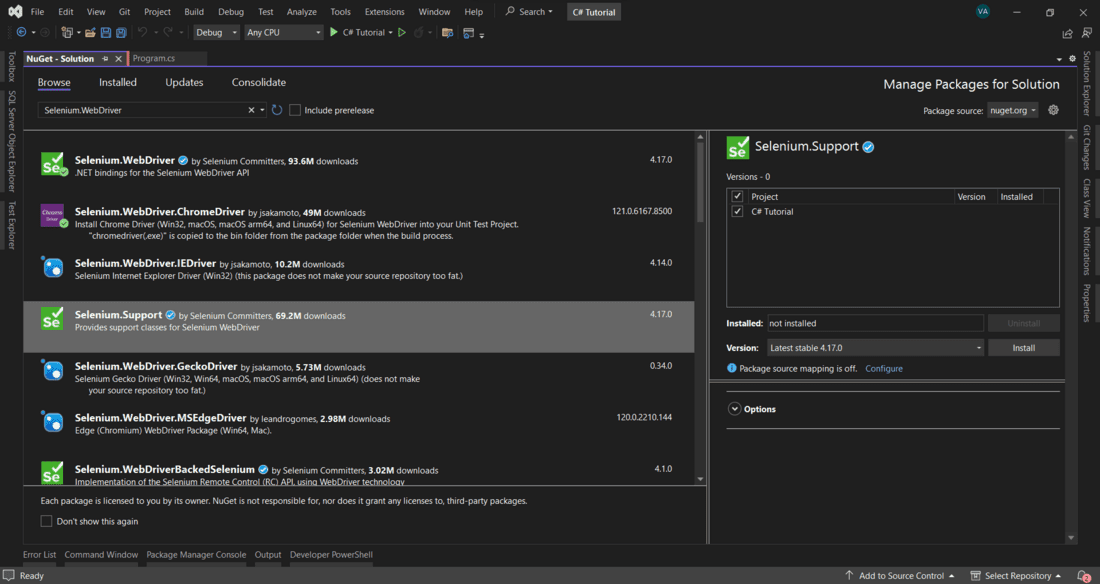
Selenium.Support
3. Selenium.Webdriver.ChromeDriver
This will be used to say to Selenium to choose which browser in our case we are going to use Chrome and thus we are installing this Package. If you want to try any other browser then you have to install those packages accordingly.
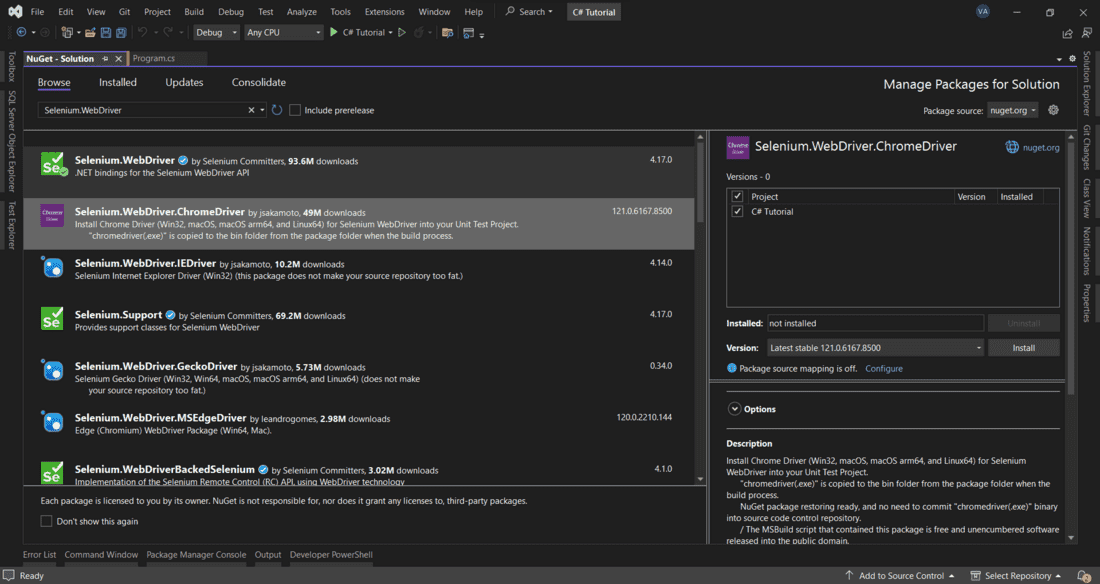
Chrome Driver Package
Step 5: Installing Chrome Driver
For executing the scripts we will require a Chrome driver which we load as soon as we run the application and all the operations will be executed in that only. We can download the Chrome driver from Here.
Remember you have to choose the version of the driver according to the Current Version of Chrome. If the version doesn’t match then an error will be thrown rather than execution.

Chrome Driver
So, now we are good to go with writing the script to automate the browser with Selenium. But before that let’s create one HTML form with which we can interact and fill that form using selenium.
Code for HTML Form
HTML
<!DOCTYPE html>
<html lang="en">
<head>
<meta charset="UTF-8" />
<meta http-equiv="X-UA-Compatible" content="IE=edge" />
<meta name="viewport" content="width=device-width, initial-scale=1.0" />
<link
rel="stylesheet"
integrity="sha384-EVSTQN3/azprG1Anm3QDgpJLIm9Nao0Yz1ztcQTwFspd3yD65VohhpuuCOmLASjC"
crossorigin="anonymous"
/>
<title>Form</title>
</head>
<body>
<div class="container mt-5 p-5">
<h1>Form Submission with Selenium</h1>
<form class="row g-7" id="myForm" onsubmit="submitForm(event)">
<div class="col-8">
<br />
<div class="mb-3 row">
<label for="FirstName" class="col-sm-2 col-form-label"
>FirstName</label
>
<div class="col-sm-10">
<input type="text" class="form-control" id="FirstName" />
</div>
</div>
<div class="mb-3 row">
<label for="DOB" class="col-sm-2 col-form-label">DOB</label>
<div class="col-sm-10">
<input type="date" class="form-control" id="DOB" />
</div>
</div>
<div class="mb-3 row">
<label for="Email" class="col-sm-2 col-form-label">Email</label>
<div class="col-sm-10">
<input type="email" class="form-control" id="Email" />
</div>
</div>
<div class="mb-3 row">
<label for="inputNumber" class="col-sm-2 col-form-label"
>Number</label
>
<div class="col-sm-10">
<input type="number" class="form-control" id="inputNumber" />
</div>
</div>
<div class="mb-3 row">
<label class="col-sm-2 col-form-label" for="Gender">Gender</label>
<div class="form-check col-sm-2">
<input
class="form-check-input"
type="radio"
name="Gender"
id="Male"
value="Male"
/>
<label class="form-check-label" for="Male">Male</label>
</div>
<div class="form-check col-sm-2">
<input
class="form-check-input"
type="radio"
name="Gender"
id="Female"
value="Female"
/>
<label class="form-check-label" for="Female">Female</label>
</div>
</div>
<button class="btn btn-info col-sm-2" type="submit">Submit</button>
</div>
</form>
</div>
<script>
function submitForm(event) {
// Prevent the form from actually submitting
event.preventDefault();
// Extract form data
const firstName = document.getElementById("FirstName").value;
const dob = document.getElementById("DOB").value;
const email = document.getElementById("Email").value;
const number = document.getElementById("inputNumber").value;
const gender = document.querySelector(
'input[name="Gender"]:checked'
).value;
if (!/^\d{10}$/.test(number)) {
alert("Error");
return;
}
// Create a message with the form data
const message = `First Name: ${firstName}\nDOB: ${dob}\nEmail: ${email}\nNumber: ${number}\nGender: ${gender}`;
// Display an alert with the form data
alert(message);
document.getElementById("FirstName").value = "";
document.getElementById("DOB").value = "";
document.getElementById("Email").value = "";
document.getElementById("inputNumber").value = "";
document.querySelector('input[name="Gender"]:checked').checked = false;
}
</script>
</body>
</html>
|
Now interacting with this form will help us understand the working and the flow of the selenium application. So we will first get the elements and then on that, we will perform the operations. So, that we can get an idea of both the process.
Selenium Test Script using C#
C#
using OpenQA.Selenium;
using OpenQA.Selenium.Chrome;
namespace Csharp_Application
{
internal class Program
{
static void Main(string[] args)
{
IWebDriver driver = new ChromeDriver();
try
{
driver.FindElement(By.Id("FirstName")).SendKeys("ram");
driver.FindElement(By.Id("DOB")).SendKeys("19-01-2001");
driver.FindElement(By.Id("Email")).SendKeys("ram@gmail.com");
driver.FindElement(By.Id("inputNumber")).SendKeys("1234566890");
driver.FindElement(By.Id("Male")).Click();
driver.FindElement(By.CssSelector("button[type='submit']")).Click();
IAlert alert = driver.SwitchTo().Alert();
string alertText = alert.Text;
if (!string.IsNullOrEmpty(alertText))
{
Console.WriteLine("Alert is open, and the content is: \n" + alertText);
}
else
{
Console.WriteLine("No alert found");
}
}
catch (Exception e)
{
Console.WriteLine(e.Message);
}
Console.ReadLine();
driver.Quit();
}
}
}
|
In the above code, the FindElement method is used to get the element. We can store these elements in the variable if we want to use them later. In this case, we have directly sent the keys which will be used to write into the field. Later on, we will find the button and then we will click on that.
Output of Selenium Test Script in Visual Studio
.gif)
Output
Conclusion
So, this was basic of the Selenium with C# in which we have just found the element and then applied some operation. We can also move ahead with this, here we have used ID to get the element. But we can use classname or we can also use Xpath. These are the advanced features of selenium in C# which are generally done after this basic one.
Share your thoughts in the comments
Please Login to comment...