JUnit 5 – Gradle Dependency
Last Updated :
17 Dec, 2023
JUnit is one of the widely used Unit Testing frameworks for Java-based applications. JUnit has different releases namely JUnit 3, and JUnit4 which are slightly outdated, and currently, the latest release version is the JUnit 5. JUnit 5 was launched with the aim of supporting the latest Java features like lambda expressions, etc. To use JUnit 5 in your testing suite make sure you are running Java version is greater than or equal to 8.
In this article, we will discuss how to add JUnit 5 with one of the popular build tools called Gradle. Gradle is one of the most popular build automation tools that supports different programming languages like Java, Kotlin, Groovy, C++, and Javascript. Gradle works like the most used other build tools like Ant, and Maven from Apache, but uses a Domain Specific Language based on the Kotlin and Groovy programming languages contradictory with the XML-based configuration from Apache Maven. Gradle runs on the Java Virtual Machine and is written in JVM-based languages (Java, Groovy, Kotlin).
Prerequisites:
- Java – Knowledge of Core Java
- JUnit 5 – Basics of JUnit 5
- Gradle – Installation
- Eclipse or any other IDE with integrated support for Java
JUnit 5 – Gradle Dependency
To continue, make sure your system has Java and Gradle installed in your system. If not use the links to download and install the respective versions according to your machine architecture, JDK, and Gradle.
Gradle 4.6 or higher versions support JUnit 5 so that you don’t have to configure it by yourself. If you have recently installed Gradle in your system, you will be good to go. If you are running an older build, make sure to check the above link of gradle to download and install the latest build.
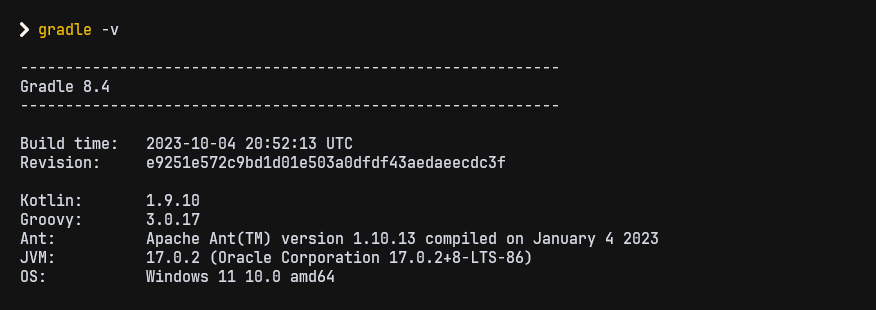
To view the Gradle version and whether your Gradle installation works fine, use the below command in your terminal.
gradle -v
Incase your terminal shows gradle is not recognized command or command not found, make sure you have added the gradle\bin directory of your installation to the $path environment variable of your Operating system after installation process.
Setting up the Gradle Project
You can feel feel to skip this section, if you know or already have a running Java project configured with Gradle build tool.
In this section, we will use the Gradle build tool to create a Java project and configure it with Gradle. Gradle not only builds, test, deploy our applications with automation. It also has some prebuilt boiler plate code for most of the common tools supported by Gradle. So we will use Gradle to create a simple Java application.
To create a simple Gradle project, follow the steps below:
- Step 1: Open a new terminal window to create a java project with gradle’s boilerplate code.
- Step 2: Create a new directory with preferred project name.
- Step 3: Use the below command to create a Java application.
gradle init --type java-application
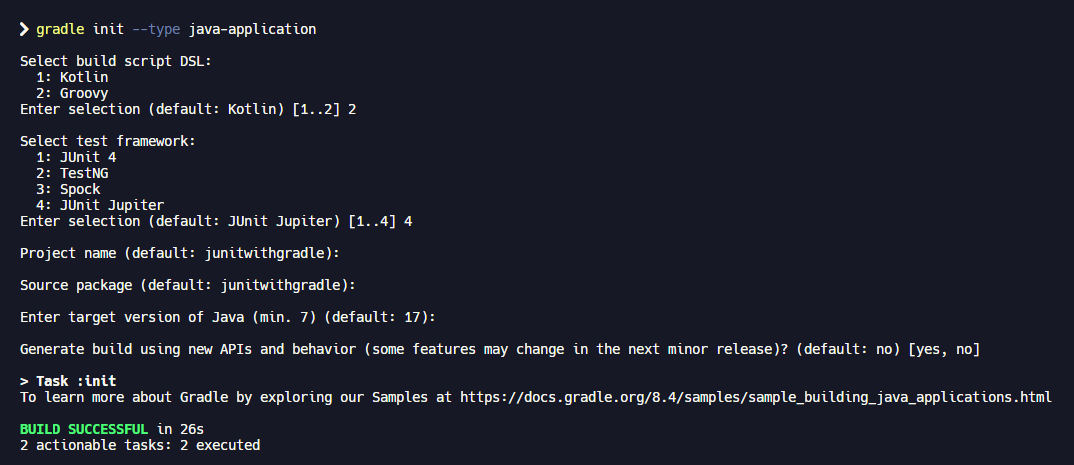
- Choose the preferred Domain Specific language, I have used groovy for the simplicity of the article.
- Select the testing framework as JUnit Jupiter for using JUnit 5.
- In case you want to try from scratch, you can feel free to remove the dependencies and other extra configurations that you don’t need.
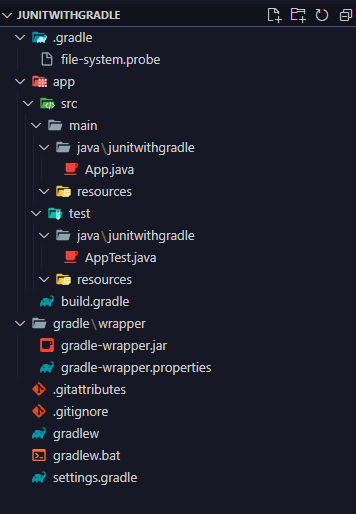
Project Structure
The initial project structure of the Gradle’s default Java template will look like the below image.
Adding JUnit 5 Dependencies
Different modules of JUnit 5 are,
- junit-jupiter-api: It is the core module that provides API for various test annotations, Assertion methods, etc.
- junit-jupiter-engine: An implementation of test engine API for JUnit Jupiter, to execute the tests.
- junit-jupiter-params: To run parameterized test in your testing with gradle.
- junit-platform-suite: A module to run test suites in JUnit 5 with gradle.
There is also an Aggregator dependency in the Maven repository, that helps us to add the single aggregator dependency in build.gradle to add the most of the necessary modules in a singe dependency.
- junit-jupiter: an aggregator dependency which contains,
- junit-jupiter-api
- junit-jupiter-engine
- junit-platform-params
Note: A basic JUnit 5 test can be executed with just adding the jupier-api and jupiter-engine dependencies.
Step 1: Open your build.gradle file under the app directory.
Step 2: Add the required dependencies under dependencies i.e. API and engine, add the API with testImplementation as it is necessary only while compiling the source code and the engine under testRuntimeOnly to restrict the engine to only use it for testing phase.
Step 3: To execute tests under JUnit configure the test task in the build.gradle, call the useJUnitPlatform() to run the tests on the JUnit Engine.
Below is the implementation of the build.gradle,
Java
plugins {
id 'application'
}
repositories {
mavenCentral()
}
dependencies {
testImplementation 'org.junit.jupiter:junit-jupiter-api:5.9.3'
testRuntimeOnly 'org.junit.jupiter:junit-jupiter-engine:5.9.3'
}
application {
mainClass = 'junitwithgradle.App'
}
tasks.named('test') {
useJUnitPlatform()
}
|
Writing Tests
For simplicity of this article, we won’t be doing any intensive unit testing of a well written class. So create a simple MathUtility class under the src/main/javawithgradle directory. This utility class will only have a single static method for testing purposes. The static method is for checking whether a given argument is prime or not.
Step 1: Create a file and name it MathUtility.java.
Step 2: Open the MathUtility.java file and add a static method to it for checking whether a number is prime. Use a loop that goes for Math.sqrt(num) times of a number for optimizing it for bigger numbers.
Java
package junitwithgradle;
public class MathUtility {
public static boolean isPrime(int n){
for (int val = 2; val * val <= n; val++) {
if (n % val == 0) {
return false;
}
}
return true;
}
}
|
Step 3: Now, create a test file named MathUtilityTest.java under src/test/java/junitwithgradle directory for testing MathUtility.java that we have just created.
Step 4: Open the test file and add the below code.
Java
package junitwithgradle;
import static org.junit.jupiter.api.Assertions.*;
import org.junit.jupiter.api.Test;
class MathUtilityTest {
@Test void testNumberPrimeOrNot(){
assertTrue(MathUtility.isPrime(41));
}
}
|
Explanation of the above Program:
- Package: The code is part of the junitwithgradle package.
- Imports: JUnit 5 annotations and assertion methods are imported.
- Class MathUtilityTest: Contains a test method annotated with @Test.
- Test method: Checks if the number 41 is prime using assertTrue.
- MathUtility.isPrime(): The method being tested for prime number determination.
Now, that Gradle we have created both the Utility class and the test for that class, let’s discuss further how we can run and see the test results.
Running the Test
In Gradle, to execute the JUnit 5 tests, use the below command.
gradle test

In case you are wondering where are the test logs and results, gradle by default won’t show any, case you need to see the full log while executing the test, run the test command with the info flag, but it will not be beneficial as gradle will overwhelm you with the logs.
gradle test --info
Output:
- Gradle creates HTML reports for the test summary and stores them under the build directory.
- The location of the test report starts at build/reports/tests/test/index.html.
- Open your browser and go to the location to view the reports.

Share your thoughts in the comments
Please Login to comment...