Integrating Apache HttpClient in Spring Boot
Last Updated :
02 Jan, 2024
Spring Boot is a powerful Java-based framework for building web-based applications with microservices. We know that one common requirement for any application is to fetch the data from another site also for that we have to use API to do the task of fetching and storing the data from and to the database respectively. To create and call API we use Apache HttpClient.
Prerequisite
Before going to see how we call API using Apache HTTP, let’s see the mapping methods used for fetching or storing data.
- Java Development Kit (JDK)
- Apache Maven
- Your favorite integrated development environment (IDE), such as IntelliJ IDEA or Eclipse.
Everything would be work properly and their environmental variables also set properly.
HTTP Methods
Apache HTTPClient provides different types of mapping through which we can interact with applications. Let us see them in detail:
- @GetMapping: Used to map HTTP GET requests to a specific method.
     @GetMapping("/viewForm")
     public ResponseEntity<String> getResource(@RequestBody Form resource) {
       //write code
      }
- @PostMapping: Used to map with HTTP POST request.
      @PostMapping("/createForm")
      public ResponseEntity<String> createResource(@RequestBody Form resource) {
      // Logic to create a form as per your need
      return ResponseEntity.status(HttpStatus.CREATED).body("Form created successfully");
      }
- @PutMapping: Used to map with HTTP PUT request.
        @PutMapping("/update/{id}")
 public ResponseEntity<String> updateResource(@PathVariable Long id, @RequestBody Form updatedForm) {
       // Logic to update a form with the given ID    return ResponseEntity.ok("Form updated successfully");
        }
- @DeleteMapping: Used with map HTTP DELETE requests.
    @DeleteMapping("/delete/{id}")
     public ResponseEntity<String> deleteResource(@PathVariable Long id) {
    // Logic to delete a Form with the given ID
     return ResponseEntity.ok("Form deleted successfully");
    }
Above all are basically used for mainly purpose some other methods also supported by Apache HttpClient to make API call with follows methods as:
- @RequestMapping
- @RequestBody
- @RequestParam
Let us now talk about actual example to make API with Apache HttpClient,
Step by Step Implementation of an Application
Step 1: Create a new Spring Boot project.
You can create a new Spring Boot project using Spring Initializer from https://start.spring.io/ or your IDE Include the “Spring Web” dependency to enable web-related functionality.
Basic File structure for our demo example as shown below in screenshot,
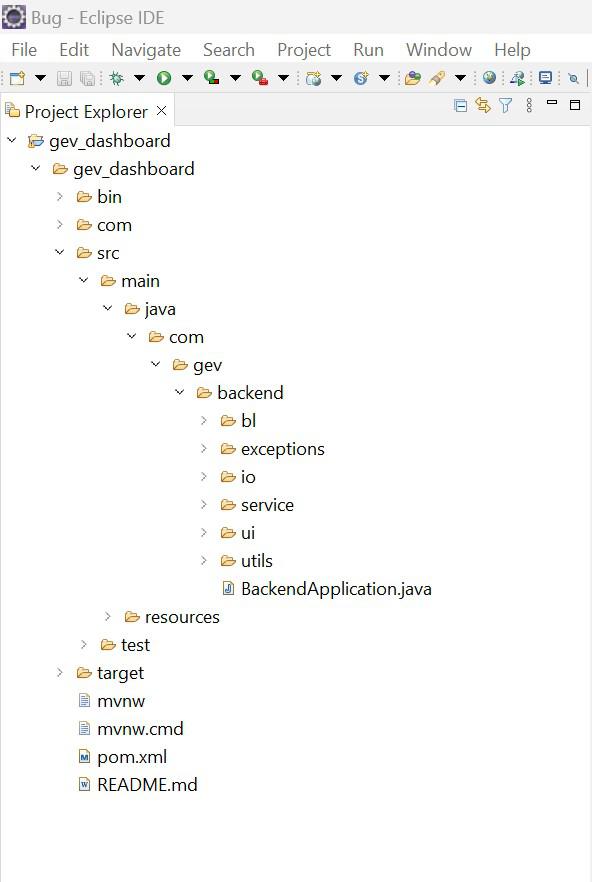
Use this file structure to refer which file you have to write code for specific methods.
Step 2: Add Apache HttpClient dependency.
To enable the interaction, we have to make dependency enable through pom.xml file as follows:
<dependency>
    <groupId>org.apache.httpcomponents</groupId>
    <artifactId>httpclient</artifactId>
    <version>4.5.14</version>
</dependency>
Note: Remember to update with its latest version.
Step 3: Create a service for API Calls
Under service folder you make file for service for which you want to make and made changes in below given code according to your need
Java
import org.apache.http.HttpResponse;
import org.apache.http.client.*;
import org.apache.http.impl.client.HttpClients;
import java.io.*;
public class ApiService {
public String makeApiCall(String apiUrl) throws IOException {
HttpClient httpClient = HttpClients.createDefault();
HttpGet httpGet = new HttpGet(apiUrl);
HttpResponse response = httpClient.execute(httpGet);
BufferedReader reader = new BufferedReader(new InputStreamReader(response.getEntity().getContent()));
StringBuilder result = new StringBuilder();
String line;
while ((line = reader.readLine()) != null) {
result.append(line);
}
return result.toString();
}
}
|
Step 4: Make API controller
Creating controller which use API service to make use of it.
Java
import org.springframework.web.bind.annotation.GetMapping;
import org.springframework.web.bind.annotation.RequestMapping;
import org.springframework.web.bind.annotation.RestController;
import java.io.IOException;
@RestController
@RequestMapping("/api")
public class ApiController {
private final ApiService apiService;
public ApiController(ApiService apiService) {
this.apiService = apiService;
}
@GetMapping("/call")
public String makeApiCall() {
try {
return apiService.makeApiCall(apiUrl);
} catch (IOException e) {
e.printStackTrace();
return "Error making API call";
}
}
}
|
Remember the name of mapping for example you are given call for Get mapping you have to keep in mind which name is used for which method.
Step 5: Run the application
Once all steps are done then you are ready to run an application. You can run it from eclipse and start the Apache XAMPP server and hit the URL in postman as http://localhost:8080/api/call with correct method that is its mapping as shown below:
.jpg)
We can use other mapping also with specific requirements. Also, we can connect with database with the help of this methods also just we have to write the code for handling them in Repository content. See the other folders also to make code more refined.
Conclusion
With this Spring Boot APIs, we can easily interact with application and it is easy for developers to develop them. Interesting thing is that we are interacting with external services as per our need for our application. We can further enhance this example by handling different HTTP methods, response entities, parsing based on our application’s requirements.
Share your thoughts in the comments
Please Login to comment...