Installing MySQL on Ubuntu 20.04
Last Updated :
08 Apr, 2024
MySQL is a database system used to store and manage information. It is free for anyone to use and can be easily installed on Ubuntu 20.04, which is a popular operating system for computers. Installing MySQL on Ubuntu 20.04 is a straightforward process that allows you to set up a powerful relational database management system (RDBMS) on your Linux server, and this guide will walk you through the steps to get your MySQL database up and running smoothly. Having a MySQL database can be incredibly useful for many different types of applications and websites. MySQL is one of the most popular open-source database systems, known for its reliability, scalability, and ease of use.
Concepts related to the topic
- MySQL: MySQL is a widely used open-source relational database management system.
- Ubuntu 20.04: Ubuntu 20.04 is a Linux OS. It has an easy interface and good software tools. Version 20.04 is long-term supported. This means it’s stable for many years.
- MySQL Server: MySQL Server is the part that keeps and manages databases. It listens for people connecting and works through queries as per SQL standards. MySQL Server stores data in databases. It waits for connections from people. When someone connects, they can ask queries about data. MySQL Server follows SQL to answer those queries.
Installation of MySQL in Ubuntu 20.04
Step 1: Update the package index:
sudo apt update
Software comes in packages. The packages need updates at times. Use the command sudo apt update to check for package updates. This command gathers data from sources. These sources have the latest package versions.
.jpg)
sudo apt update
Step 2: Install MySQL server:
Setting up the MySQL server is easy with Ubuntu. First, you should update the package list. Then, you can install the MySQL server package
sudo apt install mysql-server
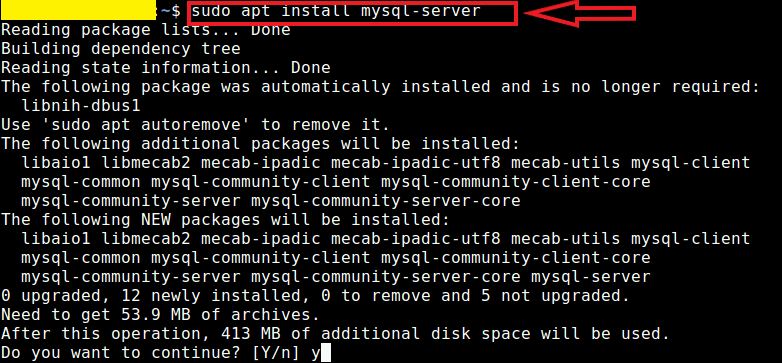
sudo apt install mysql-server
Step 3: Run the MySQL security script:
sudo mysql_secure_installation
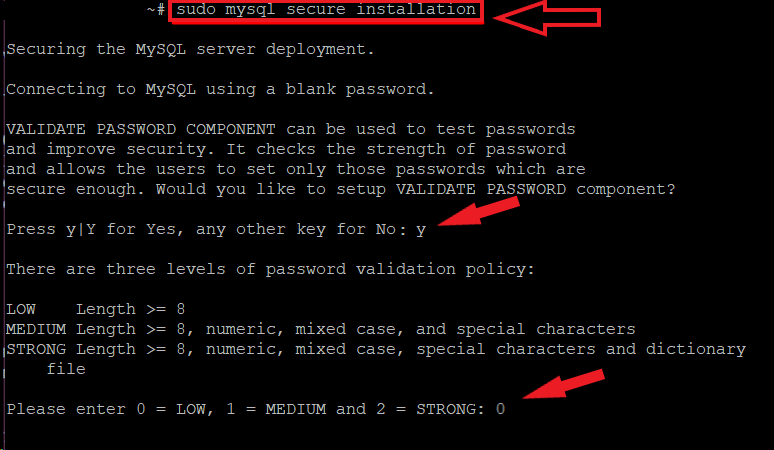
sudo mysql_secure_installation
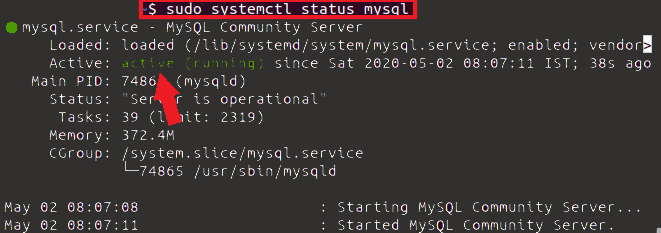
Step 4: Start, stop, or check the status of MySQL service:
Starting MySQL service
sudo systemctl start mysql
sudo systemctl startmysql
Stoping MySQL service
sudo systemctl stop mysql
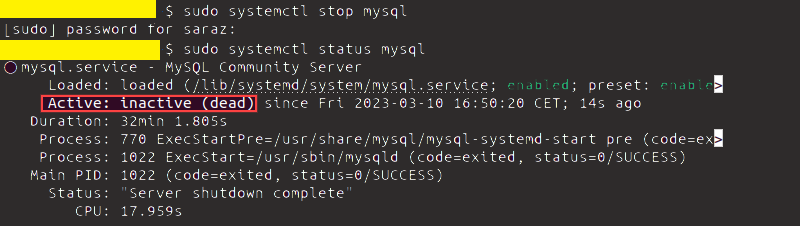
sudo systemctl stop mysql
Checking status of MySQL
sudo systemctl status mysql
.jpg)
sudo systemctl stop mysql
Configuring MySQL
Let’s look at some important things for setting up MySQL after you get it on your computer. You can change the settings to match what you need.
MySQL has many settings you can change. Some are really important. Others are just to make small changes. The main settings are about user permissions. You decide who gets access.
Accessing the MySQL Configuration File:
The primary configuration file for MySQL is typically located at /etc/mysql/my.cnf. You’ll need administrative privileges (sudo) to edit this file. It’s recommended to make a backup of the original configuration file before any modifications. Here’s how to access and backup the file:
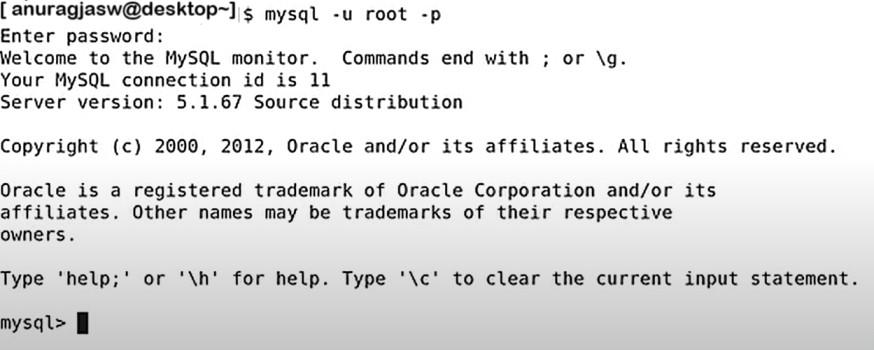
mysql -u root -p
Creating a User (Optional):
Setting up a special user account is better than using the main user. The main user should not do daily tasks. You can make a new user with certain rights for your apps. Here’s an example:
CREATE USER 'myusername'@'localhost' IDENTIFIED BY 'strong_password';
Replace ‘myusername‘ with your desired username and ‘strong_password‘ with a secure password.

Granting Privileges (Optional):
Now, give them the right to do stuff with the database. Here’s how you can let them do everything for a database called ‘mydatabase‘.
GRANT ALL PRIVILEGES ON mydatabase.* TO 'myusername'@'localhost';
Replace ‘myusername‘ with your desired username

Flushing Privileges:
After making changes to user permissions, it’s essential to flush the privileges table for the changes to take effect. Flushing the privileges table is a vital process that ensures the changes you have made are properly implemented and activated.
FLUSH PRIVILEGES;

You can create databases to organize your data.
REATE DATABASE mydatabase;

By following these steps and consulting the provided resources, you can configure MySQL in Ubuntu 20.04 to suit your specific requirements. Remember to prioritize security by using strong passwords and appropriate user permissions.
Security Considerations
- Make passwords different for each user. Even the main user must have a tough password.
- Only give users the powers they need to do their job. Giving full control is bad unless it’s really needed.
- Remote access is off by default to keep things safe. Turning it on makes hacking easier. If needed, only allow remote access through firewalls. And only give limited user powers.
Testing MySQL
There are many ways to check if MySQL works well. Here are some simple methods: Create a table. Put some data in it. View that data. Delete that table. Create a new table.
Using the MySQL command line
1. Make a new database:
CREATE DATABASE test_db;
2. Pick a database to work with:
USE test_db;
3. Create a table to store data:
You can create rows and columns using a command like:
CREATE TABLE users (
id INT PRIMARY KEY AUTO_INCREMENT,
username VARCHAR(255) NOT NULL,
email VARCHAR(255) UNIQUE
);
This creates a table named “users” to store user information.
You can use easy ways first to check MySQL. Then, you can try harder ways when you get used to it.
Installing MySQL on Ubuntu 20.04 – FAQs
What are the prerequisites for installing MySQL on Ubuntu 20.04?
- A working Ubuntu 20.04 system (LTS versions are recommended for servers).
- Root or sudo access for installation and configuration.
- An active internet connection to download MySQL packages.
- Sufficient disk space (at least 500 MB recommended).
Is there a graphical way to install MySQL?
Understanding how to use MySQL on Ubuntu is important. The command line lets you control and customize MySQL better. But some people may want an easier way to work with MySQL. Ubuntu includes programs for managing software. However, these programs may not give you as many options as the command line for installing and setting up MySQL.
How do I connect to the MySQL server after installation?
You can connect using the mysql command-line client:
mysql -u root -p
Enter your root password when prompted.
How do I uninstall MySQL if I no longer need it?
You can uninstall MySQL using the following command:
sudo apt remove --purge mysql-server mysql-client mysql-common
This removes the server package, client tools, and common files. Remember to back up any data you want to keep before uninstalling.
How do I check the status of MySQL service?
You can check the status of MySQL service using:
sudo systemctl status mysql
Conclusion
To set up MySQL on Ubuntu 20.04, you first installed it. Next, you configured it with strong passwords and user permissions. After that, you tested it to make sure it works correctly. These steps help secure your MySQL setup. You can now use MySQL for your needs. More resources are available to learn advanced features and customize MySQL further.
Share your thoughts in the comments
Please Login to comment...